Last weekend I bought some plain plastic headbands for my tea rose project, but the colours and texture work out so I just ended up using an elastic headband I had for the rose.
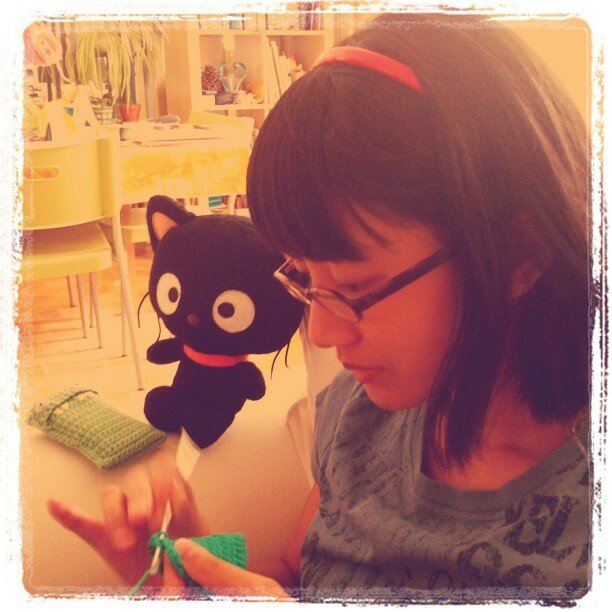
The plastic headbands were 4 for a $1 from a corner store nearby. I tried them on for fun and was surprised to find that the red one actually complements my hairstyle quite nicely (I don’t wear red very often). Then Mike took this picture to test out his new phone…
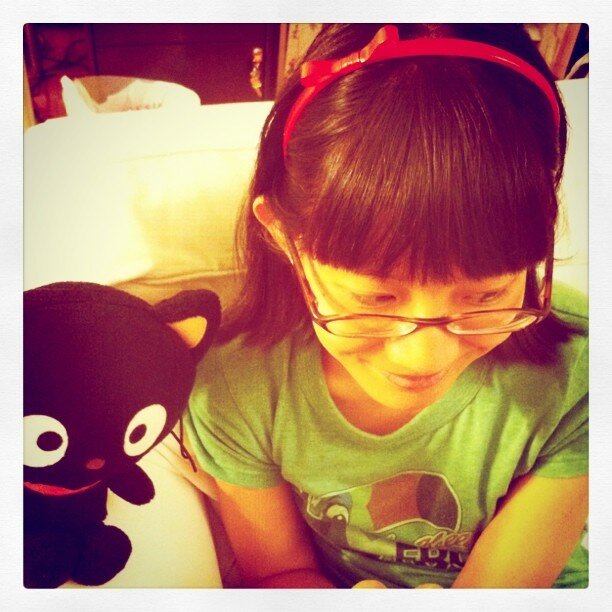
Then he said, “you look like a cartoon character with that headband, but I don’t know from which cartoon.”
This one, perhaps? :D
If you haven’t seen it, Kiki’s Delivery Service is an animation created by Hayao Miyazaki. It was released in 1989, and, According to Miyazaki, “the movie touches on the gulf that exists between independence and reliance in Japanese teenage girls. Going far beyond coming of age themes, the work deals with the nature of creativity and talent, and the central difficulty every person faces in becoming themselves, whether through luck, hard work or confidence” (source).
It’s a timeless piece. I find myself in Kiki’s shoes time and time again, trying to find my own voice in new surroundings.
And now, with Filbert the cat in the picture, I find myself in Kiki’s headband, just missing a bow! (Kiki’s cat is named Jiji, by the way.)
There’s no way I can pull off wearing a giant bow on my head. So perhaps I can make a small, stylish, grown-up-ish bow. Like these ones, perhaps.
The problem is that the red headband is made of a shiny plastic, and so ribbons or crochet would look out of place. Pleather (aka faux leather)? Vinyl? Trust me, if I have a red vinyl purse or anything like that I can cut from, I would go straight to it. But I don’t.
What I have is this –
It comes in a roll –
It’s super sticky on the one side –
It’s shiny on the other –
It comes in all the bright colours –
Give up?
ELECTRICAL TAPE! :D
And here’s how I made a bow with it.
I used: a bit of electrical tape, a headband, scissors, a ruler, and hot glue gun.
1. Cut a piece of tape about 5″ long, turn it sticky side up and fold it lengthwise about 1/3 of it toward the centre (to keep the fold straight, it helps to start folding in the centre, then work your way out toward each end).
2. Fold down the other long edge in the same manner. There would be air bubbles trapped in the folds. I used my thumbnail to gently scrape and push the air out of the folds (again, it helps to start scraping from the centre, and work your way out toward each end).
3. Narrow the ends by cutting off the corners, so when it’s folded under to form the bow the edges won’t show.
4. Fold the plastic strip in half, make a light crease, unfold, and mark the half way point with a pencil.
5. Fold each end toward the centre, 2-3mm from the half way mark.
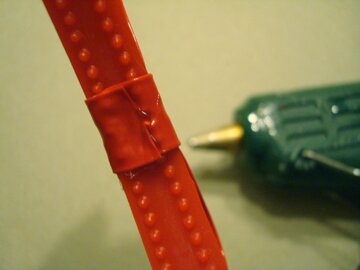
6. Tape down the ends with a narrow piece of tape.
7. Cut another piece of tape about 3″ long, repeat the first two steps, except leave a 2-3mm gap in the centre when folding the long edges, thus making a wider strip.
8. Turn the bow so that the ends of the strip are facing down, then hot glue it to the headband. Forgot to take a photo of this step, sorry ^^;
Place the wider strip on the centre of the bow, extending about 3/4″ to one side, like so… (the exposed adhesive on the back of the strip will help keep its place before it’s glued down in the next step)
9. Turn to the underside of the headband, fold down the short end of the wider strip and hot glue it down, pushing the end into the space between the 2 rows of combs.
10. Fold the longer end over and mark where it overlaps with the other end but does not extend beyond the width of the headband.
11. Cut where it’s marked and hot glue it down.
And we’re done! :D Pretty simple, eh?
It completes the picture :D
I’m actually really happy with the way it turned out, which is surprising because I’m not really a bow person. But I love how it matches the colour and the plastic feel of the headband perfectly. Like the bow came with the headband when it was bought, not added on later. With electrical tape.
My favourite part has got to be the electrical tape :D
I was lucky with the red; it may be tricky to match the exact shades of electrical tape to headband with other colours, but I imagine black or white would work perfectly. But then the colours don’t have to be matchy-matchy neither. What about a black bow on a white headband? Or yellow bow on a blue headband? I imagine the plastic headbands can be bought cheaply in most dollar stores, and so can electrical tape :)
This made me really happy last night. I hope you’re finding things throughout your day that make you happy too! :D


oh it’s so very pretty! it matches your hair and also filbert quite well :D
on another note, when you started describing the electric tape, i thought you were going for a haiku.
ooooh a haiku would have been such an awesome way to introduce the electrical tape!
What a cute headband! I love that movie, I may have to make one myself :)