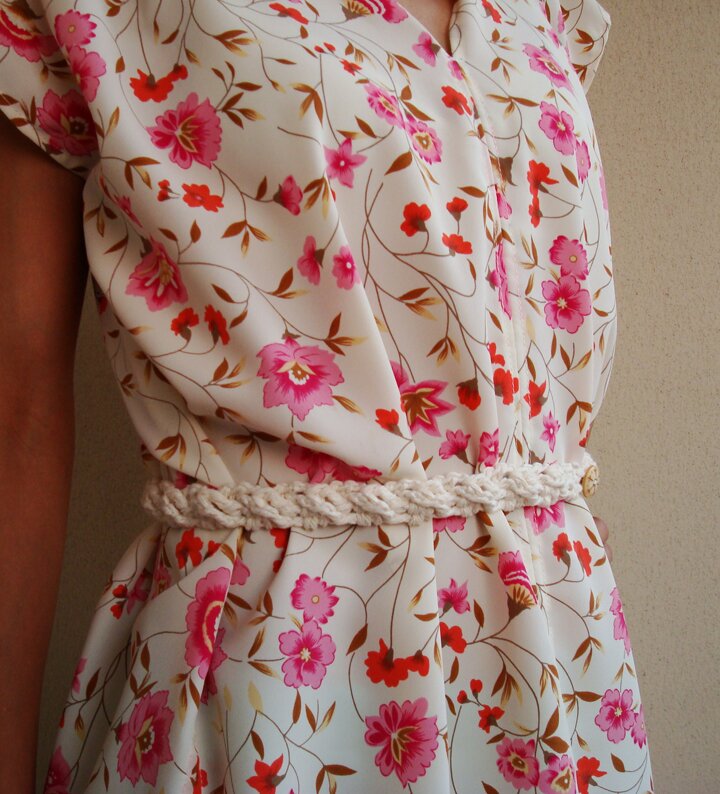
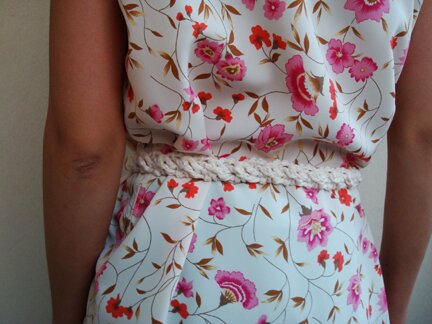
I wanted to make a thin white belt to go with this dress I made (pictured, more on it later :D). I saw people wearing these twisted leather belts and was wondering if I could crochet one. Not going to look like leather, but twisty nonetheless. I’m quite happy with how it turned out, so I thought I’d share it here :D
This pattern requires familiarity with basic crochet stitches (ch, sc, dc, tr) as well as some knowledge of cabling with front post crochet and back post crochet (fpdc, bpdc, fptr, bptr). I learned cabling while following this hat pattern (which has written tutorial and photos to explain the cabling action) and it’s actually quite a lot of fun once I get the hang of it.
If you’re interested, here are videos for front post double crochet (fpdc), back post double crochet (bpdc). And here is a video for making a crochet cable worked over 4 stitches, which is basically what this belt pattern is about :D
And now, the belt.
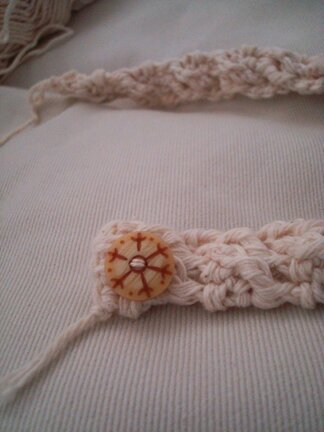
I used a 3.75mm hook and a worsted weight cotton yarn. Plus a 5/8″ button for closure (just something I found in my stash, you can use a larger/smaller button if you like), and thread and needle to sew on the button.
The belt is worked back and forth in short rows cross-wise until desired length.
Row 1: ch 6, dc in 4th ch from hook, 1 dc in each of next 2 dc, turn.
A foundation row of 4 dc is made (beginning ch counts as 1 dc). Now here’s how the cabling is going to go down…
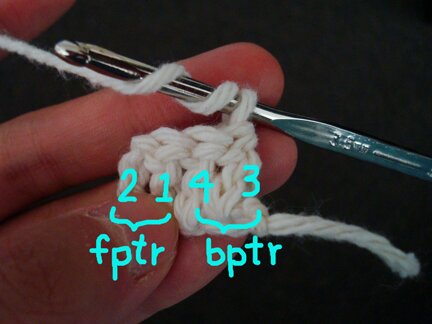
Row 2 (right side): Skip first 2 dc, fptr in next dc, fptr in beginning ch…
(Row 2 con’t) … bptr in first skipped dc, bptr in next skipped dc.
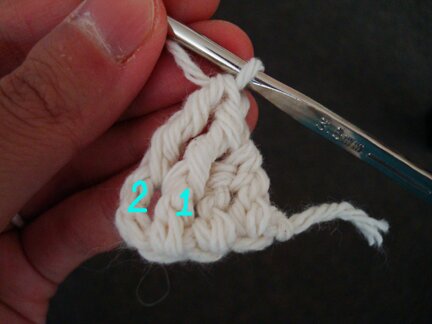
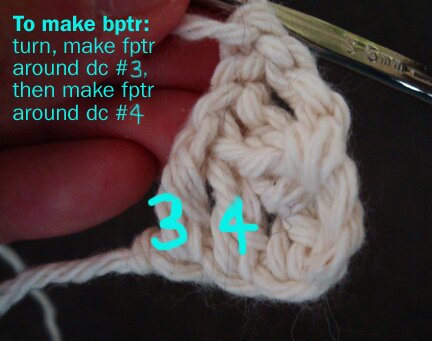
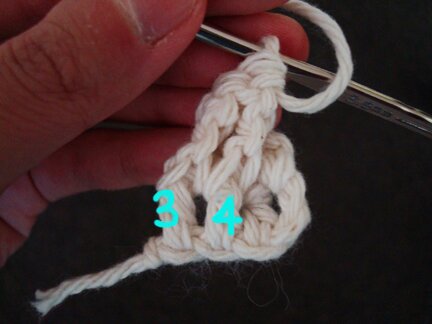
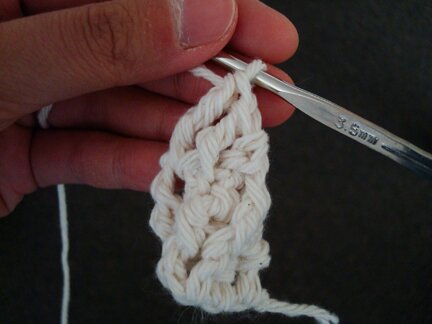
I find that an easy way to go back and do bptr in skipped stitches is to turn the work to the wrong side and make fptr in the skipped stitches, starting from the stitch in the far left. (picture below is viewed from wrong side)
Viewed from the wrong side, 2 bptr are made.
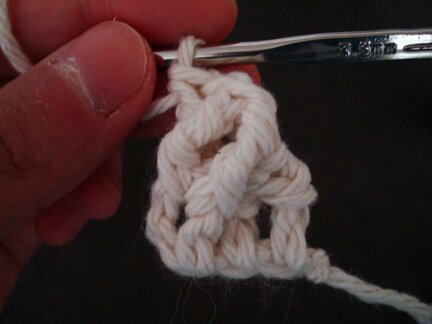
Completed row 2 viewed from the right side – one set of cable made. Turn.
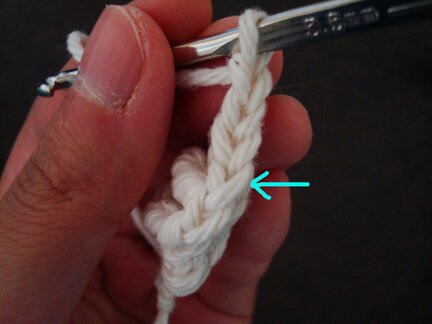
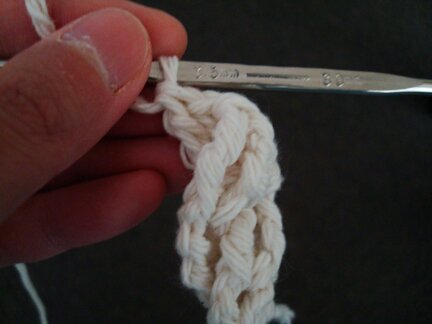
Row 3 (wrong side): ch 2, dc in next dc (the 4th stitch from hook, where the arrow is pointing in the picture)…
(Row 3 con’t) 1 bpdc in each of the next two fpdc from previous row (the stitches are indicated by the arrows. The picture shows the work upside down because when one is holding the work with the wrong side facing this is what one would see).
Turn. Viewed from the right side, row 3 completed.
Repeat row 2 (RS): Skip first dc, fptr in next dc, fptr in beginning ch…
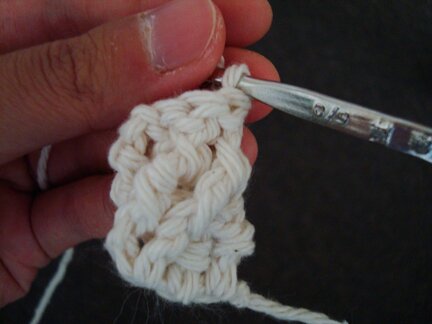
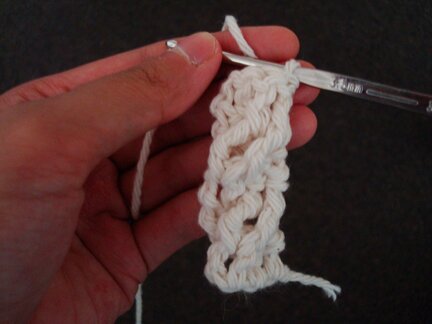
(Row 2 con’t) … bptr in first skipped dc, bptr in next skipped dc. (picture below shows work viewed from right side)
Repeat row 3 (WS): turn, ch 2, dc in next dc, 1 bpdc in each of the next 2 fpdc from previous row. Turn. (picture below shows work viewed from right side)
Repeat rows 2 & 3 until the two ends of the belt almost reach each other when wrapped around waist (with an approx. 1/2″ gap). End with row 3. Don’t fasten off.
Sew a button to the beginning end (not the end attached to the working yarn). I used a bit of crochet thread to sew on the button for sturdiness, and used this method to create a “shank” so that there will be enough space behind the button for the crocheted button loop.
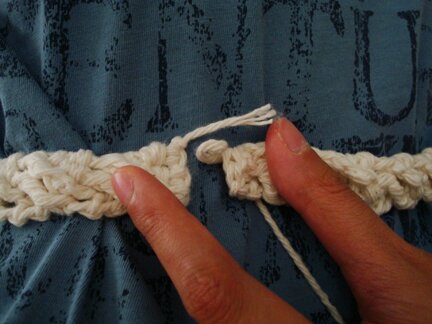
Going back to the other end, with the working yarn, make a button loop closure as follows:
ch 1, skip first dc, sl st in next dc, ch 6 tightly, sl st in same dc, skip next dc, sl st in top of turning ch.
Don’t fasten off. Try on belt and adjust the number of ch in the button loop if necessary.
Fasten off, weave in ends, and wear with a breezy summer top! :D
Note: The completed belt will naturally twist a bit so it’s not intended to be worn loosely. It will lie flat if worn fitted to the body.
Feel free to drop me a note if you have questions or comments!




Very nice! And I LOVE that button. Is there a story to it?
thank you! it’s just from a bag of mixed buttons i got from the store, but i thought it would look good with the belt because it kind of looks like a ship’s wheel, since the belt kind of has a nautical feel… but now that i look at it i think it’s supposed to be a snowflake :P