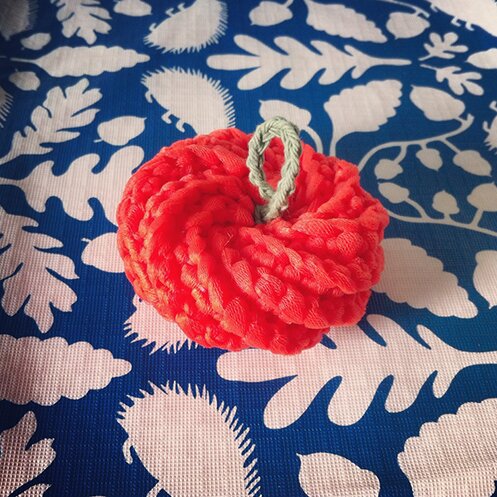
Momo means peach in Japanese. Perhaps this tawashi looks more like a pumpkin than a peach, but momo is a cuter name :)
I’m going to show you how to make one with tulle, using the pattern from Pierrot (link via Ravelry, with slight modifications explained below). Tulle makes for a scrubbier tawashi than acrylic or cotton yarn, I think.
A roll of this decorative tulle from Michaels makes 2 tawashi’s! It’s 6 inches wide by 20 yards. Here’s how we transform the roll of tulle into balls of yarn :D
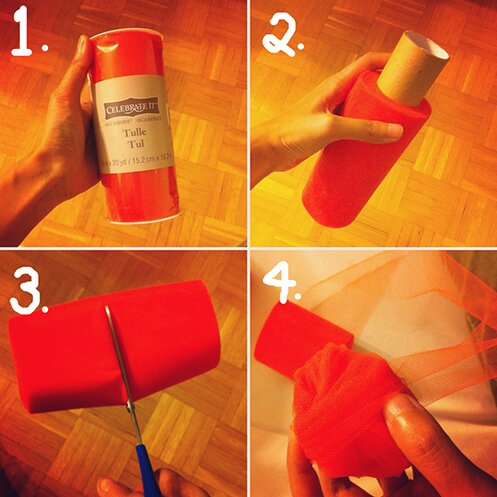
- Roll of Tulle.
- Pop off the plastic caps on both ends of the roll, then remove the inner paper tube.
- Using fabric scissors, cut roll in half through all layers (it would be a bit tough to cut through but just keep nudging forward)
- Roll half of the roll into a ball. Repeat with the other half.
Now we have 2 balls of tulle yarn!
For the tawashi, I also used 5mm and 3.5mm crochet hooks, tapestry needle, and a small amount of green yarn.
I followed the pdf pattern from Pierrot (it’s charted, but very easy to understand), but with the following stitch counts:
- Using 5mm hook, ch 16.
- Row 1: sc in 2nd ch from hook, sc in each ch across (15 sc).
- Starting at row 2, work in pattern for 18 rows, it’ll be close to the end of the ball of yarn. Fasten off, don’t cut off the yarn, and there should be a long tail enough to do all the sewing described below.
To finish:
- Sew the two short edges together with the long tail, don’t fasten off.
- Thread the tail through the stitches at one edge around, cinch.
- Then thread the yarn tail to the other edge, and thread the tail through the stitches around. Cinch, and tie off to secure.
- Using green yarn and 3.5mm hook, tie yarn to the middle of the tawashi through all layers, ch 15, sl st to where the yarn was attached in the middle of the tawashi, fasten off, weave in ends (I hid the ends inside the tawashi).
And there we have it, quick homemade gifts one can make a handful in a couple of evenings!
Happy autumn!