Welcome back to the loom-knit-along mitered square blanket project! :D
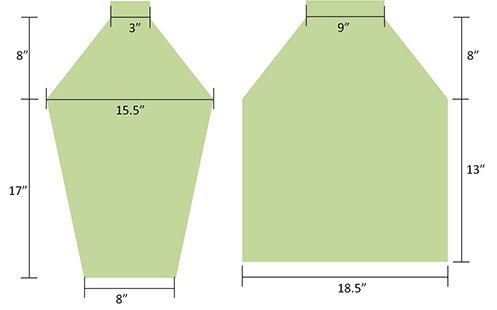
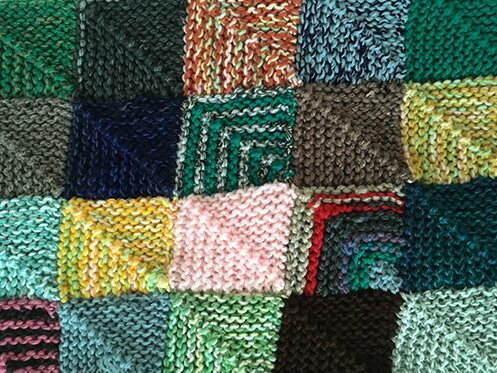
In this post we knit a second square while joining it to the previous one. Every square on the very first row of the blanket will be made this way. You can make the row as long as you want. My blanket is 10 squares wide, and it’s 39″.
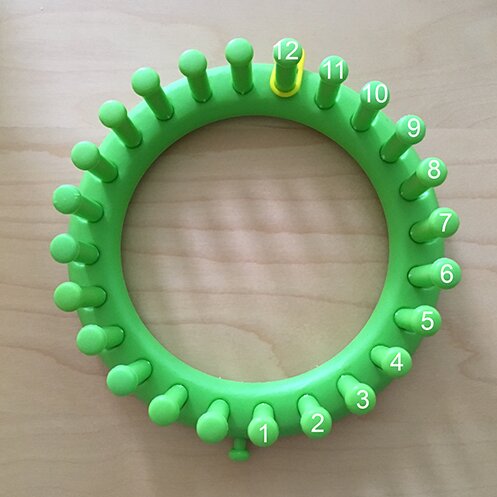
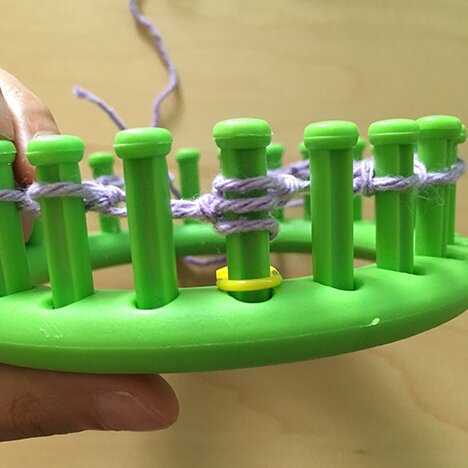
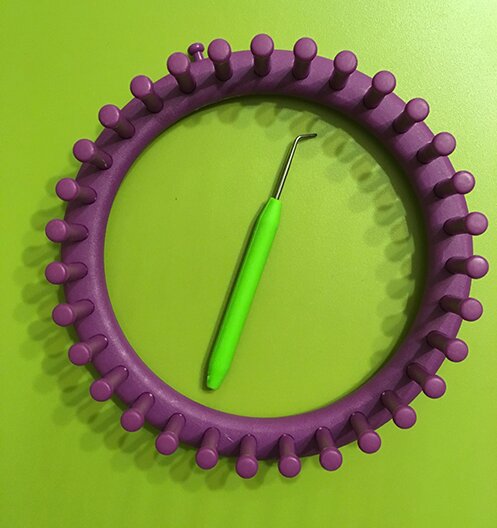
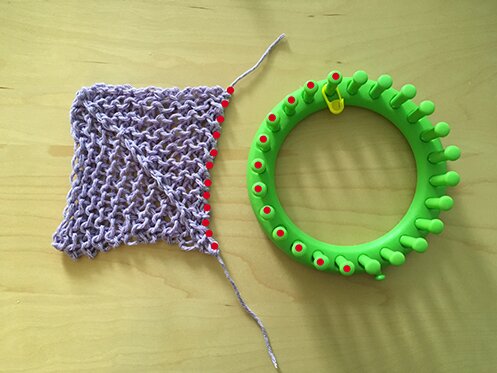
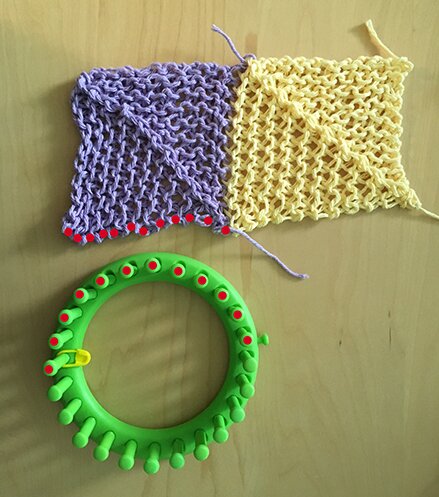
First, let’s orient ourselves. We will put the loops on one side of the first square onto 12 pegs of the loom, as illustrated in the picture below. The red-dotted stitches will go on the red-dotted pegs.
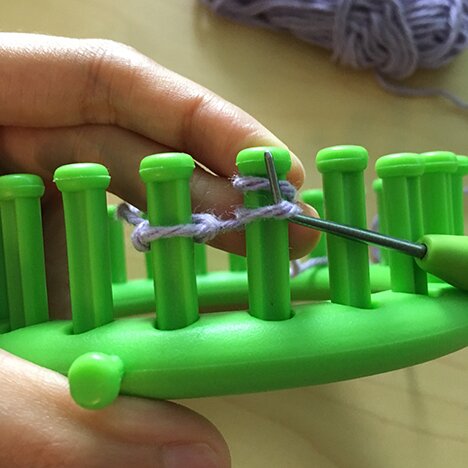
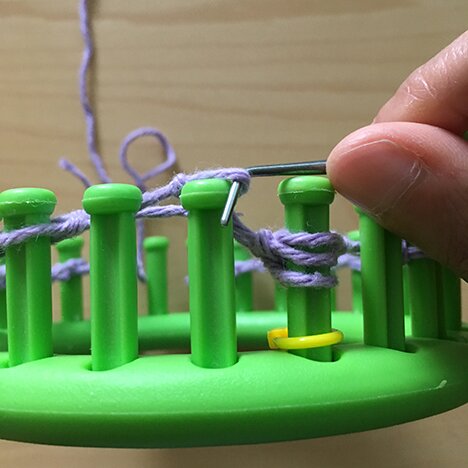
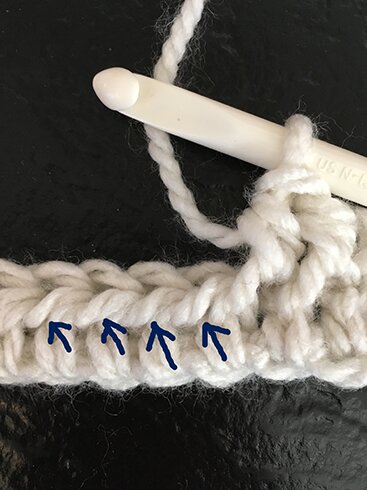
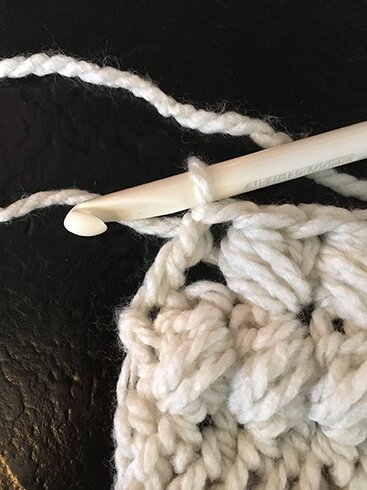
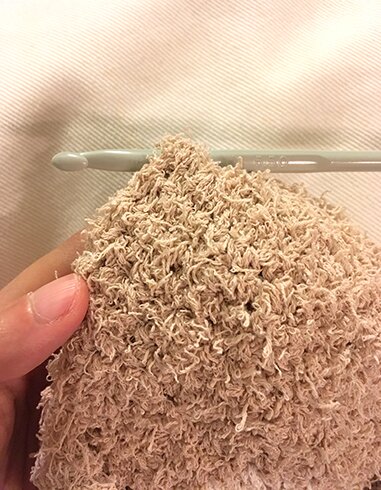
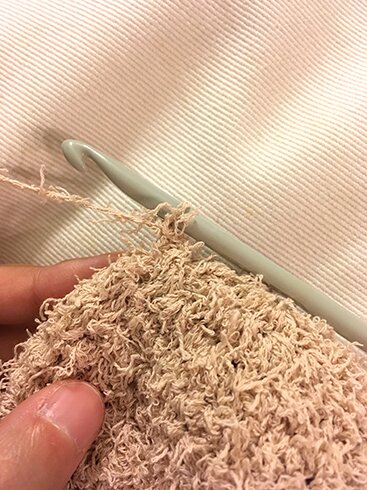
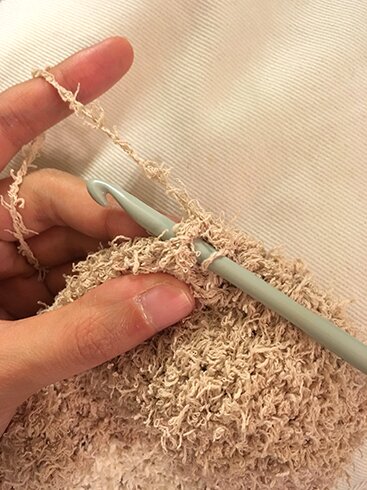
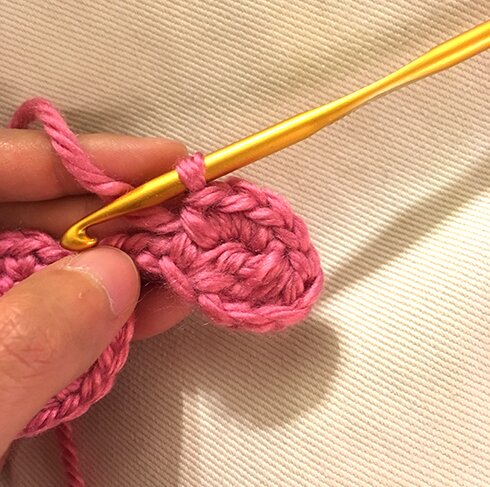
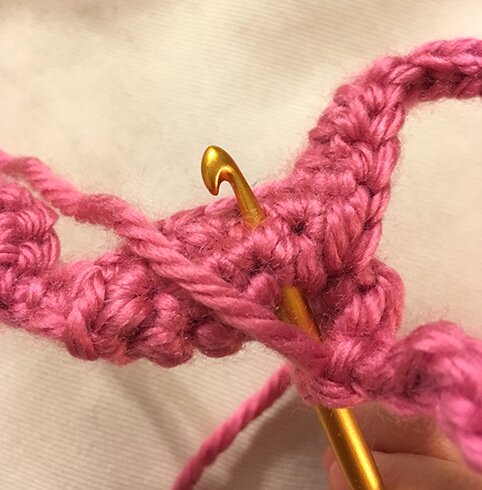
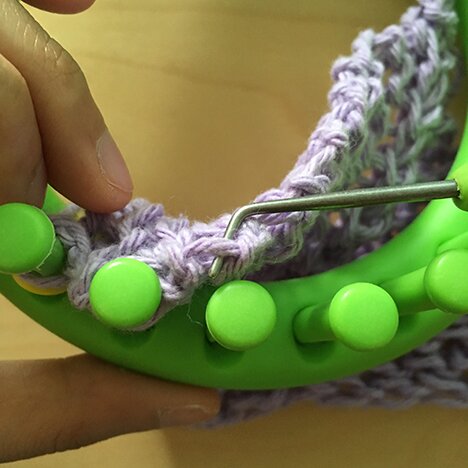
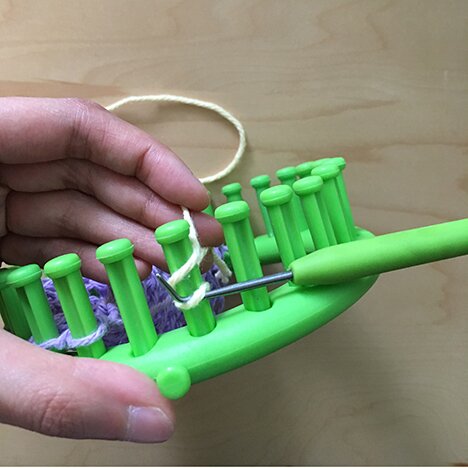
With the right side of the square facing the inside of the loom, start by putting the first stitch at the top of the square onto the marked peg. For the following stitches, use the loom pick to pick up the horizontal strand of yarn between the purl bumps and place it onto the peg, like so…
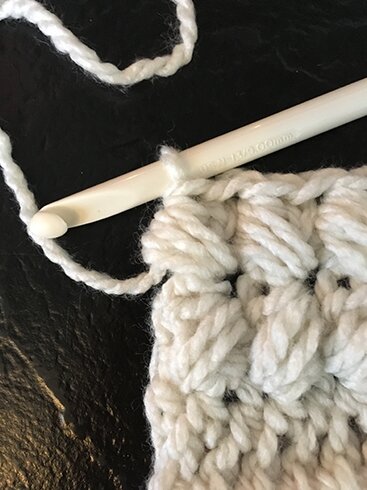
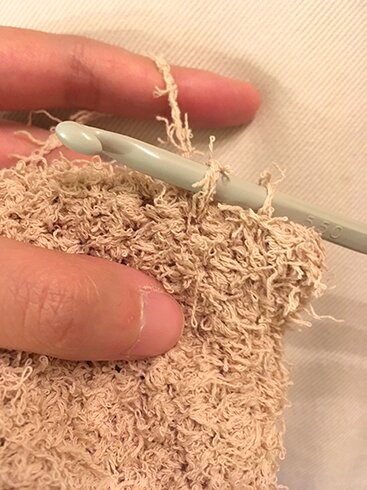
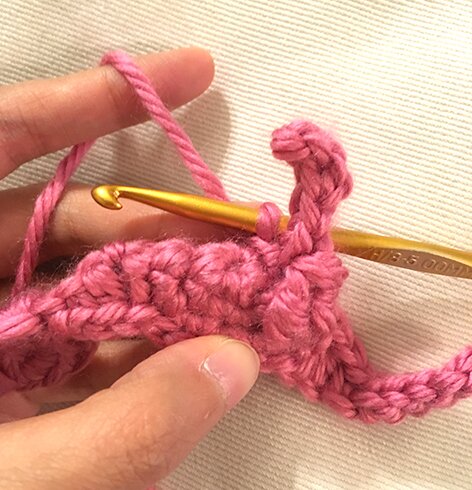
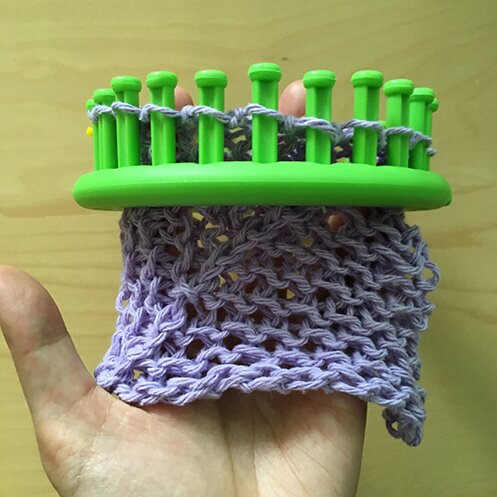
Continue putting a loop on each peg until you reach the other corner of the square and each of the 12 pegs have a loop on it. It will look like this.
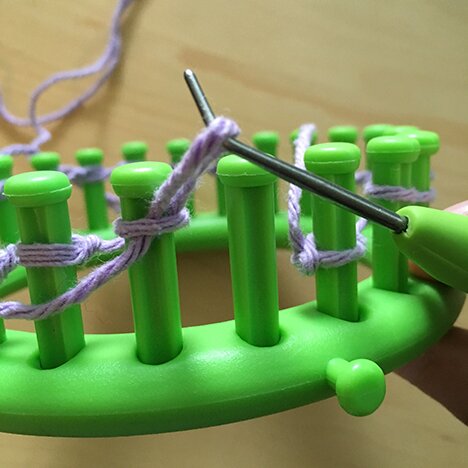
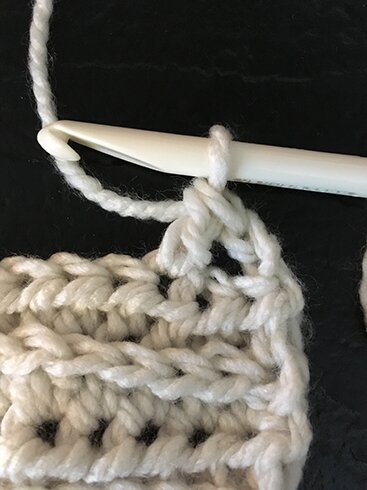
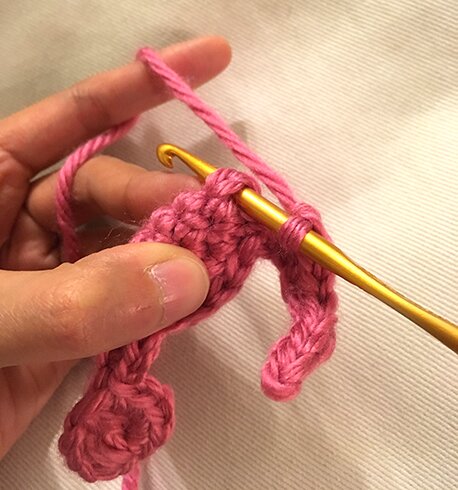
Then, go to the first peg of the loom, and cast on the 11 pegs that don’t have loops on them with a new colour for your new square (my second square is yellow).
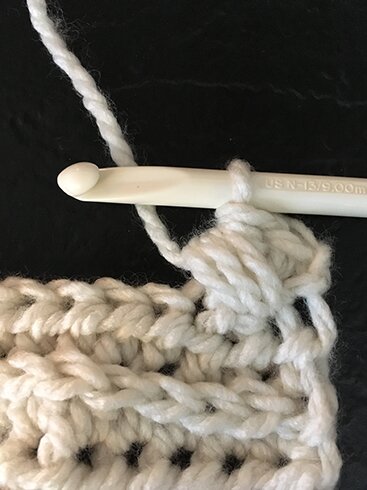
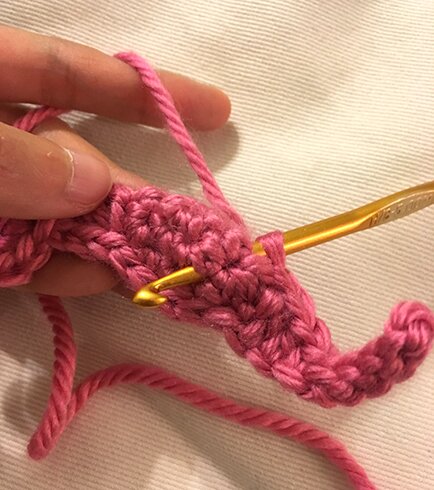
When you get to the first peg with a loop of the previous square on it (the marked peg), e‑wrap, then knit off the loop from the previous square.

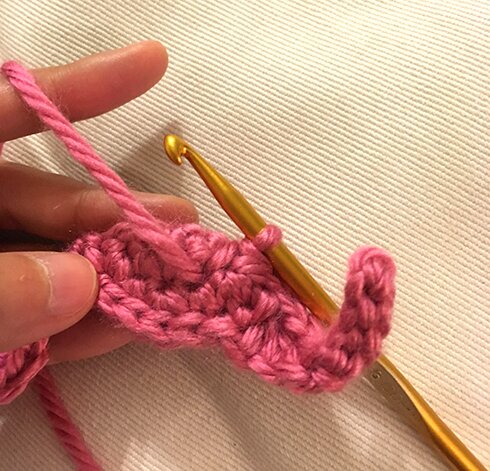
Continue until the end of row. And that’s it! You’ve cast on a conjoining square! :D
Knit the rest of the square the same way as the first square. For convenience, I’ll paste the pattern below but there are photos in the blog post that might help if you’re having trouble.
Row 1: Purl (here’s a video of purling) to the marked peg, e‑wrap knit the marked peg, purl to end. (Note in the picture that the last peg of the loom is empty — we only use 23 pegs of the loom.) Beware not to make the stitches too tight.
Row 2: Move the loop on the peg to the left of the marked peg onto the marked peg. Move the loop on the peg to the right of the marked peg onto the marked peg. Now the marked peg has 3 loops on it. (Always move the loop on the left first, then the one on the right, so it looks consistent.)
Move the loop on the peg to the left of the now empty peg onto the empty peg. Keep moving each loop to the empty peg to the right until you reach the beginning of the row.
E‑wrap and knit off each peg until you reach the marked peg. E‑wrap the marked peg, knit off all three bottom loops on the peg (I prefer knitting them off one at a time, it’s easier).
You will now have an empty peg to the right of the marked peg. Move the loop on the peg to the right of the empty peg onto the empty peg, e‑wrap the peg and knit off. Then keep moving each loop to the empty peg to the left and e‑wrap and knit off until you reach the end of row. I find it easier to do this with the loom sitting flat on a surface.
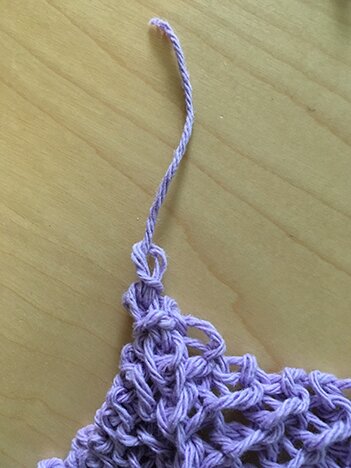
Repeat rows 1 and 2 until you have 3 stitches left. Purl the 3 stitches. Place the stitch on the left and stitch on the right onto the middle peg, e‑wrap, then knit off all 3 bottom loops. Fasten off.
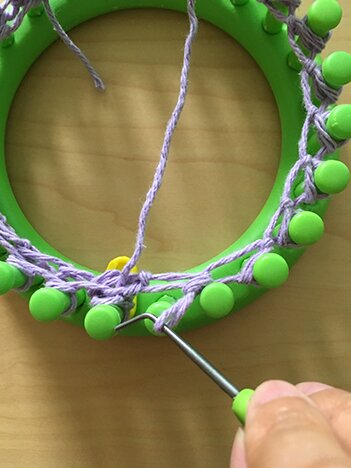
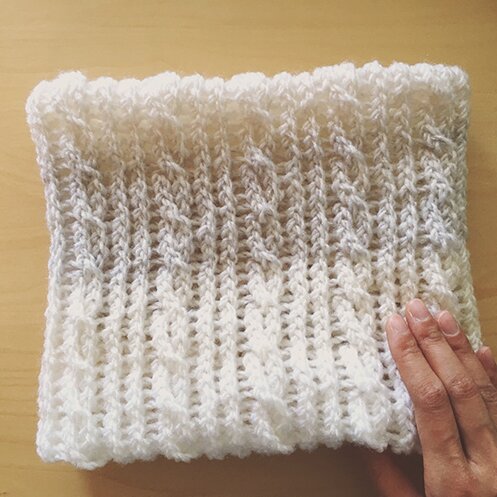
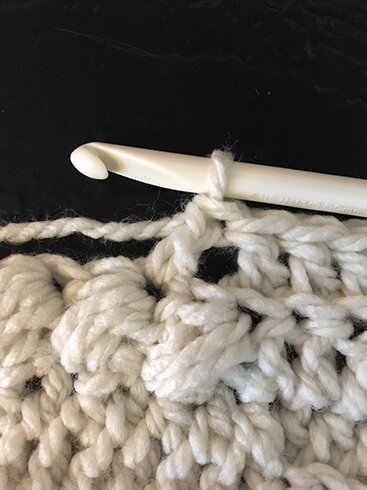
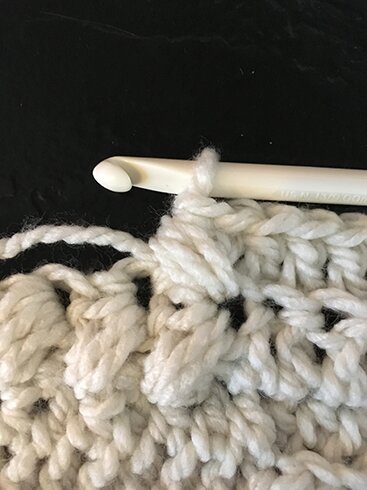
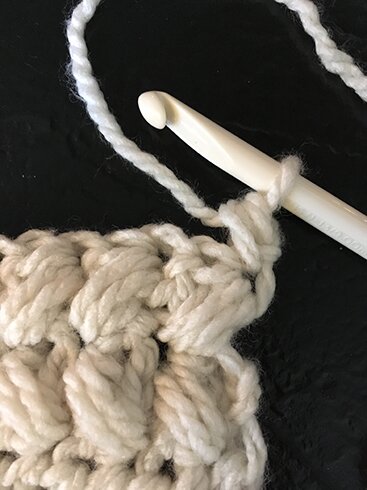
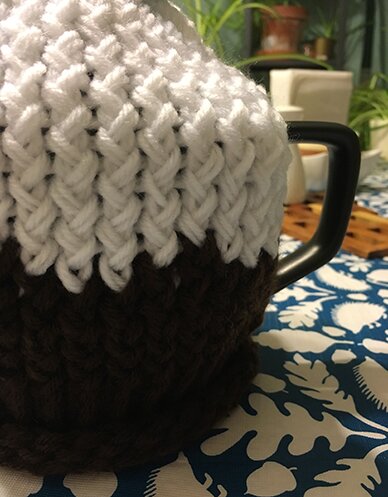
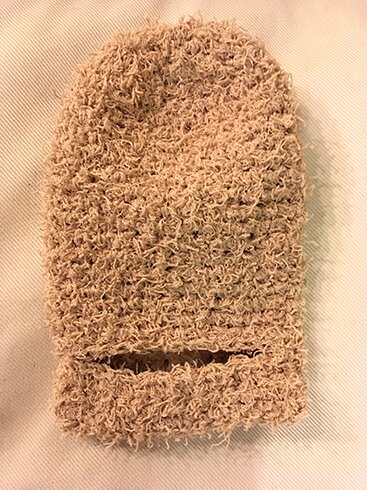
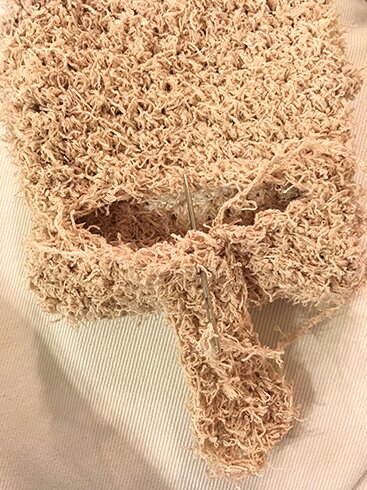
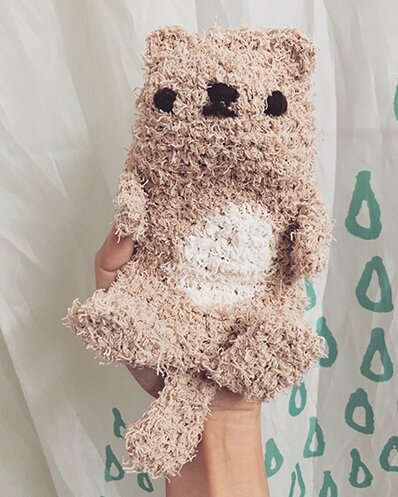
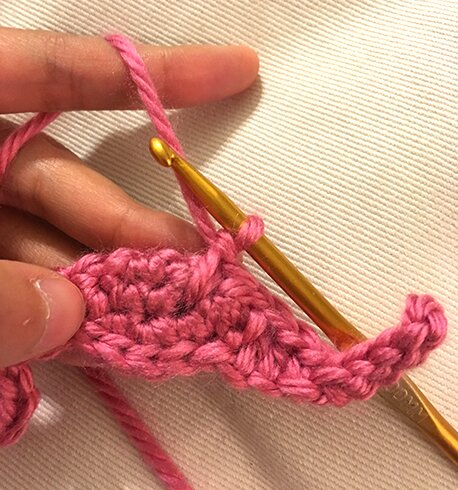
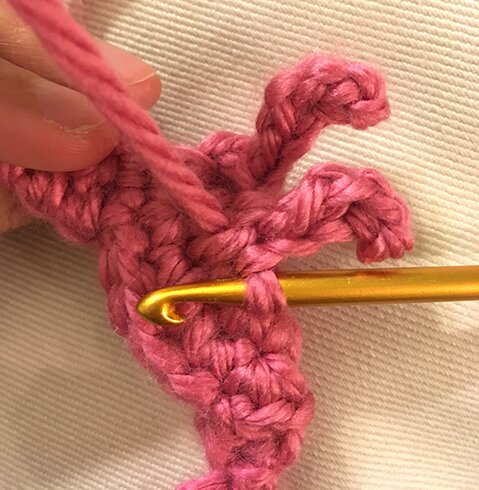
Now we have two squares joined together! Next time we’ll join a square to the row below. Here’s a first look at how we’ll do that.
In the meanwhile, join as many square as you’d like for the first row, by placing the loops from the previous square on the loom (i.e. if I were to join a third square to the first row, I’d place loops from the yellow square on the loom). Then come back and join us for the second row!
Happy knitting! :D Feel free to leave a comment if you have any questions!
Posts in this series:
How to join the subsequent squares in the first row
How to join the first square in every row