Loftslag means “climate” in Icelandic. But according to this web page on an art exhibit (which I stumbled upon while looking up the word), the literal translation of loftslag is “air song” :) which is a lovely way to think about weather.
If weather were a song, then it was definitely on the rather expressive side while we were in Iceland earlier this month. Was it worth the nervous driving through narrow mountain passages and one-lane bridges and white-out conditions in snowstorms?
It would be a definite yes :)
It’s a place with so much diversity, not only of weather but also landscapes and geological features. One moment there’re icebergs and the next moment there are bubbling hot springs emerging from the earth. Seemingly barren lava rocks with lush green moss thriving on them. It’s quite surreal.
Apparently, however, there’s not usually blizzard/hail/50+ km/hr wind combo in May. So if you’re thinking about going in spring, don’t be discouraged! Some folks we commiserated with at a hostel (after everyone’s driven through a white-out snowstorm) said they went in February last year and the roads were beautiful. But certainly, if you go in July, there would be no chance of snow. But then it would be more costly, which was why we went in early May.
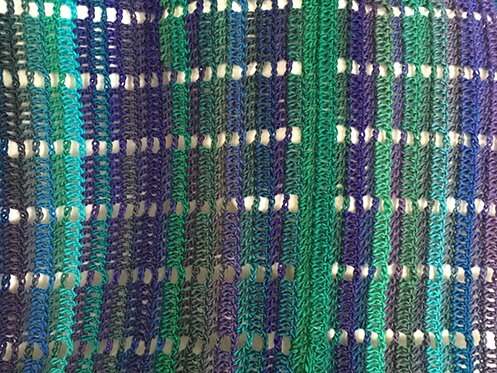
But anyway, here are some pictures I took on film with Diana, and some faux film photos with the mobile app Huji (which imitates 90s disposable camera, and apparently all the rage, because the 90s is cool again…? Anyway, I’m quite impressed with the faux light leaks and dust effects!), and some regular phone photos too when the lighting wasn’t good for neither the real or faux film cameras. I figure if people are interested in going to Iceland, they would be seeing photos of all the must-see locations on tourism sites anyway, so I don’t need to show you my versions of all the same sights. But I can share some of my favourite pictures and moments :)
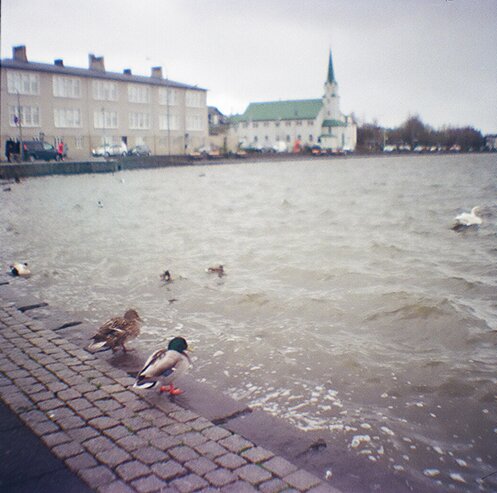
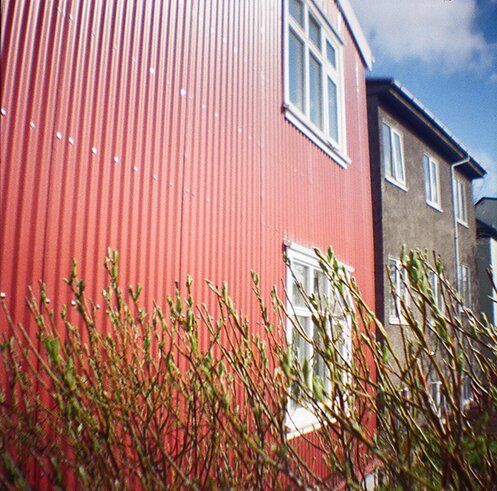
We started in Reykjavik, the capital city, as most travellers do. It was a snowy, windy day, as you can see by the the water in this picture, but with some sunny periods every half hour or so, as shown in the following picture. The city has the cutest, most colourful houses lining every street.
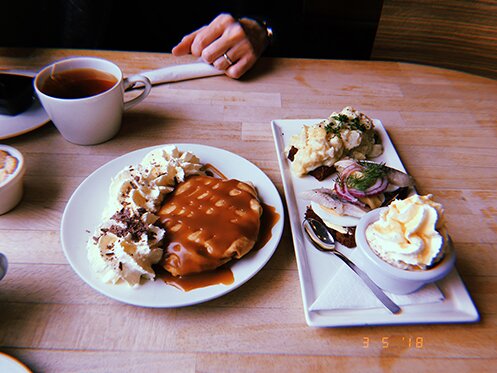
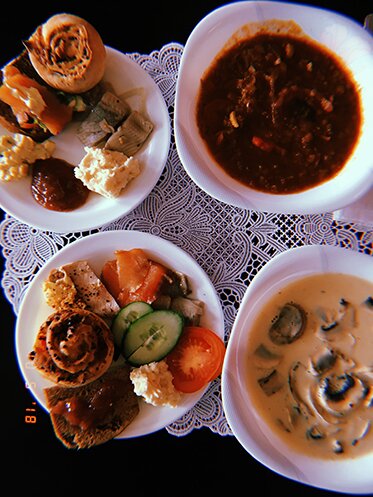
Completely jet-lagged, disoriented and starving, we ate at a cafe that boasts traditional Icelandic food. It turned out to be a great choice, with our herring/egg and mashed fish on toasts, rye bread ice cream (it wasn’t doughy at all), and skyr with pancakes. There was also a “Brave Heart” menu option with most of the things pictured as well as “fermented shark”. I was tempted to get it but that was quite a lot of food which I didn’t think I could finish. I later read in a museum brochure that fermented shark smelled like ammonia. So I’m happy with our menu choice. The mashed fish and rye ice cream were particularly delicious.
This would be one of the three times that we ate out in total out of the 9 days we were there. Things are quite a bit more expensive than back home, and us thrifty travellers relied a lot on grocery stores, gas stations and snacks we packed from home. Not the most nutritious, but I figure it’s 9 days out of my life, I can eat as much kale as I can bear when I get home.
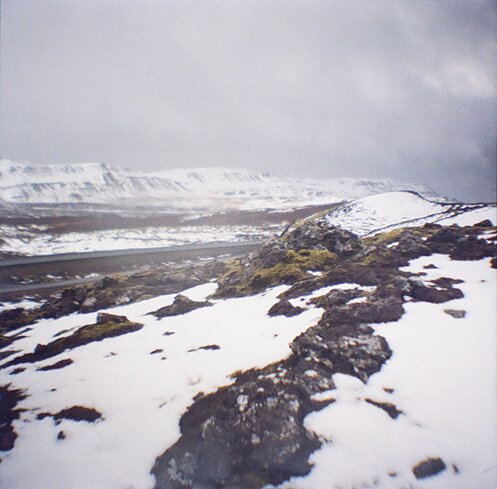
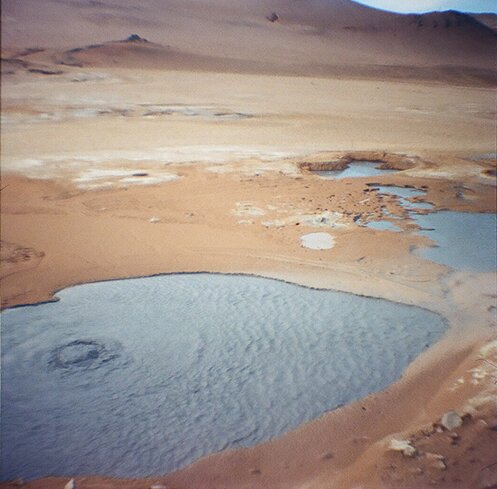
Then we drove north towards Iceland’s second largest city, Akureyri. But before that we stopped to see the Grabrok Crater, which was where the very first picture of the post was taken. The weather was deteriorating as the day progressed :S
After some challenging/terrifying driving we finally made it to Akureyri. Fellow (Canadian!) travellers at the hostel highly recommended visiting the Christmas House, so we went! And it was fantastic!
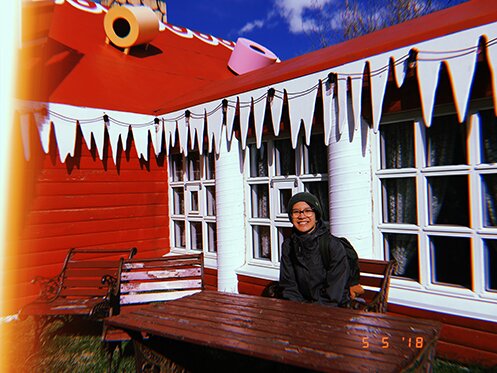
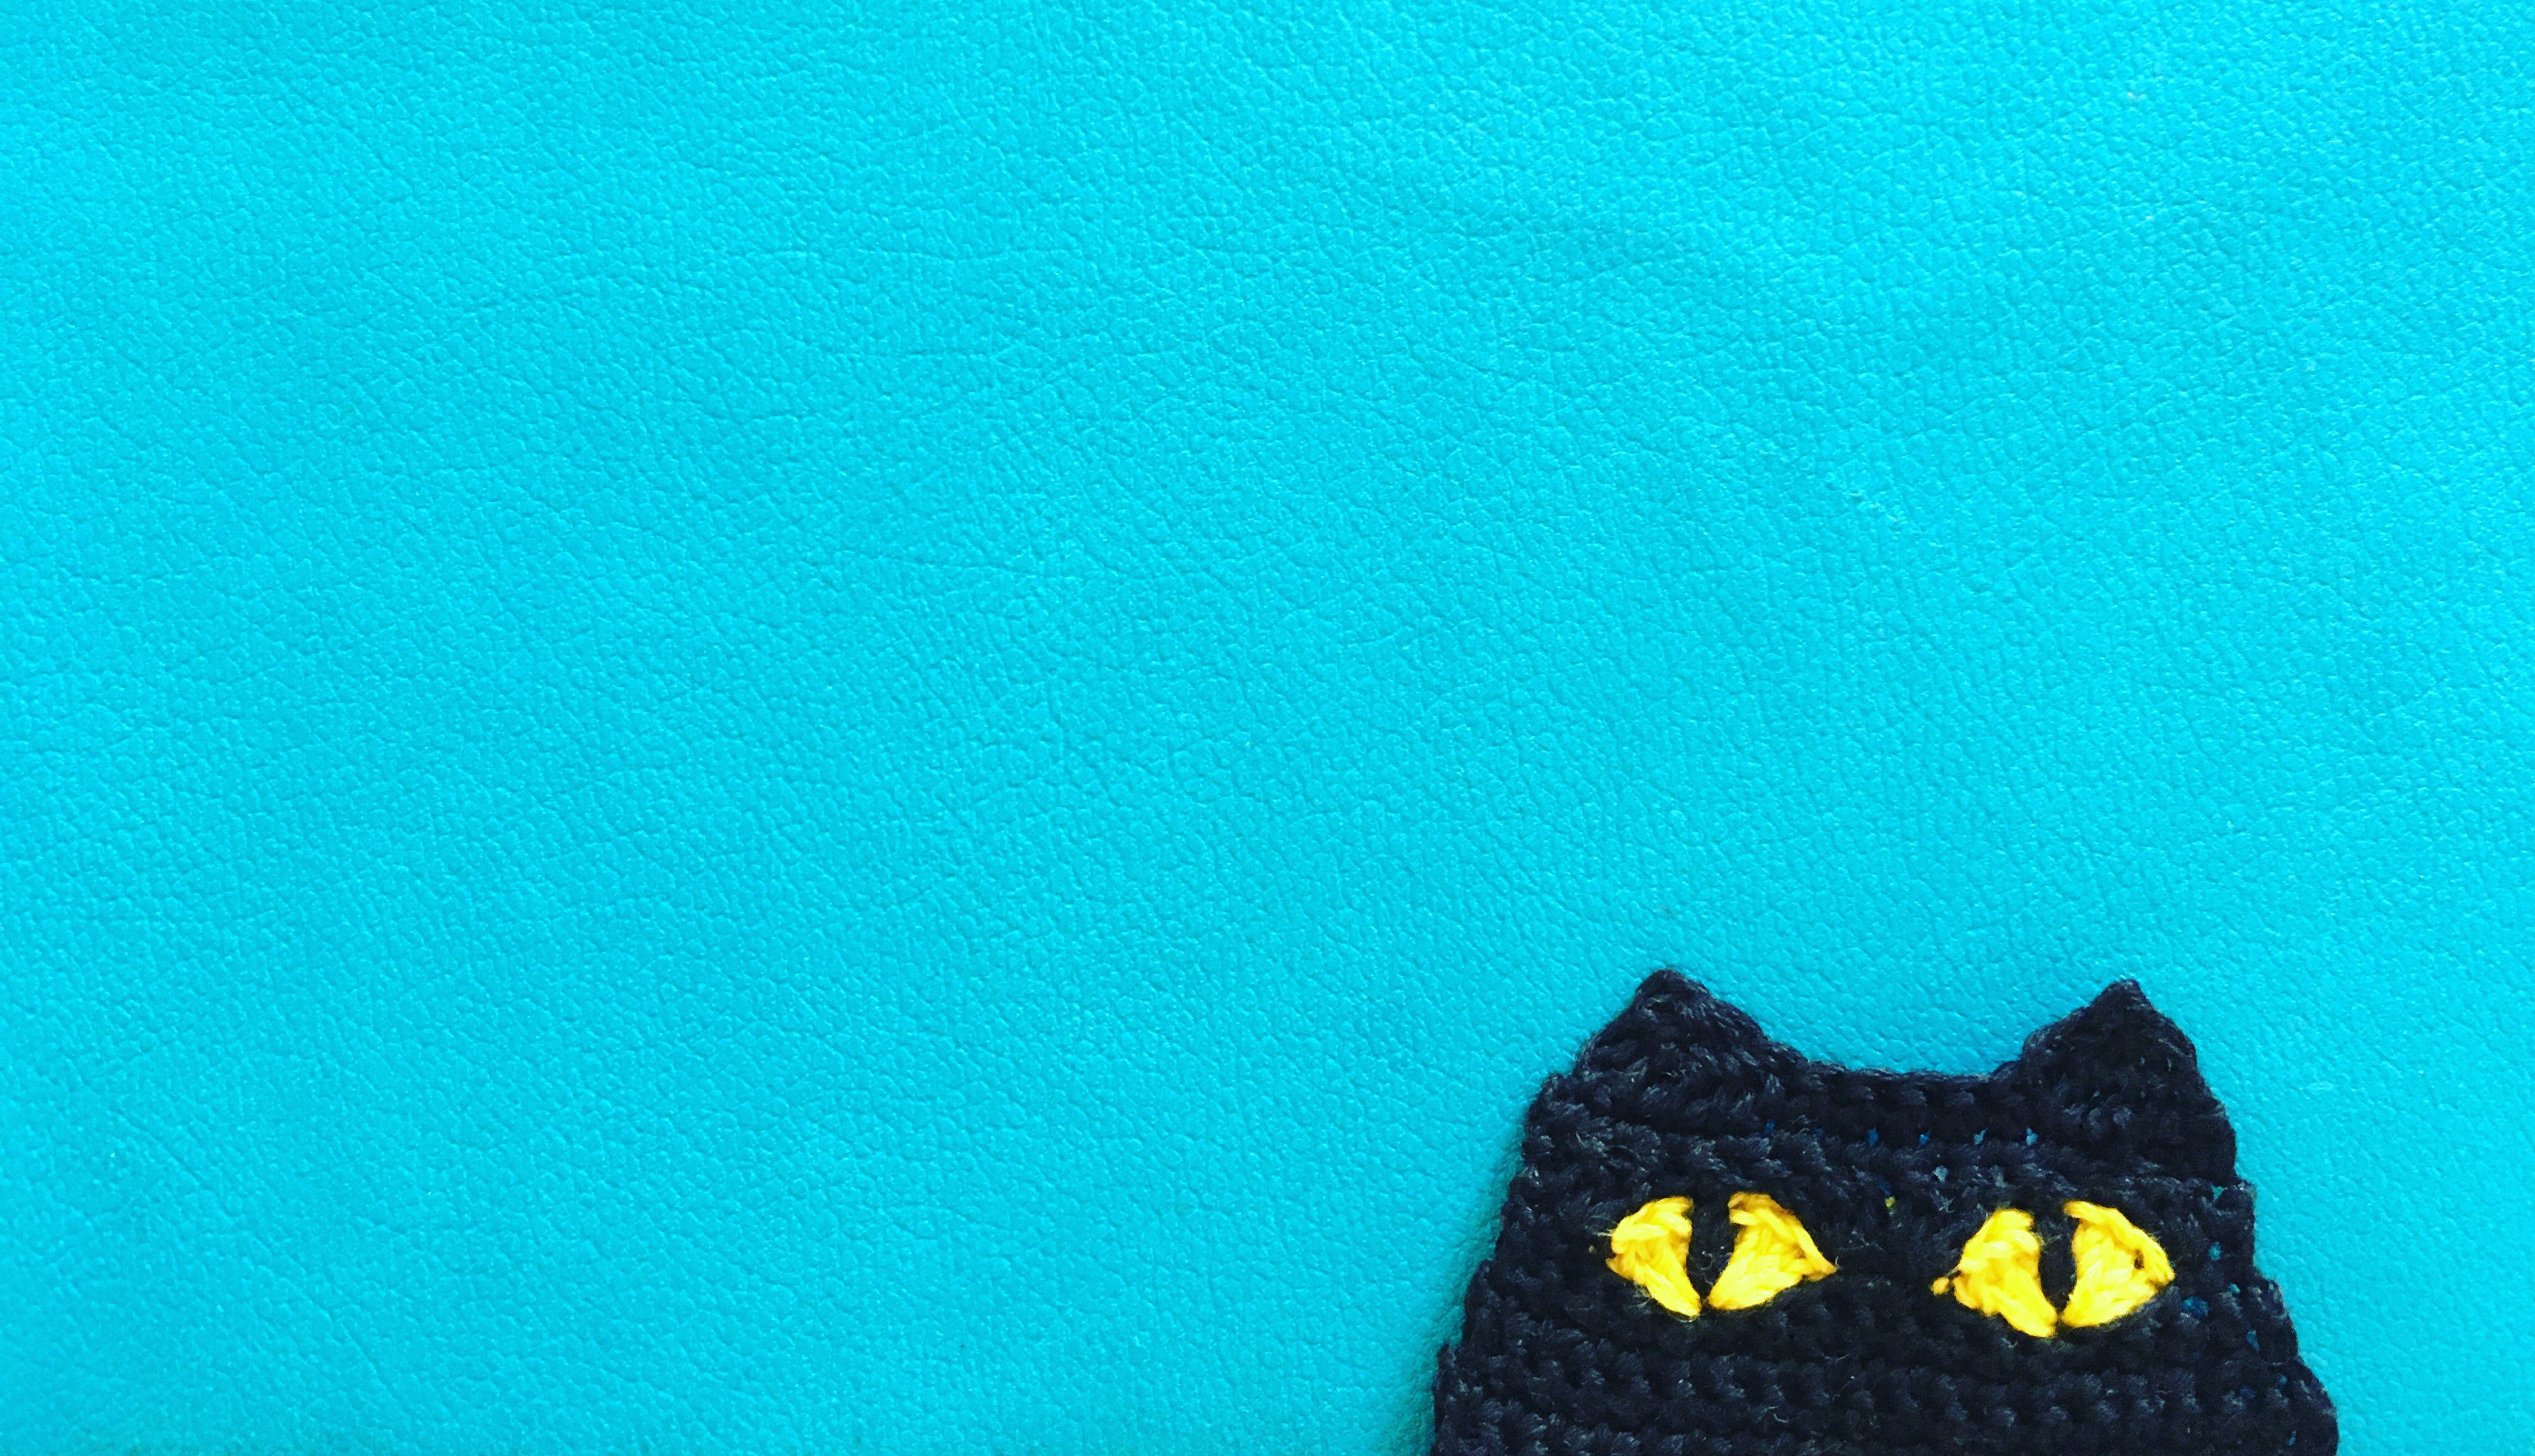
So Icelandic folklore about Christmas doesn’t involve Santa. Instead, there are the troll mother Grýla (there is a father as well but I forget his name) and her 13 troll children called the yule lads, all with their own great names. They come into town before Christmas and leave small gifts in children’s shoes if the children have behaved well throughout the year, but if they hadn’t they’d get an old potato instead of a gift, and the giant feline pet of Grýla, the yule cat, might also eat the children :S
Empathizing (but not endorsing the actions of) the hungry yule cat, we went to the Netto (grocery store) in town. And look! It has yarn!!! Not one but multiple isles of yarn!!!
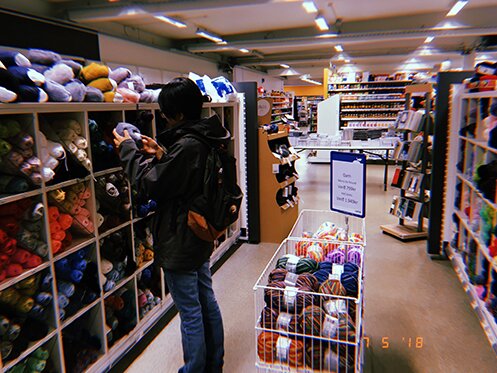
It is utterly delightful and at the same time a bit bizarre to see yarn (like serious, made in Iceland, 100% natural fibre) being sold alongside sauces, tins and bread. And without fail every Netto we shopped at along the way carried yarn (this picture was taken a bit later in another town). I wish yarn-crafting is as much interwoven into the fabric of our Canadian society as it is in Iceland. (puns intended)
We then made it to Mývatn, a popular place with much to see due to it being in an area with active volcanic activities. Like these bubbling pools of blue (really, robin’s egg blue) mud!
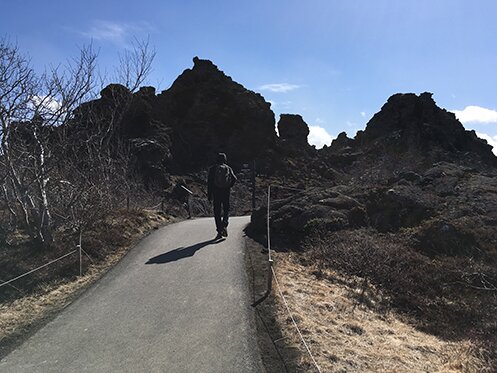
Just as fascinating is Dimmuborgir or “dark castle”, a lava field with large rock formations and caves. The picture really doesn’t do the place justice as to how vast the lava field is and how large the rock formations are. We took the “small circle / family” trail because we didn’t want to get lost. When I look at this picture I always think of Mike the brave hobbit (or elf? he’s kind of too tall for a hobbit) walking into Mordor. And legend has it that it is where the yule lads live! :D
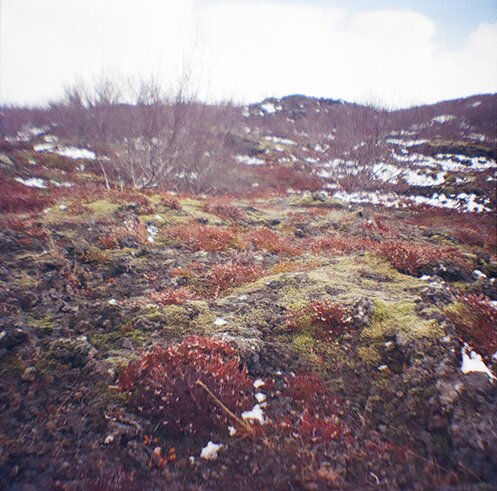
Much of what we drove through in north Iceland was fields upon fields covered in this red vegetation in contrast with the green moss, which is quite interesting for someone who is used to seeing grass all the time.
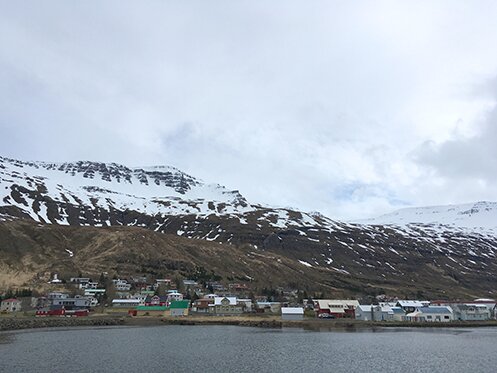
Now driving south along the east fjords, we came upon a few older villages, including the very picturesque Seyðisfjörður. We were hoping to visit the museum, which has a printing press, and some outdoor art installations, but the museum was closed and we couldn’t find the installation :S The view was beautiful nonetheless!
We continued south to Fáskrúðsfjörður, which once served as the base for French fishermen, so Mike was finally able to read some of the words in the local museum :D (the museum actually wasn’t open for the season yet, but we went in to ask about where we could find a washroom nearby, and the kind people at the museum let us walk through the exhibit to reach the washrooms).

Many of the houses are from the 1800s and have beautifully carved name plates.
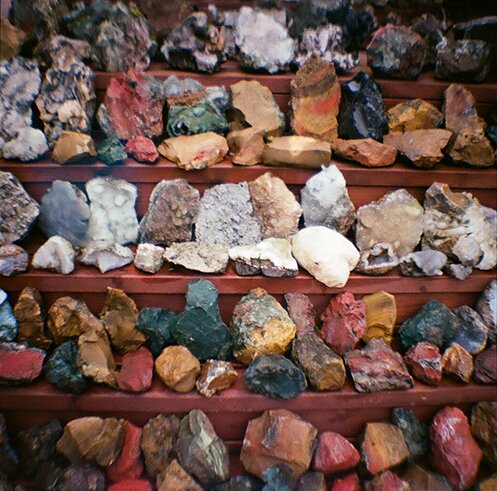
The gem of the east fjords for me was Petra’s Stone Collection! This is just one small fraction of the collection, it just goes on and on all around the gardens. And they’re all rocks that Petra collected over her life time in the mountains of east Iceland. She also collected other things, like ball point pens, key chains, sea shells… one could lose an entire afternoon in the small house museum.
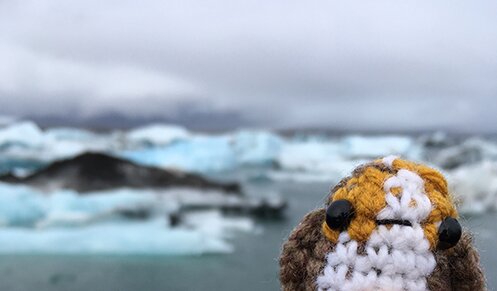
Here Porg is at Jökulsárlón, which is a glacial lagoon in south Iceland. I’ve never seen an iceberg before and it’s absolutely fascinating how blue the ice is. This is the only picture we took of Porg actually, even though we took him on the trip thinking he would look right at home… but it’s been too windy to take a regular photo, let alone him sitting him on a rock or something to take one… but I think this one’s a good one :D
While driving across south Iceland we drove through Eldhraun, a lava field covered in moss.
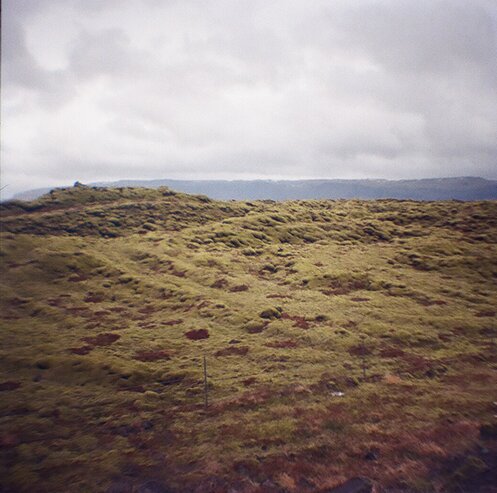
It looks so lush and squishy (not so in my photo, which was kind of far away from the side of the road, but you’d find tons of pics on the web), I totally understand the urge to roll in it, but please don’t! It takes decades for moss to grow and once trampled upon it may not even grow back. So hug with our eyes only.
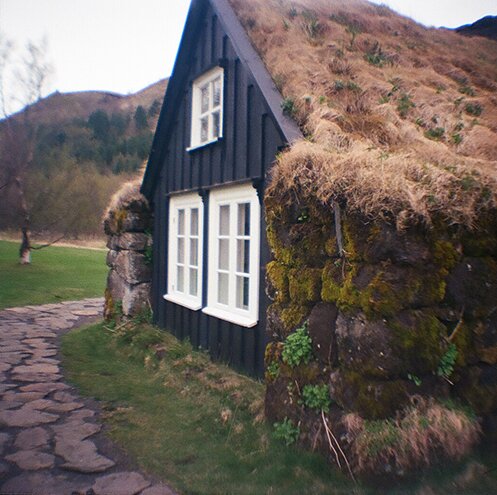
Equally hug-able (if one could hug houses) are these turf houses, which make me think of hobbit houses, at the Skogar museum, where we learned that Icelanders are an immensely resourceful people, building dwellings and homes not only with very limited resources (the earth and rocks under their feet and the driftwood that washed up by chance), but also to withstand very harsh weather. There was an entire house that was built from driftwood!
On our second last day we visited part of what is called the “golden circle”, which I think is the busiest tourist area in Iceland judging by the traffic. We saw the Geysir in the active hot spring area, and Kerið crater, where Bjork had a concert! It has different colours of earth and vegetation at different sides, with a way to talk to the bottom, and the lake a the bottom is very blue.

We took a bit of a detour to Hveragerði, a town in an active volcanic area with many hot springs, originally to visit the geothermal park, but it was closed due to public holiday, so we had lunch in the geothermal restaurant instead, and had the best mushroom soup and breads at the soup buffet (it seems many restaurants that serve soup and bread serve them in buffet style, which is awesome!).
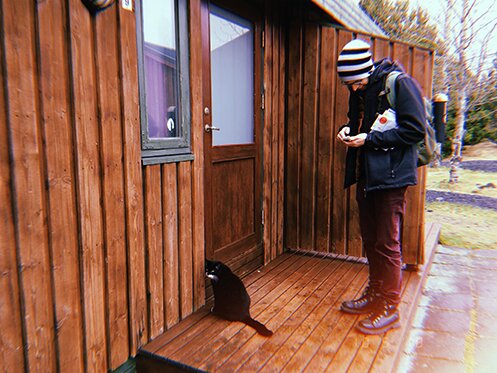
We stayed in a small cabin with a resident cat :)
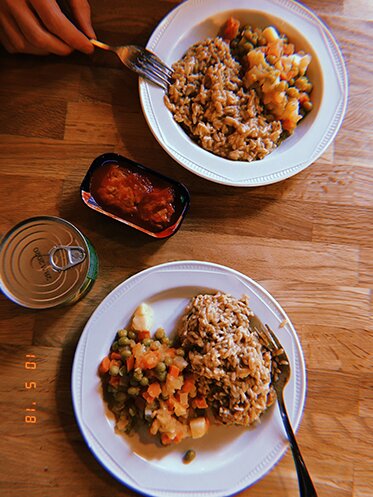
And we even found risotto in a cup! Not bad for camping food huh :)
On the last day we had an evening flight, so we stopped by Fjölskyldu- og Húsdýragarðurinn (animal park) in Reykjavik before heading to the airport.
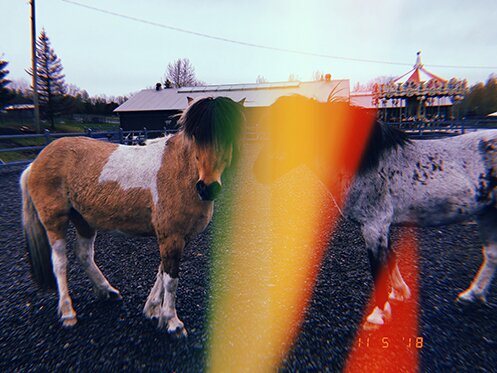
We have seen many Icelandic horses (and sheep, goats and even reindeer) through the car window while driving by but never this close. So here they are :D According to the park brochure the sheep and the horses are sent on holiday to pastures during the summer :)
And that was our trip! Never long enough. But at the same time by the end of it I do feel I’ve had enough of the nervous driving. Kind of miss the public transit here in the city if you can believe it. We definitely would like to visit this beautiful land again one day, not soon, maybe when we retire, and probably on a bus tour :)
Thank you always for reading my stories! Wishing you great adventures and new inspirations in your own faraway or local travels too!