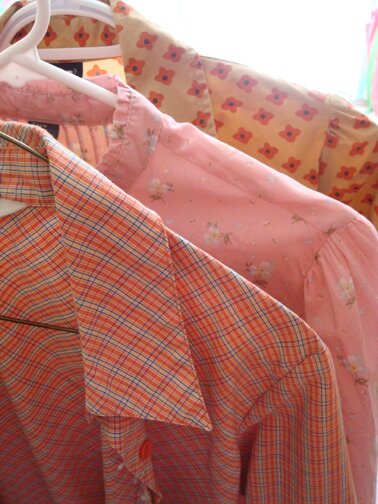
Last weekend we went to Value Village, which is something that I haven’t done for ages, and I have forgotten how much fun it is to find hidden treasures and delightful surprises, like these shirts here I bought for summer, with lovely retro-looking patterns. Especially the pink floral shirt — I’ve always wanted a pink floral shirt! Bonus: these shirts are pre-shrunk so I won’t have to worry about throwing them into the washing machine and misshaping them! :D
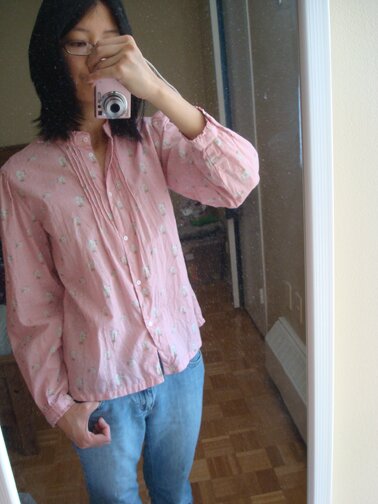
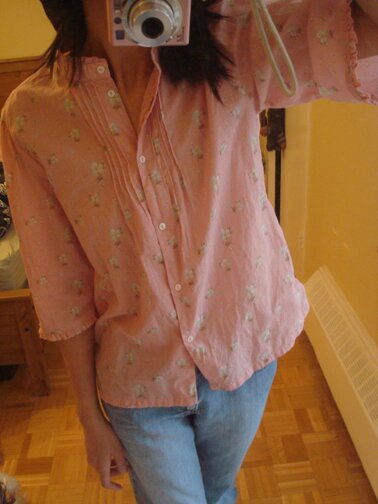
Anyways, I really like the pink floral shirt, except when I tried it on at home I thought it looked kind of blah on me… (that’s me in my dusty mirror, feeling kind of blah in this shirt.)
Maybe it’s the sleeves? Maybe it’s the boxy shape? I don’t know. I do really love the pleating on the front and the ruffled collar though. And then I remember that recently I stumbled upon this announcement about a Saturday Make-along, hosted by Lee Meredith. The idea is to spend the Saturday (April 10) making something you wouldn’t normally make and, in Lee’s words, “to really spend some quality time with things that don’t normally get your time.”
Well, I don’t usually sew. And I’m usually hesitant about reconstructing clothing, because I’m afraid that I would cut too much off or something and ruin a perfectly wearable piece of clothing. But I mean, it’s perfectly wearable but it would probably stay in my closet for months and years because I think I look blah in it. So then what’s the point of having a sweet pink floral shirt if I can’t wear it? Take a risk, Trish, take a risk!
So then, on Saturday, after having some pancakes and some time for contemplation, I decided to join the make-along and embark on this shirt-reconstruction adventure. I wanted to shortened the sleeves (it is for the summer, after all) and perhaps put some darts around the waist area. So here’s a record of the day…
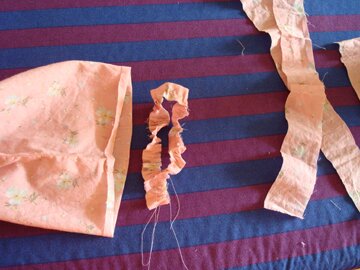
11:30 am — Cut sleeves to quarter-sleeve length, carefully removed ruffles from cuffs (because I wanted to reattach the ruffles on to the shorten sleeves). Realized that ruffles at cuff was probably too short, so I un-gathered the ruffles and added 4 inches of extra fabric from the cut-off sleeves and sewed it into a ring and then re-gathered the ruffles and evened it all out and then… there was still not enough ruffles to go around!! (see left side of photo) BAHHH! Good thing there’s still enough fabric from the cut-off sleeves to make more ruffles from scratch (the pieces on the right of photo) — should have done that in the first place!
2:30 pm — Realized that we needed to get groceries and we have company the next day and I was going to make some chili ahead of time. Was contemplating giving up because the project was taking longer than I expected, and I might even ruin the whole thing and it would be a total waste of time and I won’t even get the chili made. But Mike volunteered to make the chili and pointed out that I already have the sewing machine and ironing board set up so I might as well stick with it. So, we ran out to get groceries and some pink thread (because I only have white, black, grey and beige; like I said, I don’t sew a lot), and had some lunch, and then tackled the ruffles again.
While walking around at the grocery store, I came up with a way to attach the ruffles onto the sleeves (and bumped into a few fellow shoppers’ grocery charts and bins of vegetables in the process). I’d really like to tuck in the raw edges so they don’t fray, even on the inside of the sleeves, and I don’t have a serger, so here’s what I did:
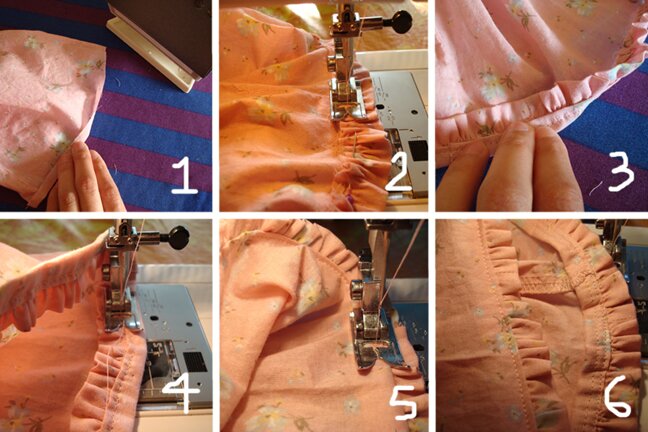
1. With right side facing, I folded the sleeve edge 1/4 inch up all around. Ironed fold.
2. With right side facing, I pinned ruffles (which was made with a narrow strip of fabric folded in half length-wise and gathered along the long side) around the folded edge, aligning the raw edges of the folded edge and the ruffles, stitching 1/8 inch from the raw edges.
3. Then, with the right side facing still, I folded the now ruffled edge up along the raw edges, and ironed the fold.
4. I then stitched just below the folded sleeve edge all around. (Sorry that the photo isn’t that clear in terms of where I’m stitching… I hope you get the idea.)
5. Finally, I flipped the ruffled edge down, the stitches made in step 4 held the fabric in place, and I top-stitched near the edge all around.
6. The far left of the image shows the outside of the sleeve, and the right shows the inside of the sleeve. (I know the steps are not that clear… it’s kind of hard to explain in words… but please feel free to leave a comment if you’d like some clarification. I’ve never done this before but perhaps many people are already doing this or doing it in better ways…)
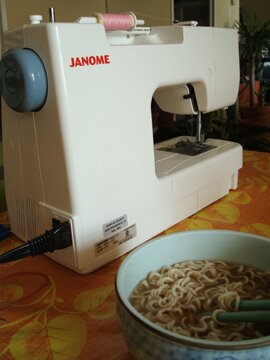
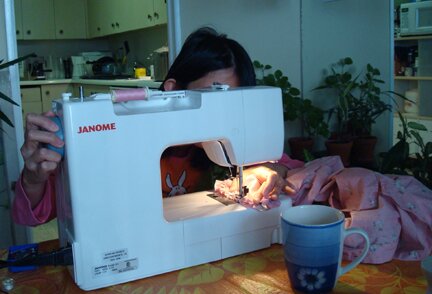
4–7 pm — Here’s me sewing as the sun goes down… with mugs of tea. It’s really not a lot of sewing, I was just sewing very slowly, and ironing in between steps. Definitely taking longer than expected.
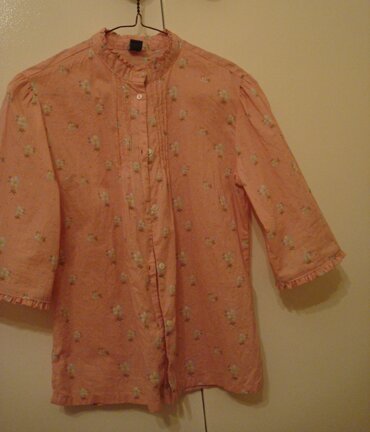
So here it is — DONE! :D
The sleeves ended up being kind of wide, so I think it looks alright without putting in the darts in the body. And if I wanted to put in darts then I’ll have to rip out the hem… so it’s better to just leave it. Doesn’t it look more stylish with the quarter-sleeves? I’m rather happy about this. Now I would totally wear it in the summer. Yay, I finally have a pink floral shirt! *grin*
So, I’m really thankful for this make-along. I wouldn’t have finished this project otherwise, it would just stay in my closet for months and years and I would just be thinking about what I could do with it every time I look at it and then close the closet door — I know, sad. Yes, thankful and happy that I did it. And thankful for Mike’s chili. :)
Hope you’ve had a lovely weekend, and have a great week ahead!
Very nice!