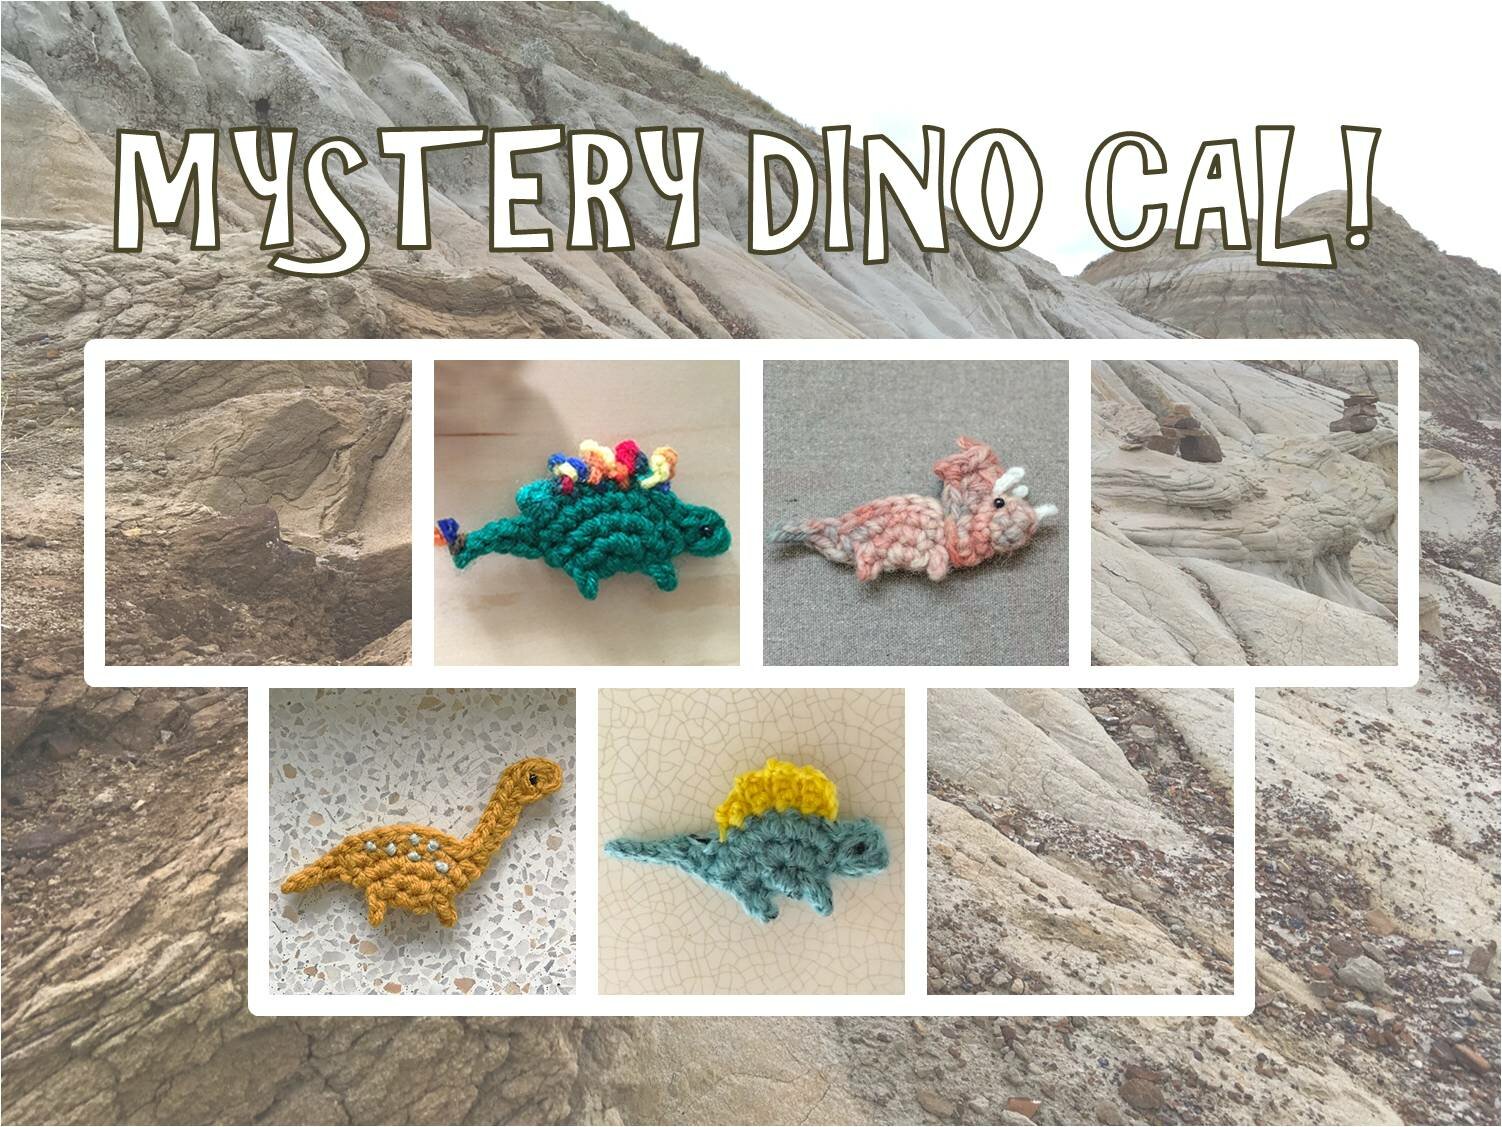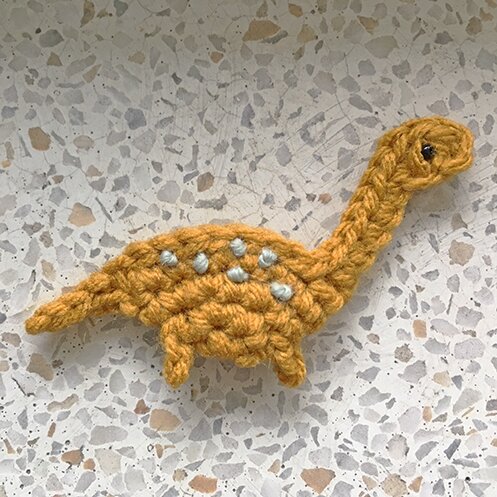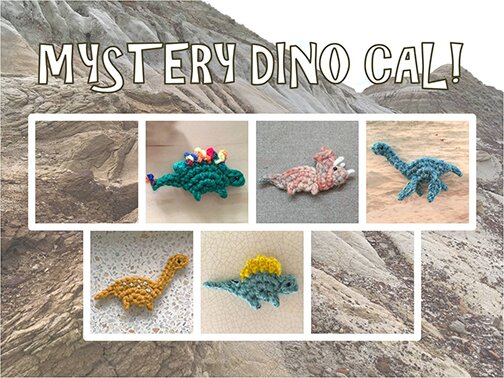
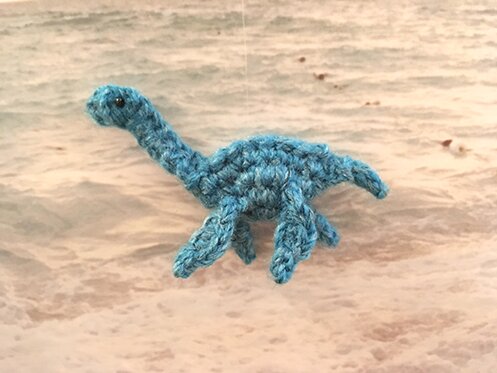
The 5th dinosaur is Nessie the Plesiosaurus!
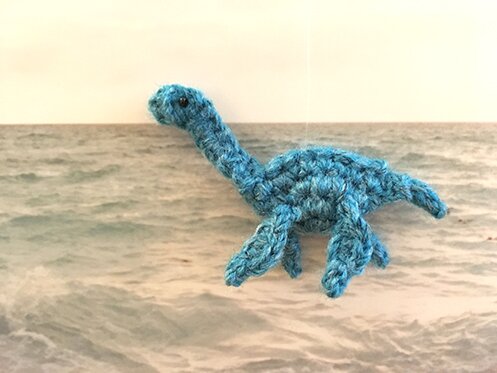
The name plesiosaurus derives from Greek words for “almost-lizard”. Contrary to popular imagination, plesiosaurus were not great swimmers and could not breathe underwater. It also laid eggs and buried them in soft sand like sea turtles. It measured twice as long as a horse, and weighted twice as much as a pig. (source)
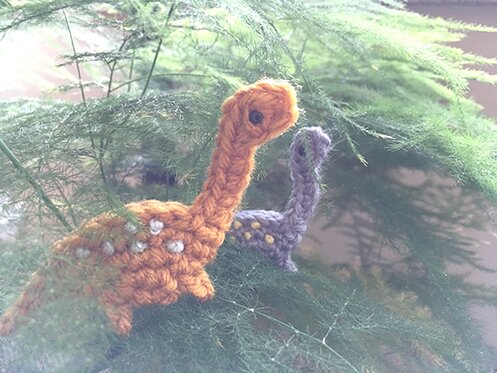
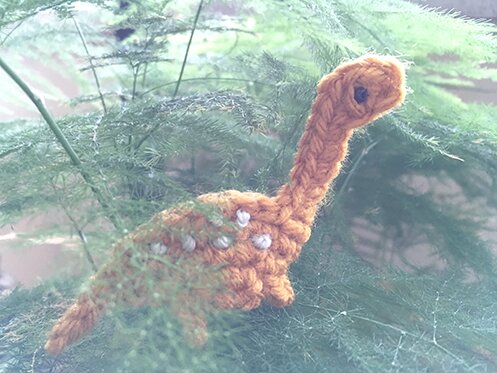
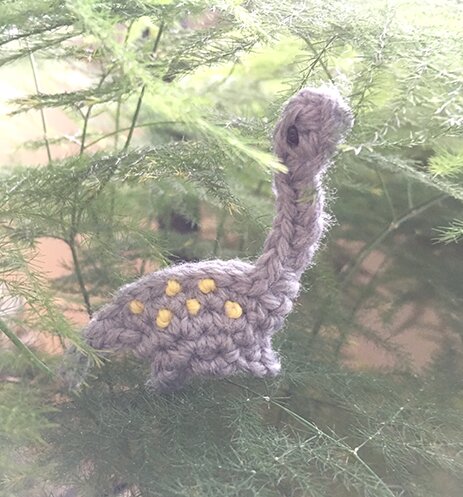
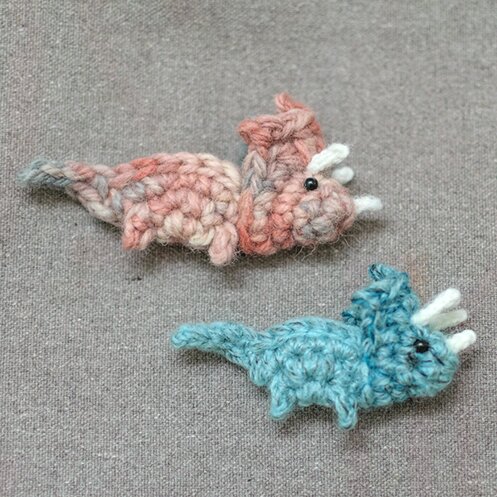
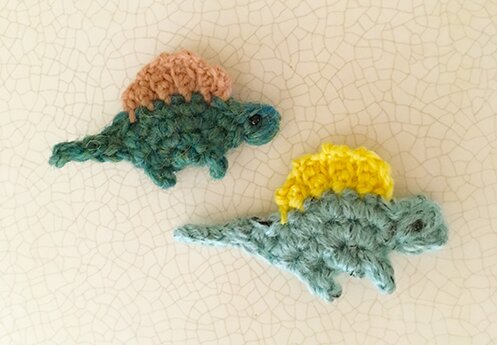
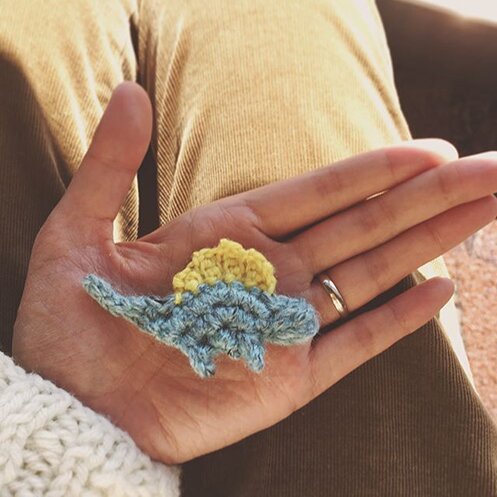
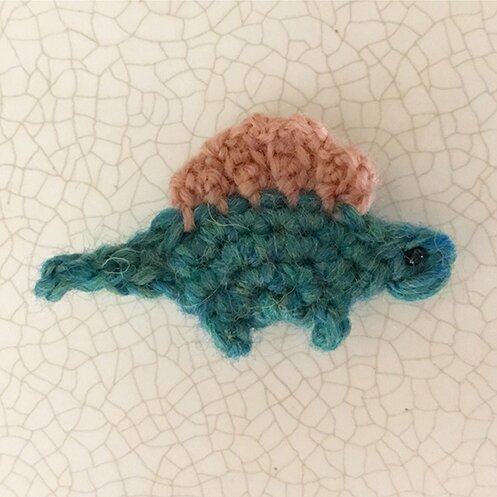
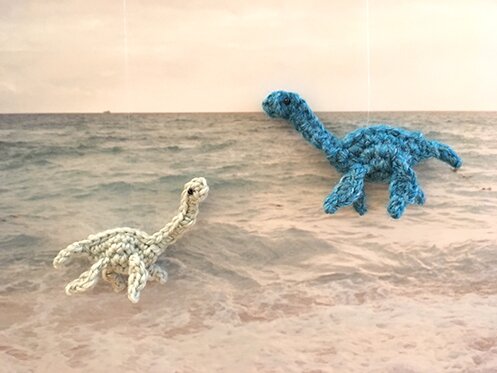
Here are two Nessies bobbing along in the ocean. The larger blue version is made with bulky weight yarn and 4 mm hook, and the pale green version is made with the usual worsted weight yarn and 3.5 mm hook.
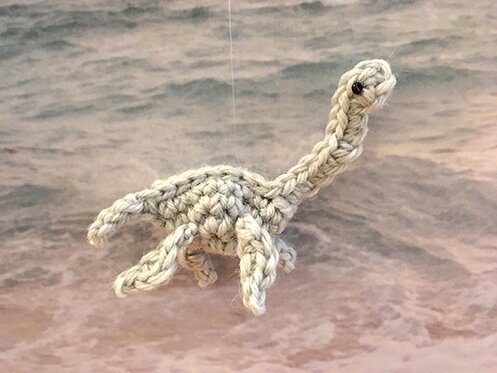
As you may notice, plesiosaurus is crocheted mostly the same as brontosaurus, but with flippers. I took some process pictures to show you how I got the flippers on :D
I used:
- Small amount of worsted weight yarn
- 3.5 mm hook
- 2.5 mm hook (optional, but it’s easier for weaving in ends)
- Sewing needle, black thread and seed beads for eyes
Pattern:
Make body, neck and tail the same as brontosaurus, as follows.
The body begins as a circle.
Round 1: ch 2, 6 sc in 2nd sc from hook, don’t join in round.
Round 2: 2 sc in each sc around (12 sc).
Round 3: [sc in next sc, 2 sc in next sc] six times (18 sc).
Round 4: sc in next 17 sc, sl st in next sc, don’t fasten off.
Neck & head: ch 8, [yo, pull up a loop] twice in the 3rd ch from hook, pull through all loops on hook, ch 1 (popcorn stitch made), 2 sc in the same ch as popcorn stitch, 1 sc in each ch down the neck, continue on to back of the dinosaur…
Back: Fold body in half, skip the sc immediately next to the neck ch (on both sides), sl st in next sc and each sc through both layers of body across back, continue on to tail…
Tail: sl st in last st through both layers on back, ch 5, sl st in 2nd ch from hook, sl st in next ch, sc in last 2 ch of tail, sl st in a space between the 3rd and 4th round in the body (belly part of the dinosaur). Fasten off.
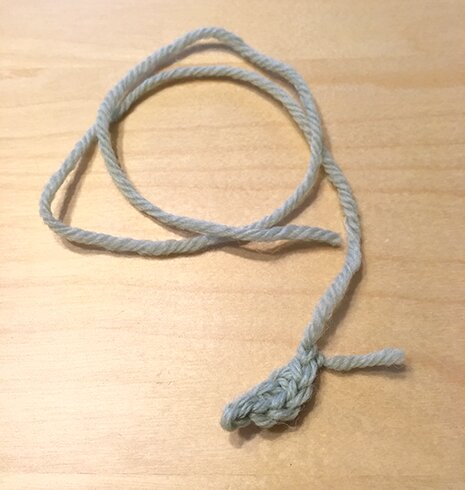
Flippers:
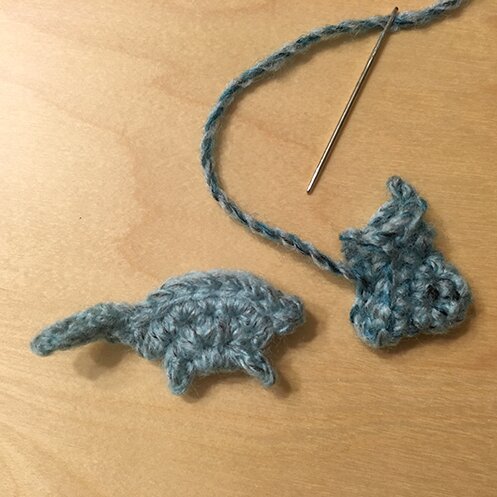
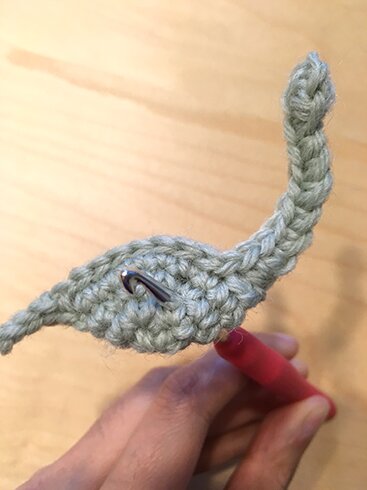
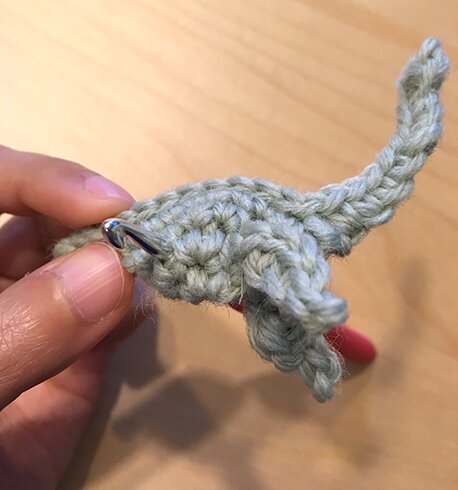
ch 5, sl st in 2nd ch from hook, sc and hdc in next ch, sc in next ch, sl st in next ch, pull yarn through loop, leaving a tail 18″-20″ long, cut yarn. It will look like this.
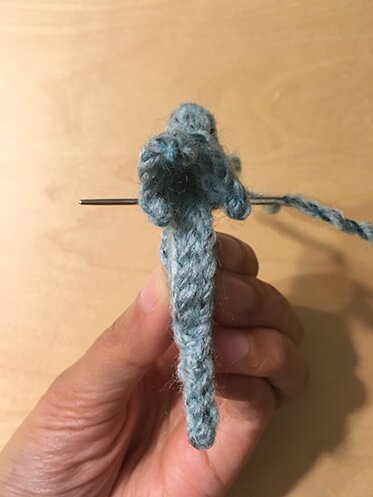
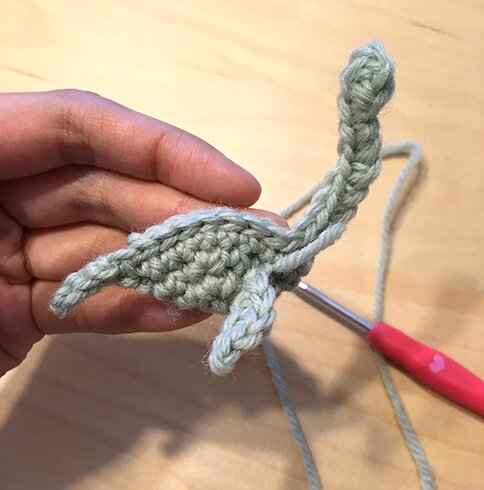
With right side facing, insert hook from the back of the dinosaur into a stitch where you want to position the first set of flippers, between the 2nd and 3rd rounds of body, like so…
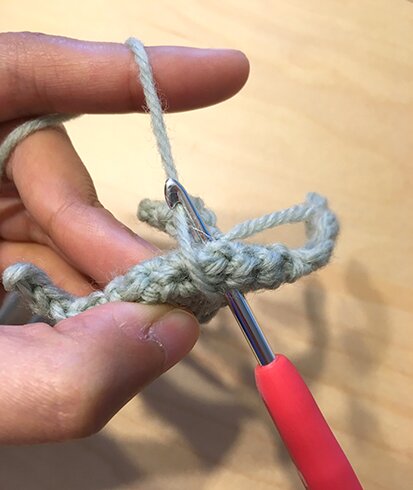
Then, pull the yarn tail of the flipper just made through the body, like so…
With the wrong side of the dinosaur facing and the dinosaur positioned upside down, insert hook through the body again in the same stitch, then pull up a loop using the yarn tail, like so…
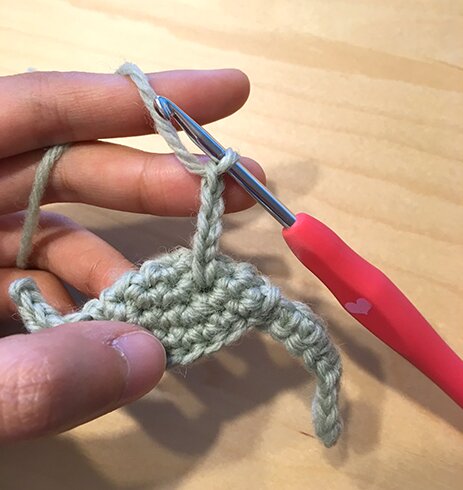
Then, ch 5, and continue with stitches for the other flipper.
After the last sl st made in flipper, pull out yarn tail, and weave it into the body through the same stitch where the flippers are attached.
Repeat as the start of the other flippers.
With right side facing and the dinosaur right side up, insert hook from the back in a stitch between rounds 2 and 3 of body, where you want to position the other set of flippers, like so…
Repeat as the other set of flippers.
Sew on eyes, and we’re done! :)
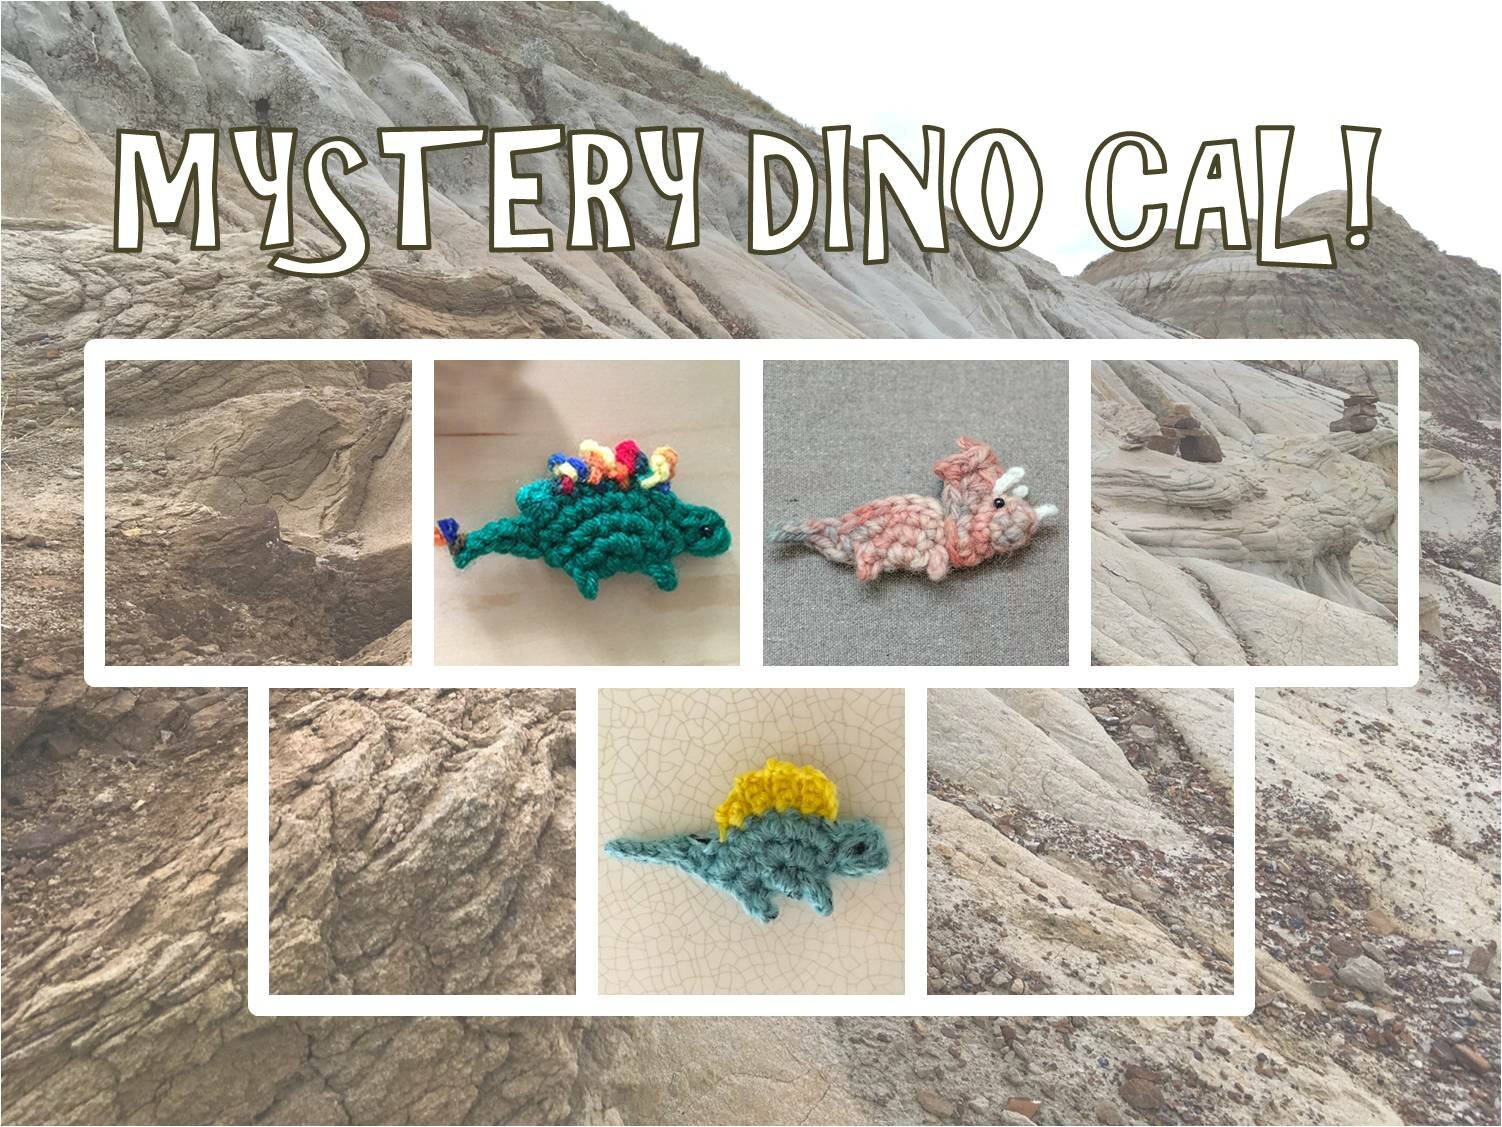
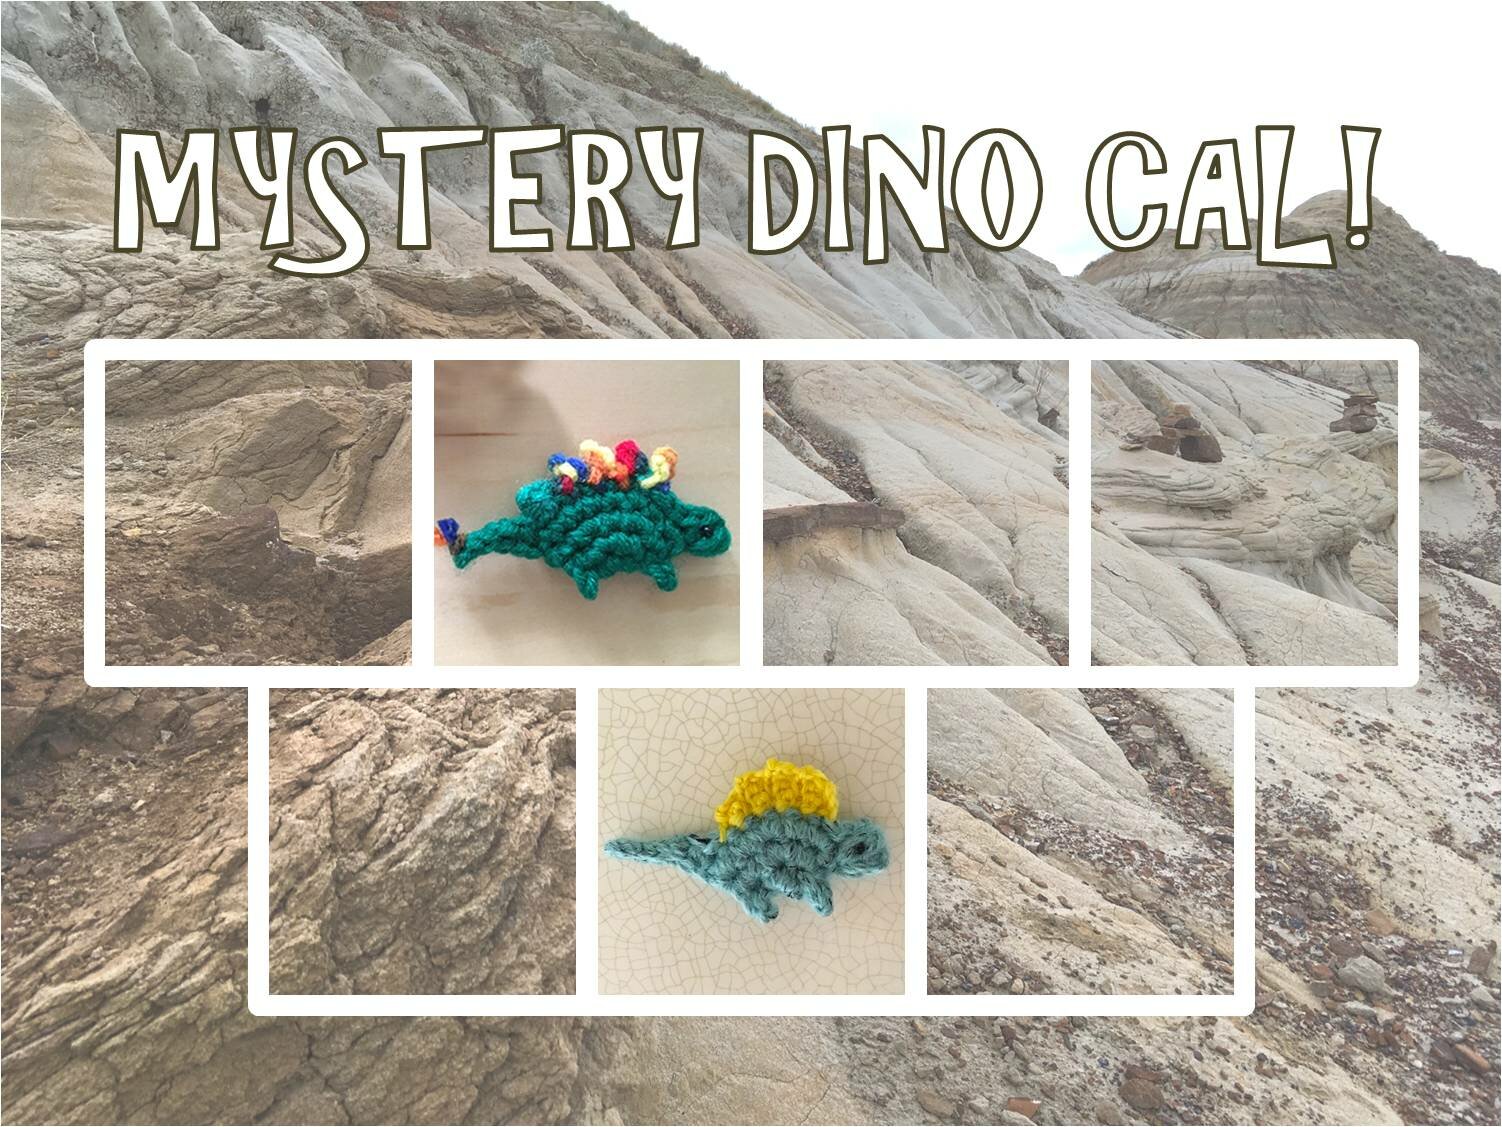
To recap, here are the mystery dino CAL posts so far:
Make a splash with your dinosaur pics by:
- Leaving a comment on any of the Mystery Dino CAL posts with a link to your blog post with the picture.
- Instagram: tag me @genuinemudpie and use the hashtag #mysterydinocal
- Joining the Ravelry group
- Posting your FOs to my Ravelry dino project pages!
Hope everyone is having a great weekend! :D