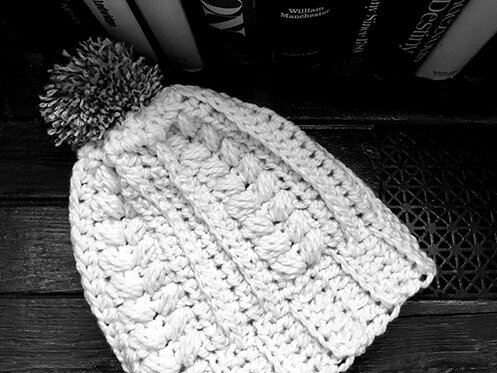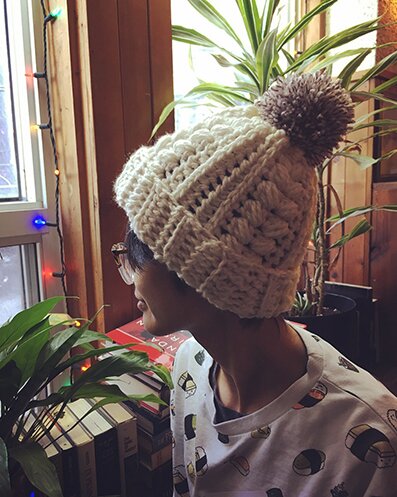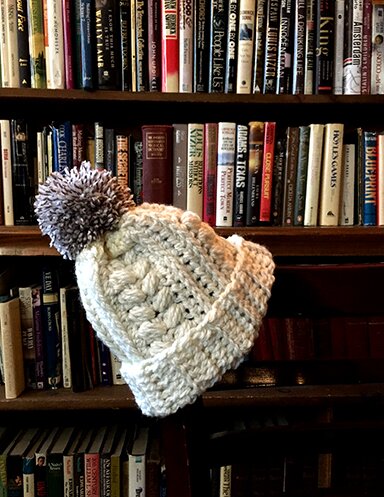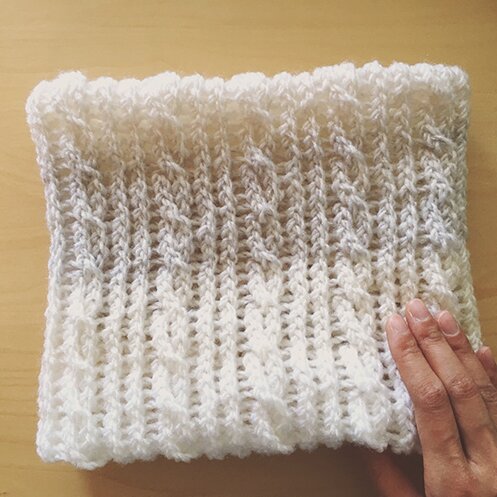
I had a vision of this cowl when I saw the yarn, which was Loops & Threads Barcelona in Arctic, and I bought it because it was on massive sale. It is a very fluffy yarn and with the colours it reminds me of clouds. I wanted to create a subtle cable texture where the cables may not be super noticeable at first glance, and the crossing of the stitches are a bit hidden, like clouds, which are easily taken for granted unless we take time to stop and notice their forms and shapes, and twists and turns.
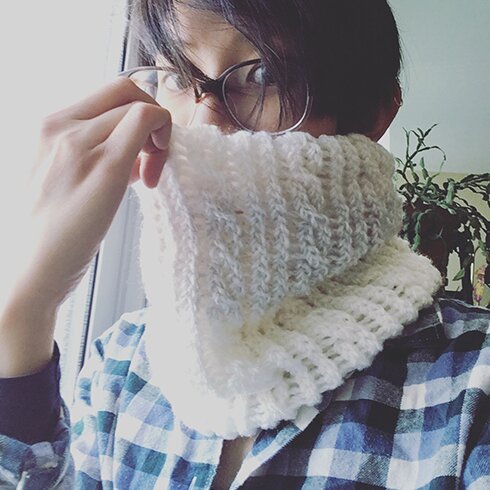
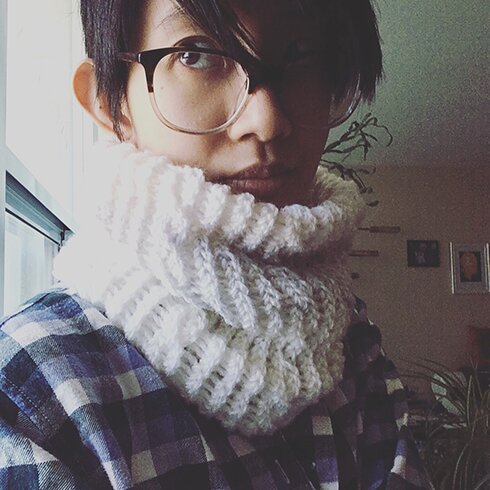
I was happy with the way it came out so I thought I’d share what I did. The fabric is doubled so it’s extra warm and squishy. It would work nicely with any bulky yarn with long colour transitions of grey and white. (or other colours you like!)
It is a loom knitting pattern, and if you’re new to it now worries! I include links to video tutorials for different techniques. Loom knitting itself is quite easy, so a beginner would be able to follow this pattern.
Material:
Half a skein of Loops & Threads Barcelona — about 150 yards.
41 peg Knit Quick round loom and loom knitting hook
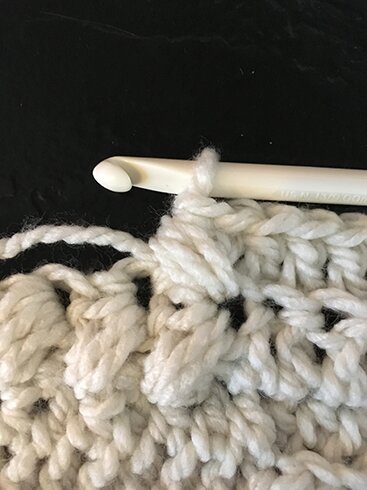
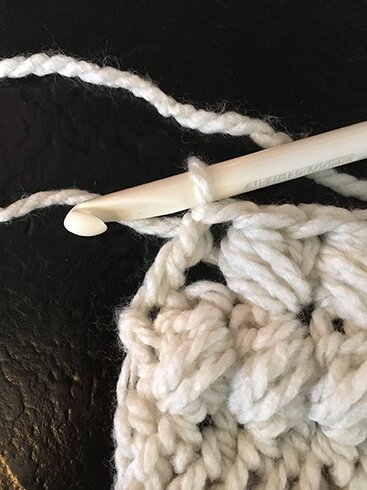
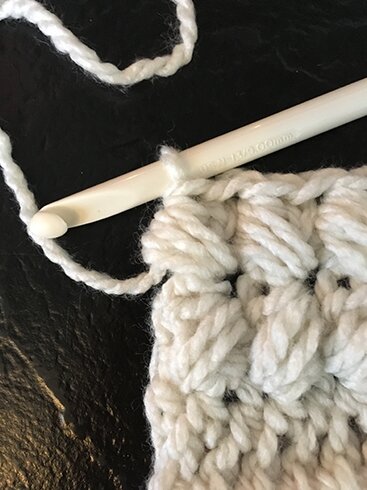
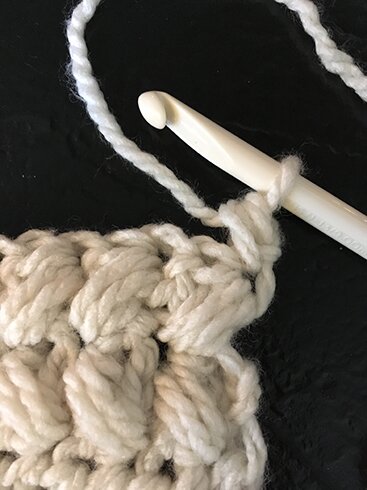
4 mm crochet hook (for weaving in ends)
Pattern:
Mark the pegs with elastic bands or stitch markers. Mark the first two pegs, *skip two pegs, mark the next two*, repeat from * to * around until there are 3 pegs left.
E‑wrap cast on all the pegs around the loom.
E‑wrap every round until piece is 2″ in length.
Cable round: *Take off and hold the loops from the first two marked pegs. Place the loop from first peg on the second peg, then place the loop from the second peg on the first peg, then e‑wrap the two stitches* (cable stitch complete). E‑wrap the next two stitches as usual. Repeat from * to * over the next two stitches on marked pegs to work cable stitch. Continue around working cable stitch over the stitches on marked pegs, and working regular e‑wraps over unmarked pegs. (Here’s a video for the cable stitch, except that in the video u‑wraps and purl stitches are used, whereas in this pattern only e‑wraps are used)
E‑wrap 3 rounds.
Repeat the last 4 rounds until piece is 16″ in length.
E‑wrap until the piece is 18″ in length, don’t fasten off.
Seaming:
Place the cast on loops back on the pegs, careful in matching the loops to the pegs (i.e. the first loop of the round in the first peg, second loop on the second peg, and so on). Bind off loosely, treating the bottom two loops as one. Fasten off and weave in ends.
Move the seam towards the middle of the cowl, and enjoy the fluffiness!
Happy weekend, friends! :D