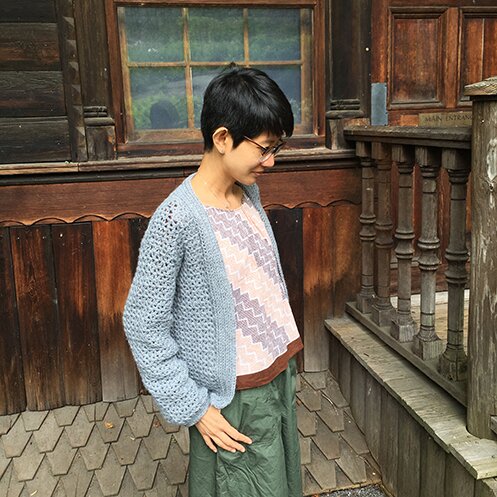
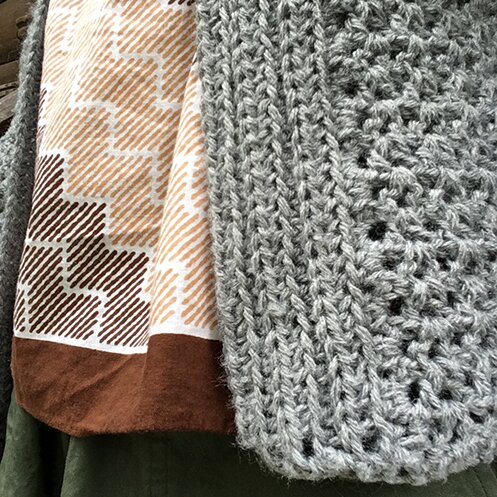
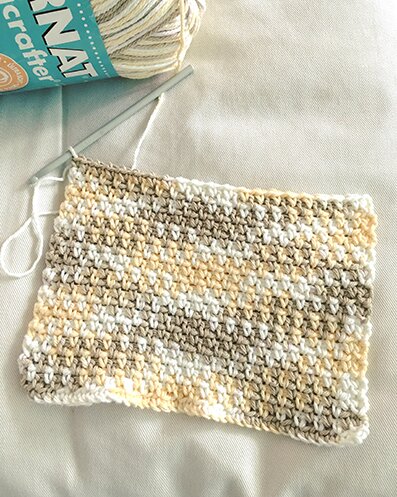
Made with simple V‑stitch, the resulting texture reminds me of wicker furniture.
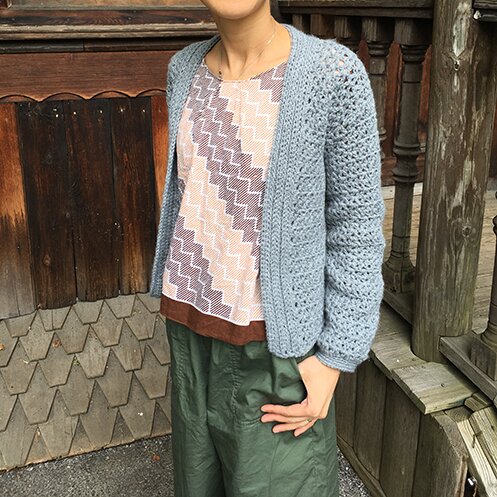
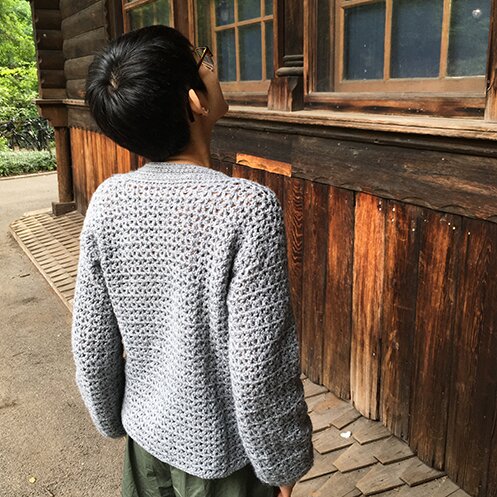
It’s an open front, light cardigan with a seamless construction. That’s right — no sewing, no sewing at all :)
Simple stitch pattern means easy to customize. The size I made is 34″. I’ve added suggestions for increasing size in italics.
I used one ball of Lion Brand Pound of Love and a 5.5 mm hook.
The cardigan is made top down.
Stitch pattern:
v‑stitch (v‑st): dc in stitch indicated, ch 1, dc in same stitch
Back
ch 66
Add 6 ch to the beginning ch for every inch you’d like to increase.
Row 1: v‑st in 6th ch from hook, [sk 2 ch, v‑st in next ch] till last 3 ch, dc in last ch, turn.
Row 2: ch 3 (counts as a dc throughout), [v‑st in ch 1 sp] to end, dc in top of turning ch.
Repeat row 2 eleven (11) more times. Fasten off. 13 rows altogether.
For larger size, work 2 more rows for every 6 ch added to the beginning ch.
Right front
Turn piece upside down, so that the beginning ch is at the top. Attach yarn to top right corner of piece.
Row 1: ch 3, v‑st in the base of the v‑st from row 1 of back (it would be upside down), continue to work one v‑st in the base of each of the next five v‑st from row 1 of back, dc in the base of next v‑st.
For larger size, work 1 more v‑st for every 6 ch added to the beginning ch.
Row 2: ch 3, [v‑st in ch 1 sp] to end, dc in top of turning ch, turn.
Repeat row 2 eleven (11) more times. Fasten off. 13 rows altogether.
Left front
Re-position the piece so that the unworked side of the shoulder is at top right. Attach yarn to top right corner.
Repeat rows 1–13 of left front. Don’t fasten off.
Join front and back
Join row: ch 3, v‑st in every ch 1 sp across left front, dc in last dc of left front, dc in first dc of back, v‑st in every ch 1 sp across back, dc in last dc of back, dc in first dc of right front, v‑st in every ch 1 sp across right front, dc in last dc of right front, turn.
Body
Row 1 after joining: ch 3, v‑st in every ch 1 sp until under arm, v‑st in between the last dc of front and first dc of back, mark v‑st just made, v‑st in every ch 1 sp until under arm, v‑st in between last dc of back and first dc of front, mark v‑st just made, v‑st in every ch 1 sp, dc in last dc, turn.
Row 2: ch 3, [v‑st in ch 1 sp] to end, dc in top of turning ch, turn.
Repeat row 2 until piece is 19″ from shoulder, or desired length. Fasten off.
Sleeve
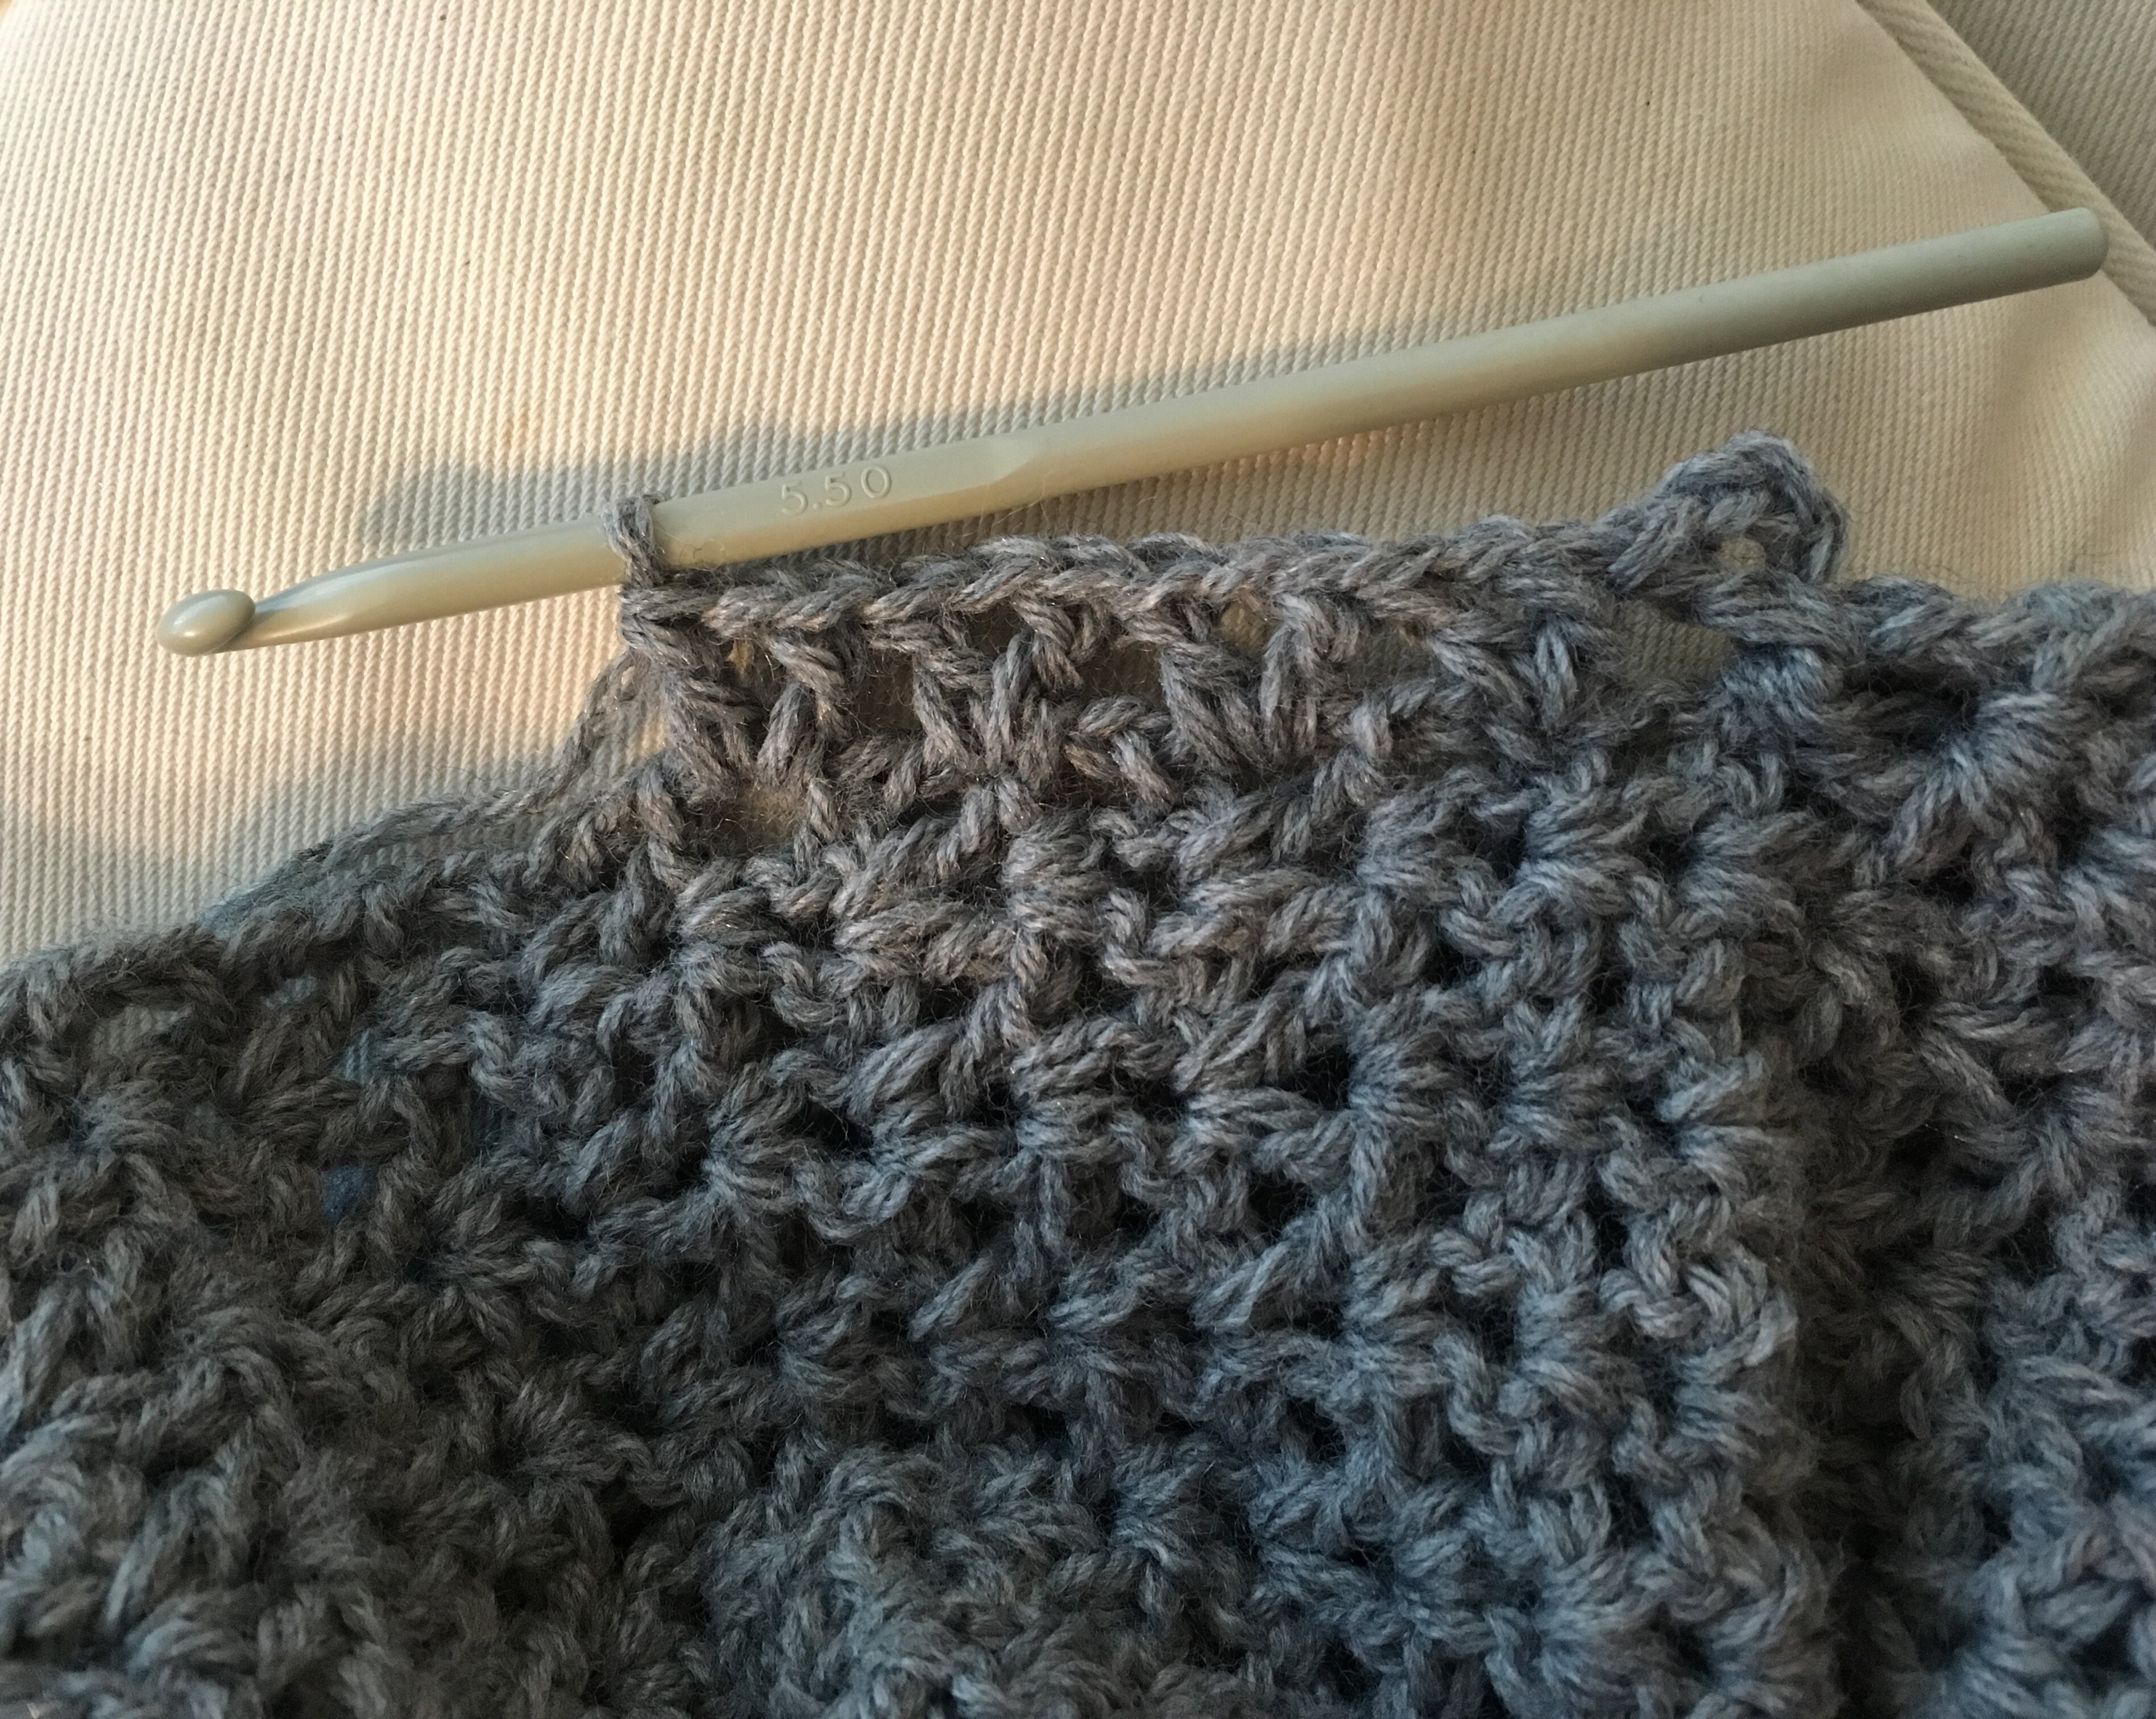
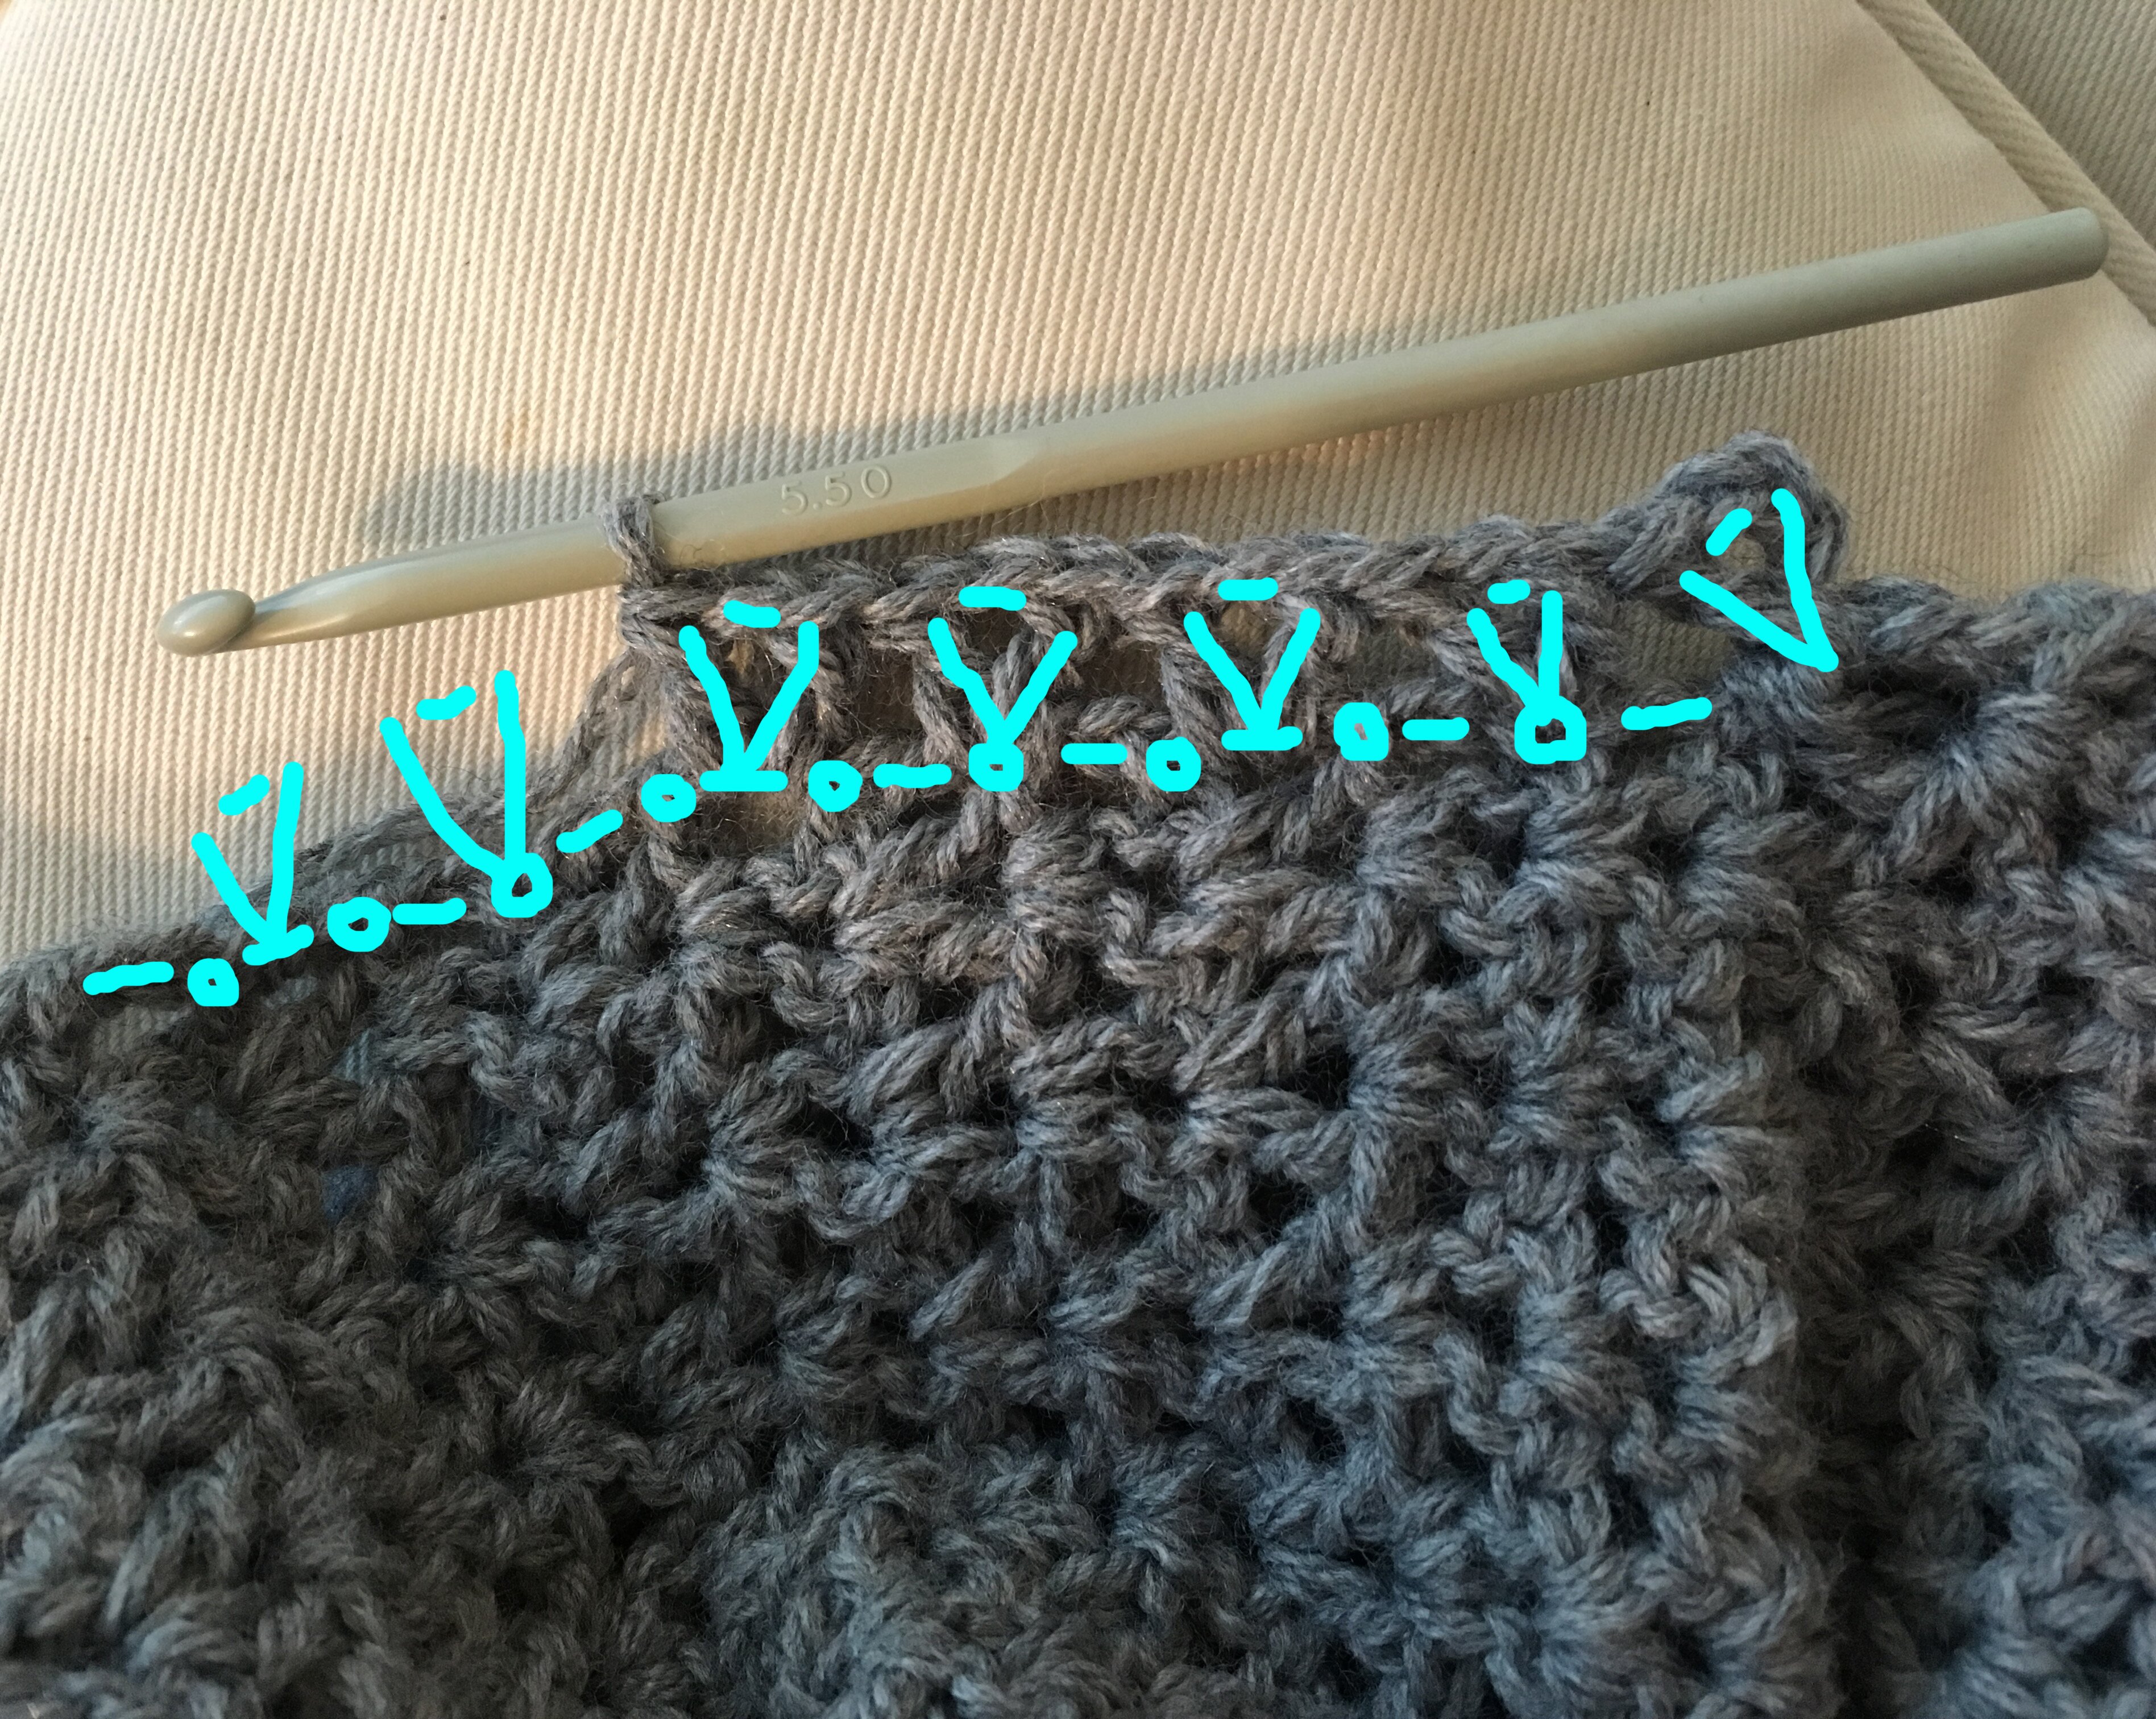
Sleeve is made in the round, turning at the end of every row. You will now be working along the side or ends of the rows in the front and back pieces. You will be making v‑st around the dc (which I will call the horizontal bar below) and in the joining point between rows (which I will call joining point below — it is either the top of a dc or turning ch, so you can just make a v‑st into it like you would usually do into a dc or ch).
Row 1: Attach yarn to the base of marked v‑st in underarm, ch 4, dc in same place. sk the first horizontal bar, [v‑st in next joining point, sk the next horizontal bar and the next joining point, v‑st in next horizontal bar, sk the next joining point and horizontal bar] to end of round, sl st in 3rd ch of turning ch, turn.
This might help illustrate where I’m putting the stitches. The circles are the joining points, and the dashes are the horizontal bars. The v’s are the v‑st.
Row 2: ch 3, [v‑st in ch 1 sp] around, sl st in top of beginning ch, turn.
Repeat row 2 until sleeve is 17.5″ long, or desired length. End on a wrong side row so next row begin with right side facing. Don’t fasten off.
Cuff
Row 1: ch 1 (does not count as sc), [sc in next ch 1 sp, sc in between two v‑st] around, sl st in first sc, don’t turn.
Row 2: ch 1, in the back loop only, sc in every sc around, sl st in first sc, don’t turn.
Repeat row 2 two (2) more times. Fasten off. Weave in ends.
Repeat for the other sleeve and cuff.
Front border / collar
Row 1 (RS): Attach yarn to bottom corner of right front, ch 2 (counts as hdc), 2 hdc around every horizontal row end (horizontal bar as described above in sleeve) up along front, across back of neck, and down front again, turn.
Row 2 (WS): ch 2, in front loop only, hdc in every hdc to end, turn.
Row 3 (RS): ch 2, in back loop only, hdc in every hdc to end, turn.
Repeat rows 2–3 once more (or until desired width), then work row 2 again once. Don’t fasten off.
Bottom edge
Row 1 (WS): ch 1, 1 sc in every row-end of the hdc rows in border, 1 sc in every st across body of cardigan, then 1 sc in every row-end of border, turn.
Row 2 (RS): ch 1, in back loop only 1 sc in every sc. Fasten off, weave in ends.
All finished. No sewing, as promised :)
Please feel free to leave a comment below if you have any questions! Happy crocheting :)


