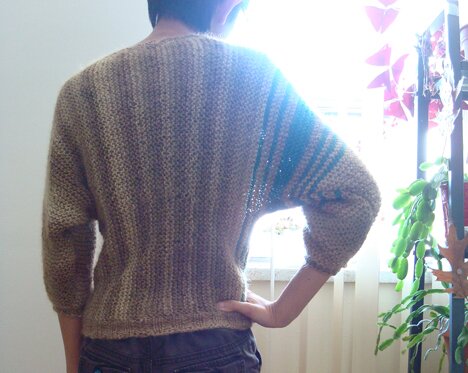
I have a t‑shirt that has gone through a couple of refashions, and to refashion it again I had to cut more off the collar, resulting in a neckline that was way too wide (it was a shirt that was big on me to start with). It was practically falling off my shoulders and I couldn’t wear it :(
It was still a perfectly good shirt so I was determined to make it wearable.Â
And after some experimentation, it transformed into a tank top :D totally wearable!

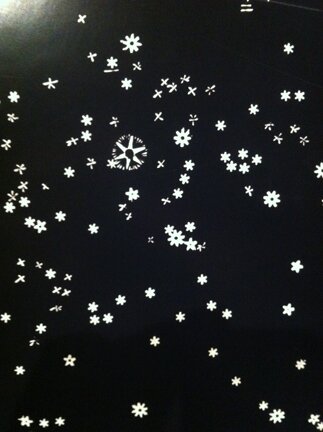
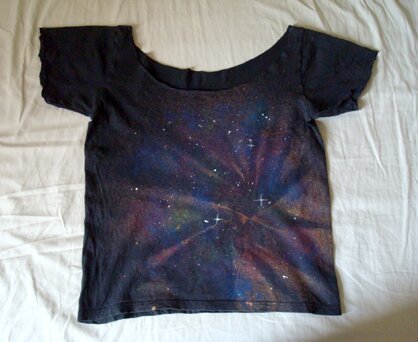
I should also mention that I gave it a bit of galaxy treatment before the refashion. (There are many galaxy shirt tutorials in the blogosphere, but if you’re interested in what I did, it was sort of a combination of this and this.)
I thought I’d share the refashion process here, in case you, too, have a shirt with a too-wide collar, or if you have a t‑shirt that is asking to be transformed into a tank top :D
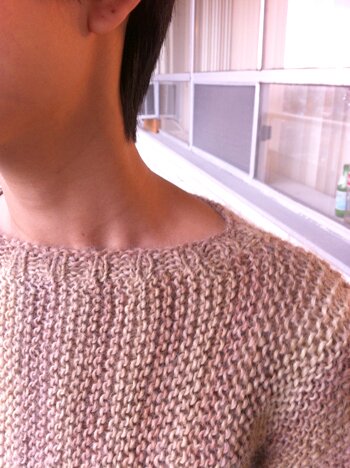
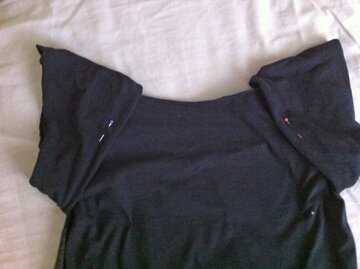
In the latter case, you can start by cutting around the collar of a t‑shirt to make a wider neckline. On my shirt I have about 1.5 inches left between the neckline and the shoulder seam. You can cut the cuffs off the sleeves as well.
And now the t‑shirt is ready for transformation! :D
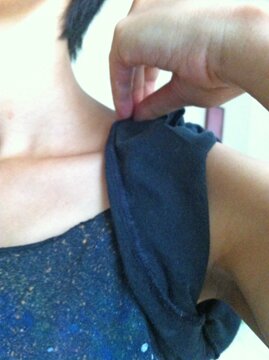
1. First, I put on the t‑shirt. I then flip one sleeve up and inside out, so that the edge of the sleeve meets the top of my shoulder. Fold the sleeve inside out all the way around, including under the arm. I had to kept pulling and adjusting here and there to make sure that the front of the shirt is not sagging. Repeat with the other sleeve.Â
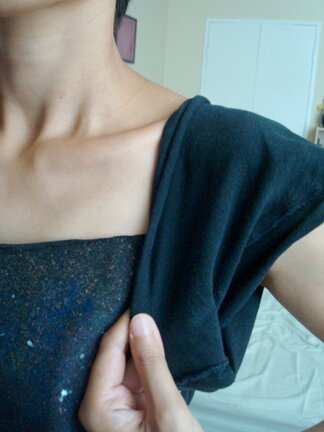
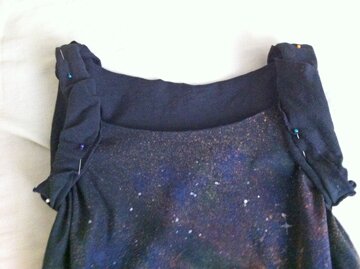
2. Pin the sleeve to the shirt in the front and underarm, as follows… (the shirt is still on me at this point… my phone camera just did a weird thing with the white balance which made my skin look all washed out)
3. Very carefully (to avoid being pricked by the pins) take off the shirt, and pin the sleeves on the back.
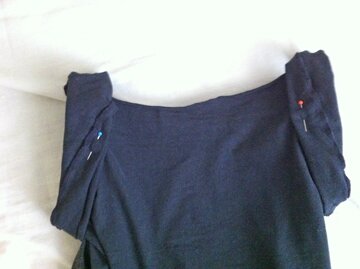
4. And now very carefully put the shirt back on again. Take the outer edge of the now folded sleeve and fold it in half, up to the shoulder and all the way around.Â
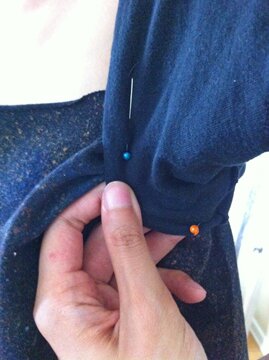
5. Then tuck any excess material under, like so…
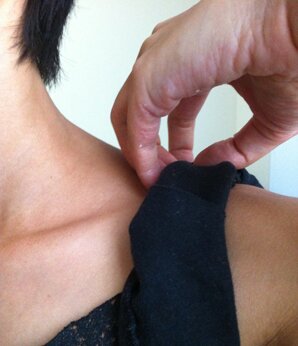
6. Pin the newly formed shoulder strap through all the layers. Repeat steps 4–6 with the other sleeve.
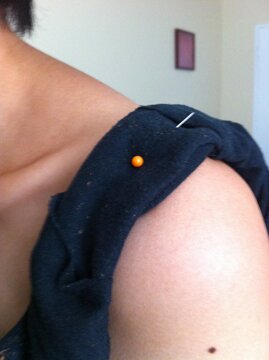
7. Very carefully take off the shirt, and re-pin around the armholes to secure the folds made in step 4.Â
Here you can adjust the folds to make them more neat, then pin them down. Try to place the pins so that they look symmetrical on the shirt. I placed the pins in the underarms, top of shoulders, mid-front, and mid-back.
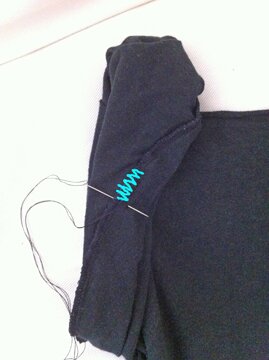
8. Finally, with doubled thread, sew through all layers for two inches or so where the pins are placed. I hid my stitches by sewing along old serged seams where possible. I used black thread to match the shirt so you can’t see my stitches, but I drew a zigzag line to show you what I mean…
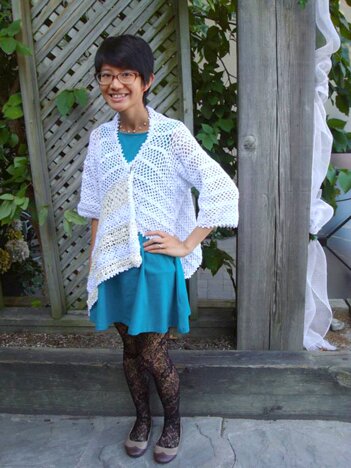
Ta-da! A new shirt! :D

Perfect for soaking up the last bit of glorious summer before fall arrives :D
May your weekend be filled with awesomeness!