This is a remake of this crocheted sweater that I made a long time ago. I had been wearing it less and less frequently ever since someone commented that it looked like an armor :S (I think it was meant to be a compliment) so I figure I’d unravel it and make it into something with a more softened look.
I tried making the beautiful February Lady Cardigan a while ago but wasn’t successful. But I really like the lace pattern in the cardigan, so I tried to adapt the pattern into something that I could manage (i.e. without having to knit in the round).
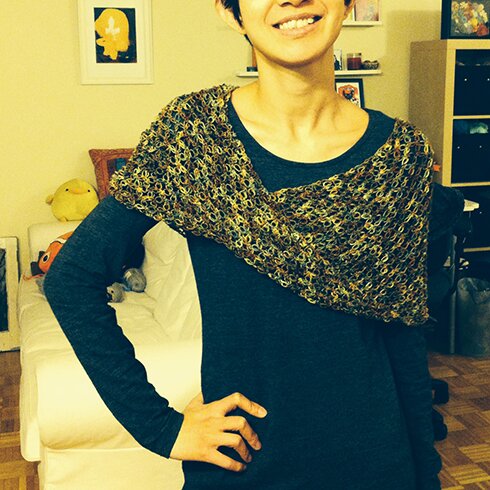
And this was the result! The bulky lace reminds me of trees in the winter.
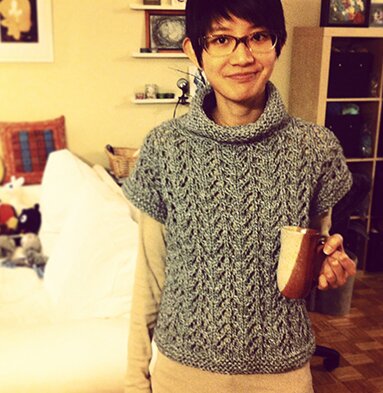
It has a bit of a cowl neck. Or one could roll down the collar for a more sculptural look.
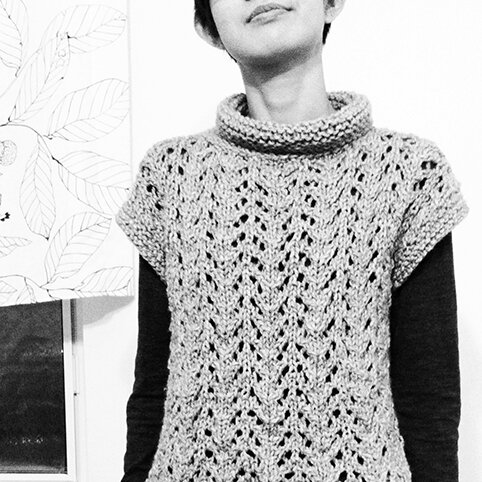
(It’s been difficult to take good pictures in the apartment in the winter when there’s no daylight left when I come home from work, so I put this black & white filter on and hoped that it comes across sort of stylish…)
Anyway, here’s my pattern adaptation of Elizabeth Zimmermann’s February Baby Sweater, in the middle of February :D It’s a very quick make. Took me several weekends while watching Harry Potter movies.
What I used:Â
Approx. 700 yards of Patons Shetland Chunky, in grey. (my sweater is kind of a cropped style, but if I had more yarn I’d probably make it longer)
7mm and 6.5mm needles
Stitch markers or pins
Needle for sewing
Finished size:Â bust 38″ / length 17″ / arm opening circumference 14″ / neck opening circumference 18″ (Size easily modifiable. Suggestions for modifying size in pattern below.)
What I did:
This sweater is knitted flat. The front and back are knitted in one piece with some stitches bound off and then cast back on to create neck opening. Then stitches are picked up along the sides to knit the arm bands. The sides are then seamed. And finally the collar is knitted.
**************
Gull Lace pattern, from Elizabeth Zimmermann’s Knitter’s Almanac, with slight modification (I just added a knit stitch in the beginning and end of each row):
Rows 1 and 3 (WS): k1, p to last st, k1
Rows 2 (RS): k1, *k1, k2tog, YO, k1, YO, ssk, k1* rep from * to * till last st, k1
Row 4 (RS): k1, *k2tog, YO, k3, YO, ssk* rep from * to * till last st, k1
**************
Body:
With larger needle, CO 58.
(The Gull Lace pattern is worked over a multiple of 7 stitches, so to make a larger size, one can add multiple of 7 stitches from number of CO. One pattern repeat or 7 stitches = 2.25″)
Knit 9 rows.
Begin Gull Lace pattern rows 1–4. Repeat Rows 1–4 until piece is 17 inches from beginning, or desired length. End with row 1 or 3.
Next row (neck opening): work 15 st in pattern, BO 28 st, work remaining 15 st in pattern.
(If you have added more stitches in the beginning, you can perhaps divide the shoulder/neck/shoulder stitches as follows:
Added 7 stitches ‑Â work 15 st in pattern, BO 35, work 15 st in pattern
Added 14 stitches — work 22 st in pattern, BO 28, work 22 st in pattern
Added 21 stitches — work 22 st in pattern, BO 35, work 22 st in pattern)
Next row: k1, p14, CO 28, p14, k1. (or adjust number of stitches as listed above)
Continue in pattern until piece is 17 inches from neck opening, or same length as the other side, end with row 1 or 3.
Knit 9 rows, BO.
Arm bands/sleeves:
On the side seam, find the mid point that divides front and back. Mark this point with stitch marker or pin. Measure 7″ (or length as desired) down the side seam from the mid point, mark this point. Measure 7″ (or same length as the other side) up the side seam from the mid point, mark this point. Remove marker at mid point.
With smaller needles and right side facing, pick up 44 stitches evenly along side seam from marker to marker (or more stitches if added more length; generally 1 stitch per row). Knit 6 rows, BO. Repeat on the other arm.
Sew side seams from underarm to bottom of sweater.
Collar:
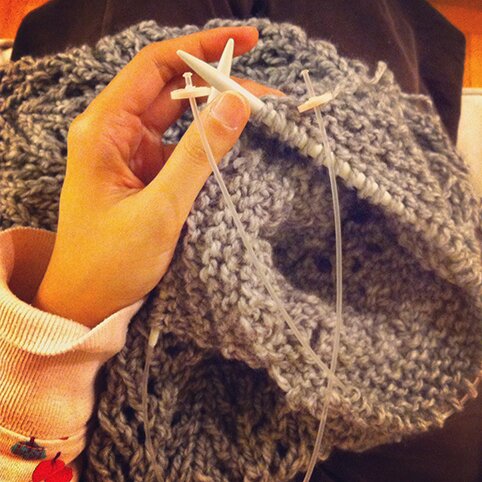
With smaller needles and right side facing, pick up stitches evenly around neck opening. Knit every row until collar is 3.5″ tall (or desired length). BO, weave in ends.
(One could use circular needle or DPNs and knit in the round. I’m not really good at knitting in the round, but I inherited these flexible needles from my mom, so the collar is knitted back and forth and then seamed. Doesn’t look as great as if it were knitted in the round, but it worked out :D)
This was a fun knit! And a cozy layering piece for February :D
Hope everyone has a good week!
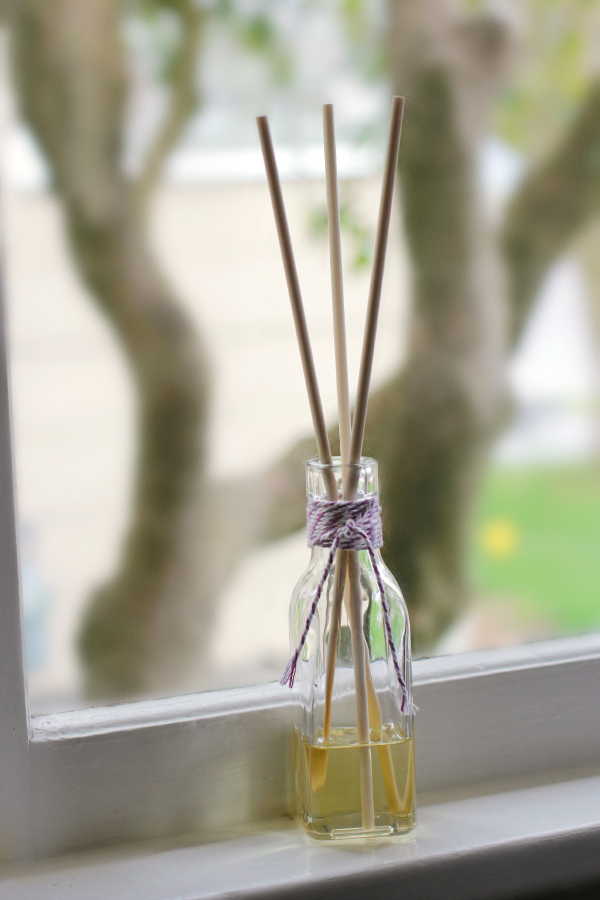 Homemade reed diffuser, easier to make than I thought! Didn’t know that one could even use bamboo skewers for this. From Make & Takes.
 I like tiny stud earrings, and these heart-shaped ones are just lovely. From Fall for DIY.
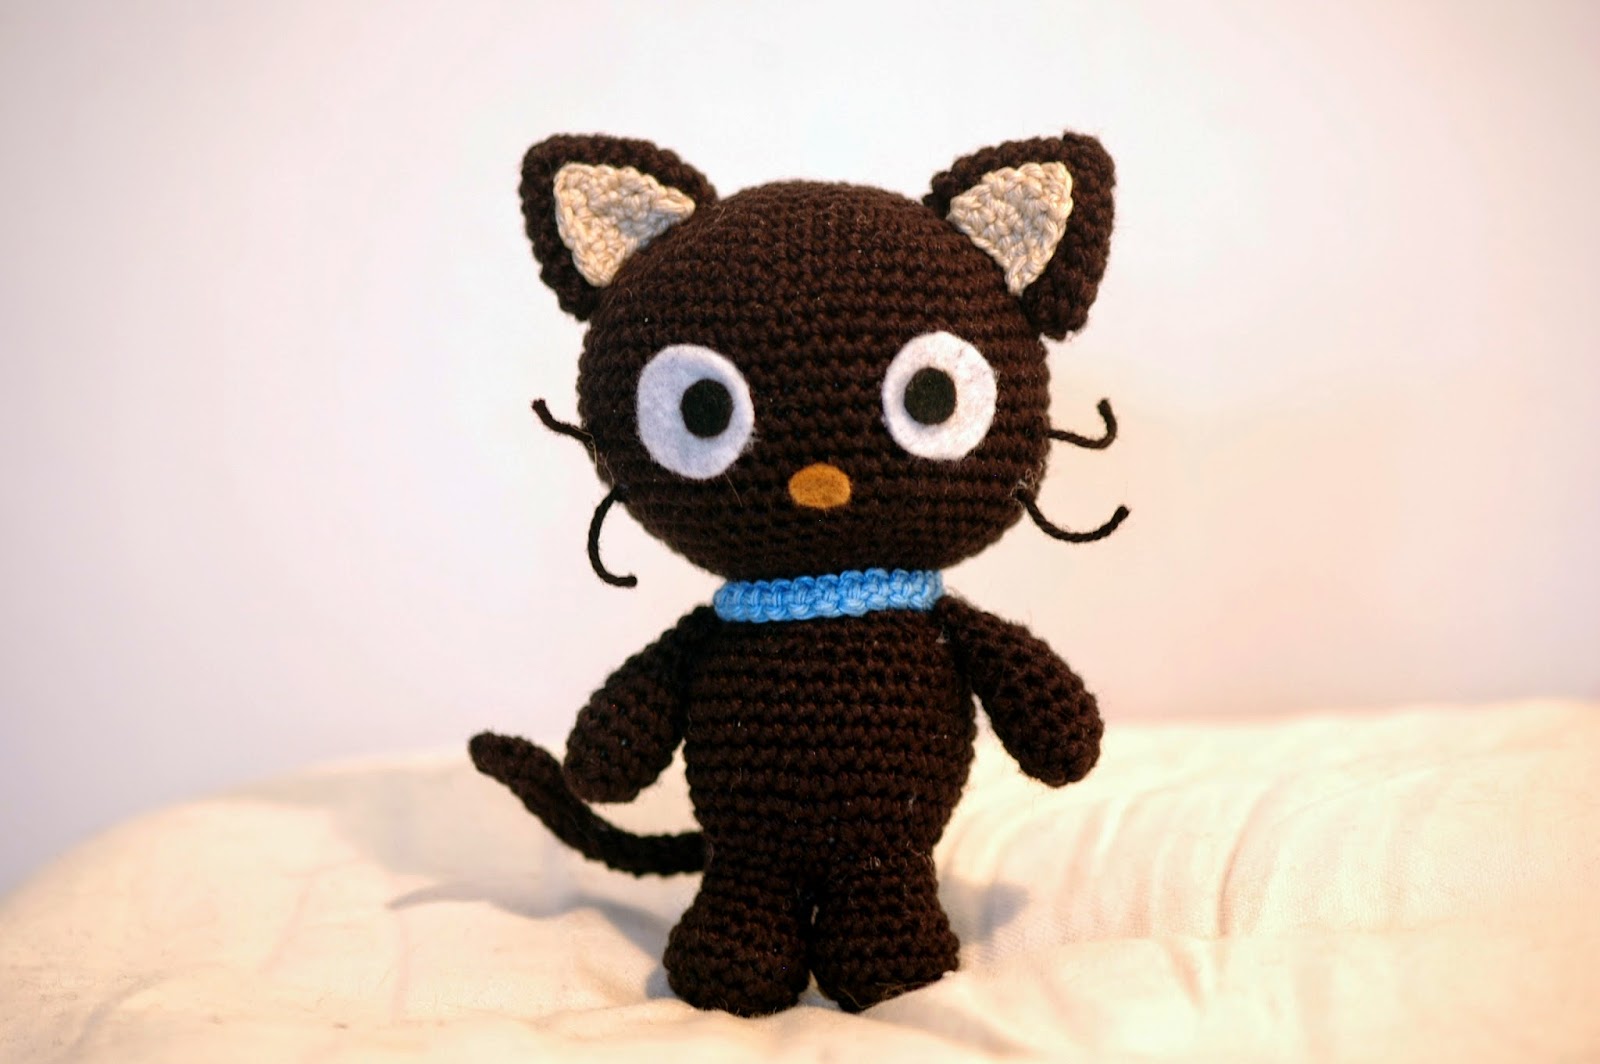 I must share this, because I <3 Chococat :D Pattern from Sabrina’s Crochet.
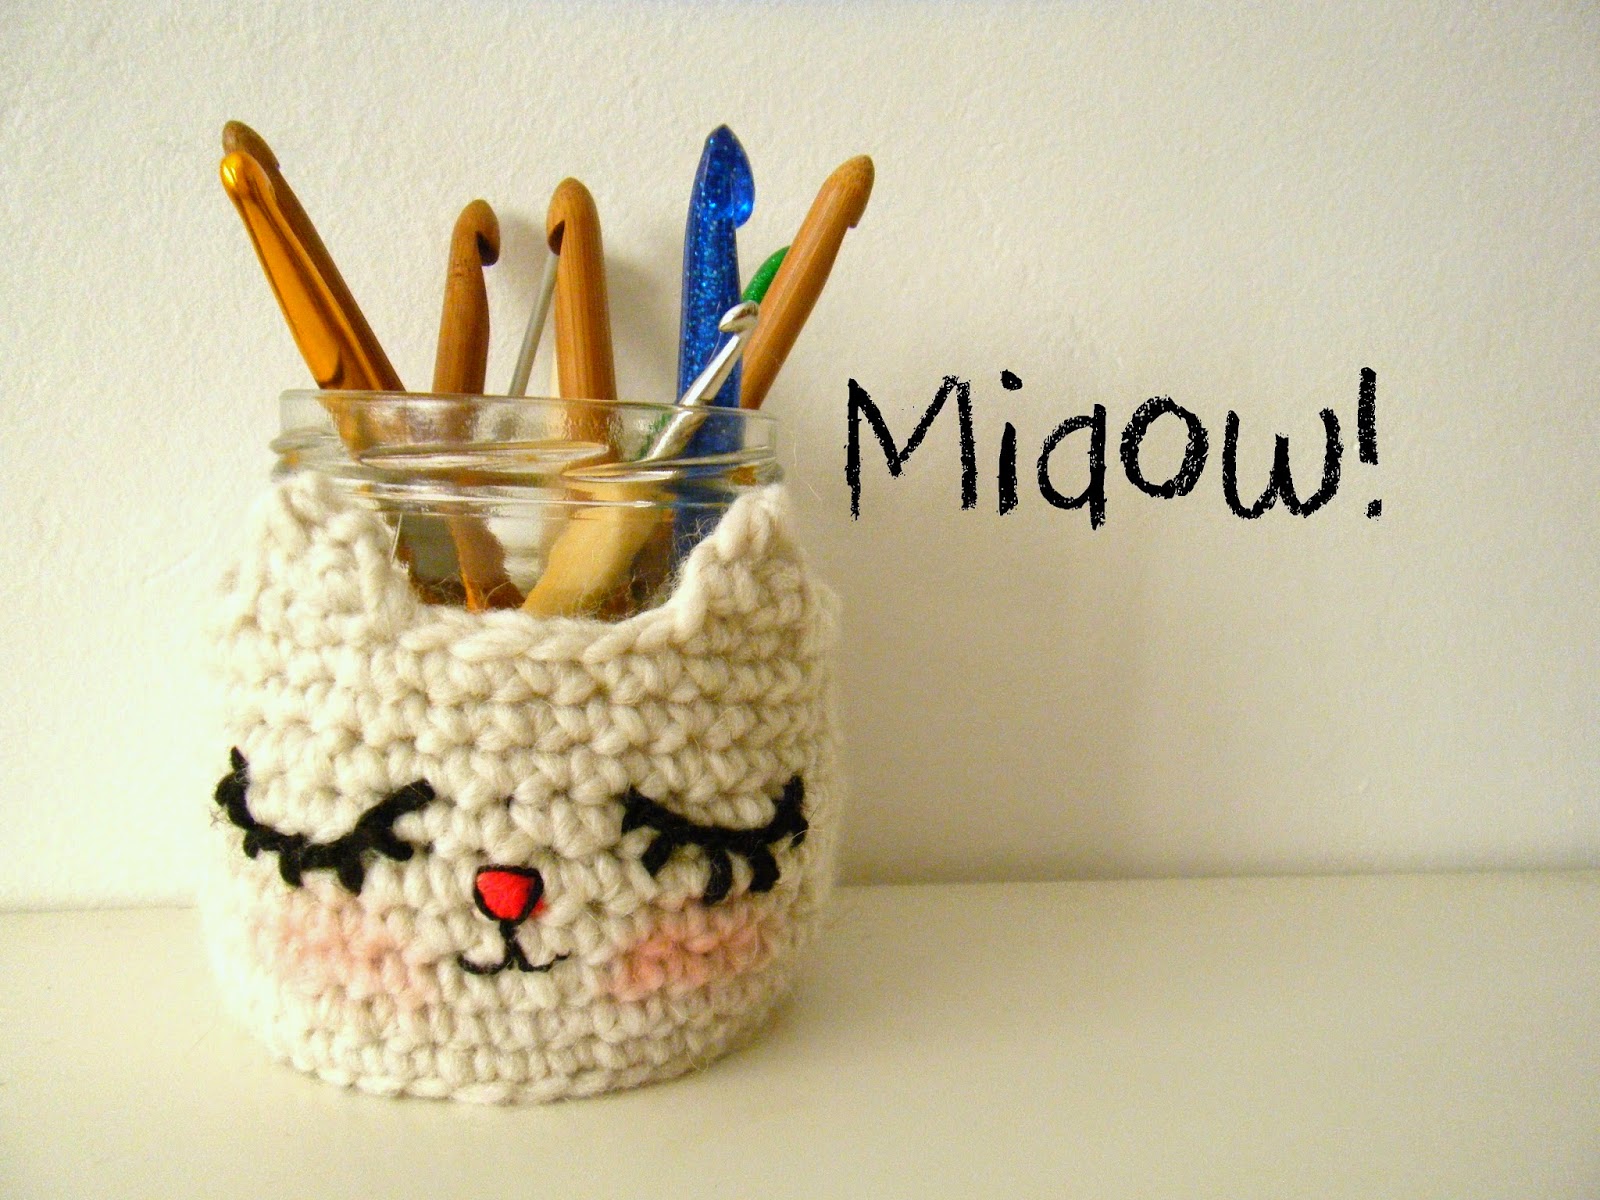 I do like cats very much, and this is SO cute! The pattern is in French but Google Translate does a pretty good job. From La Souris aux Petits Doigts.
 This tunic might be my next project :D Looks fantastic with the variegated yarn. From Red Heart.
 Add some subtle cuteness to any outfit with this donut ring, spotted on Dream a Little Bigger.
 And finally, if you like The Grand Budapest Hotel as much as I do (and if you haven’t seen it, I highly recommend!), and if you like to bake, you might enjoy making these pastries from the film! Video recipe spotted on Make.