So earlier in the summer I started writing a number of crochet patterns that I was hoping to compile into an e‑book for sale. But the summer is quickly going by, and I’ve had more freelance work than expected (which is a good thing). So then I realize I don’t realistically have the capacity to pattern-test, calculate for different sizes, etc. in order to make the patterns sell-able. So! I’m just going to continue in this blog’s tradition in sharing patterns for free! :D It’s just that it will require some creative/math work if you’re not making the exact same size I’m wearing. But that also means lots of rooms for customization! This is the first of the few patterns I was working on :)
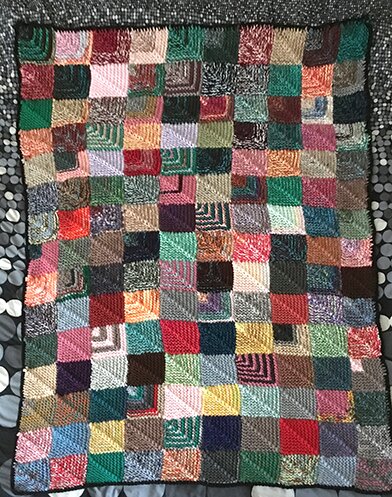
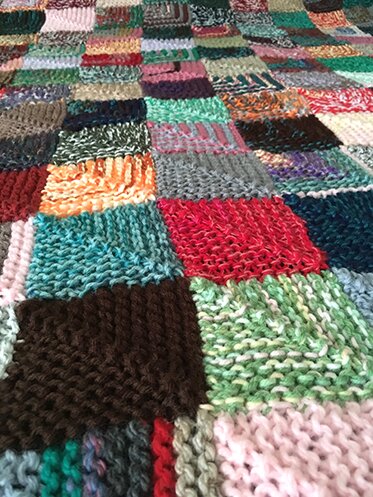
I’ve always wanted to try using corner-to-corner (c2c) crochet to make a top. My first idea was a cozy sweater with a dinosaur on it (I might still do that, we’ll see!), but all these heat waves we’ve been having are not conducive to cozy sweater-making, so I thought I’d try with a lace weight yarn for a breezy summer top.
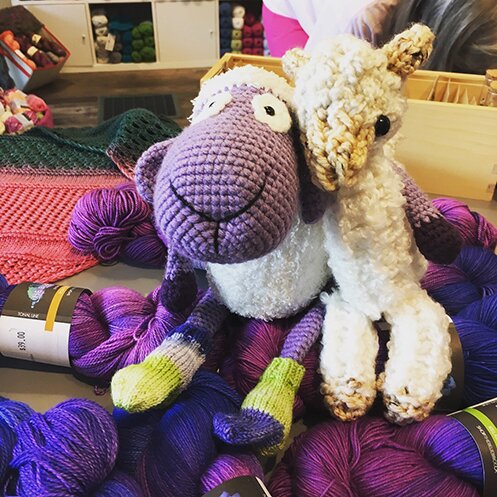
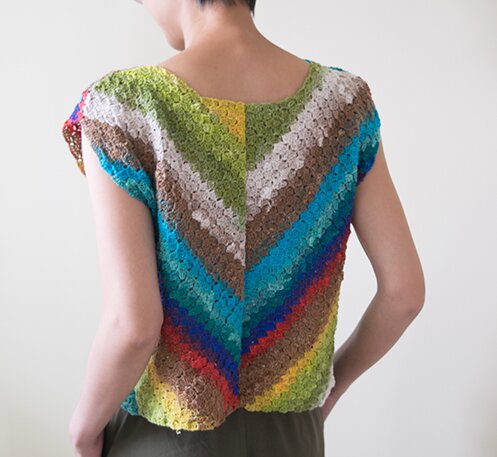
The “tiles” made in c2c crochet reminds me of colourful pixels, and Nintendo video games of my childhood, and summer vacation spent playing these games. So I called it “8‑bit”.
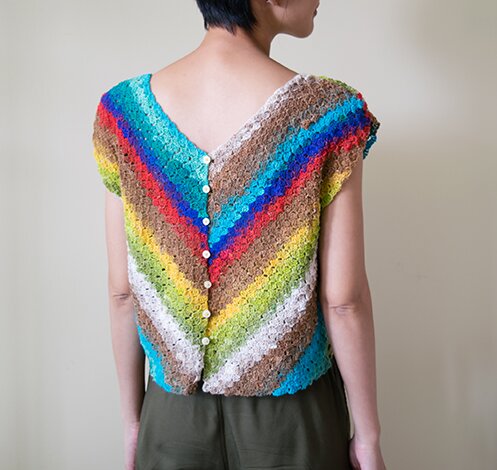
It can be worn both ways, either with the buttons on the front, or on the back!
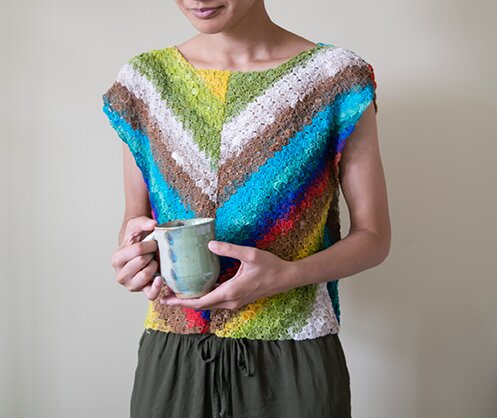

Buttons in the front makes it a cardigan, which can be paired with a spaghetti strap summer dress!
The top is made in 4 pieces then sewn together. So you can also sew the v‑neck pieces together and place the buttons on the round-neck side.
There is also some shoulder shaping so that the cap sleeves will follow the shoulders rather than stick out. I thought that goes better with the gentle, delicate feel of the lace weight Noro Taiyo.
Size: Bust 36″, armhole depth 7″, neck opening width 8″, total length 17″
Size is easy to adjust as you go with the c2c crochet stitch. There will be tips for adjustment throughout in italics.
Gauge: 5x5 “tiles” = 2“x2”
Material:
3.5 mm hook, and the smallest hook you have for weaving in ends (mine is 1.5 mm)
Lace weight yarn about 1100 yards (I only used a bit of the second skein of Noro Taiyo Lace, one skein of this is over 900 yards), larger sizes will require more yarn
Seven 1/2″ buttons
Sewing needle
Corner-to-corner crochet: this pattern requires familiarity with c2c crochet. If you’ve never used this stitch before, no worries! It’s quite easy and I find it rather meditative too. There are tons of very detailed tutorials out there. I learned from the photo tutorial by One Dog Woof, take a look and use some scrap yarn to practice, and I’m sure you’ll be ready in no time!
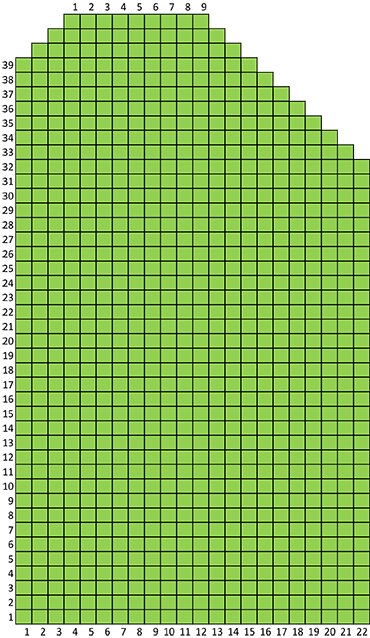
Charts:
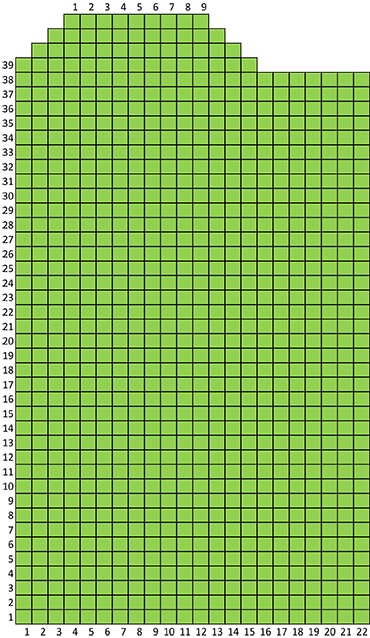
Pattern/recipe:
V‑neck piece (make 2):
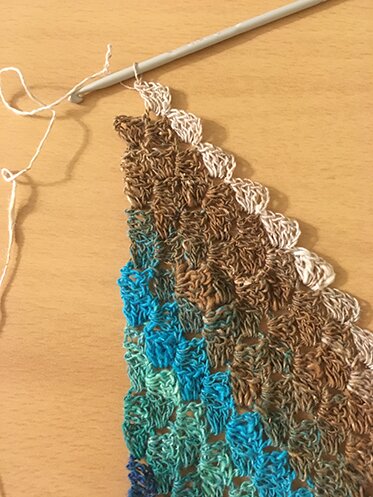
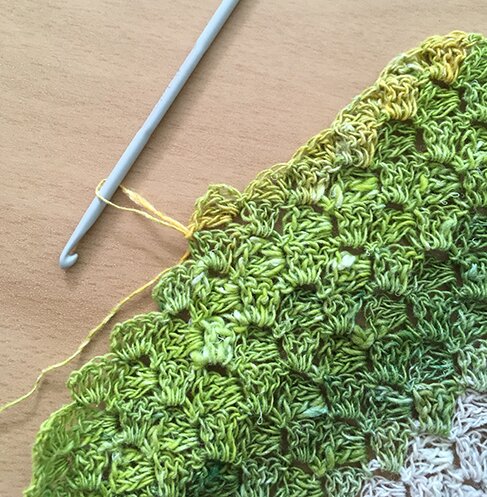
Start from the lower left corner, tile 1. Continue through chart. Chart is read diagonally. Follow this excellent photo tutorial by One Dog Woof if you need some help!
When there are 22 tiles on both edges, begin decreasing on the right edge by working 1 sl st through each dc just made, and sl st in turning ch, then ch 3, 3 dc in turning ch, and continuing on.
For a larger garment, continue working more tiles until desired width before decreasing. To determine “desired width”, decide on finished bust measurement you’d like for the top. Say 40″. Divide it by 4, which is 10″. Then continue c2c crochet until both edges are 10″ long before decreasing on the right edge. Note the number of tiles you have at the bottom edge when you reach desired width. You will need to have the same number of tiles on the bottom edge of each of the pieces.
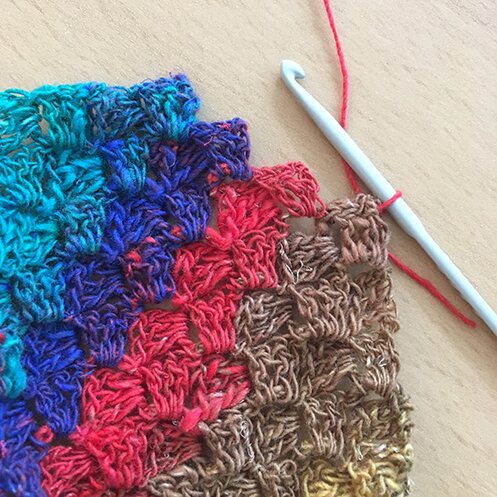
Continue increasing on the left edge but decreasing on the right edge until the left edge has 37 tiles.
For a longer garment, continue increasing on the left edge until desired length. Note the number of tiles when you reach desired length.
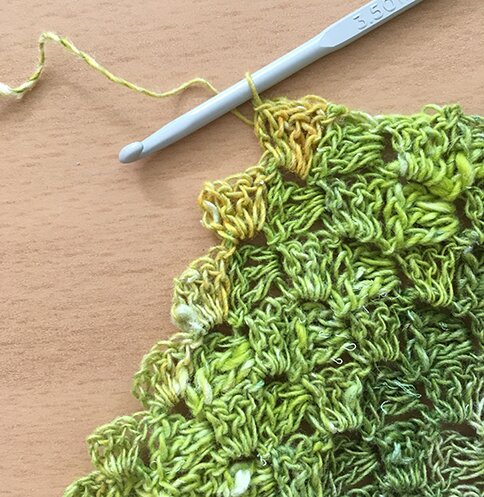
Shape shoulder:
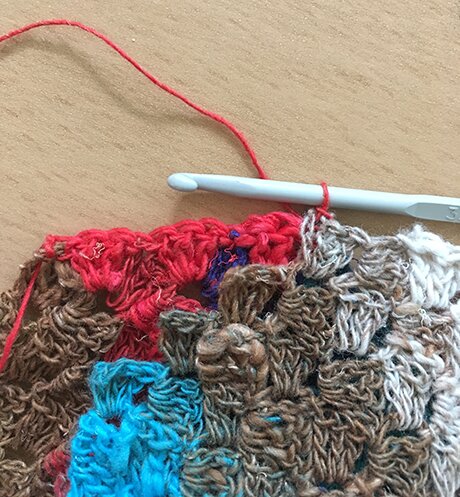
Begin decreasing on the left edge after the 37th tile (or desired length). Work one row towards the right edge, then one row towards the left edge. After crocheting the last tile on the top edge, work another tile on top of the previous row (I placed an additional white tile on top of the brown tile of the previous row).
Then, as usual, turn, sl st in next 3 dc, sl st in turning ch.
And continue down the row.

Repeat the above steps for shoulder shaping until shoulder resembles the chart.
(We’re of course not going to leave the shoulders jagged! We’ll fill in the corners as we sew them together later.)
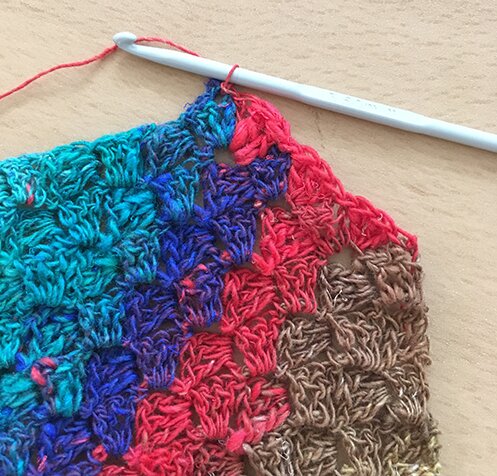
Then, decrease on both the top edge and the right edge until there are 9 tiles at top edge. End with working loop on the top edge, don’t fasten off.
If you have increased in the bottom edge, increase the same number of tiles at the top edge.
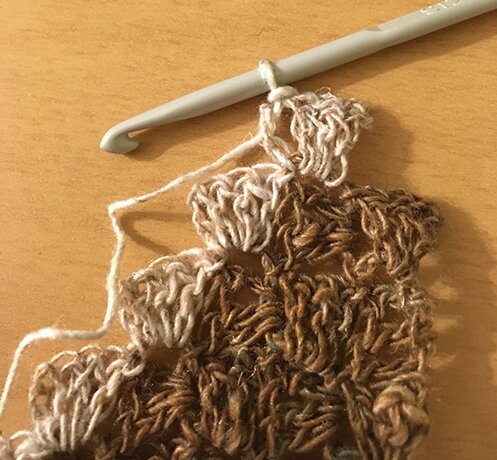
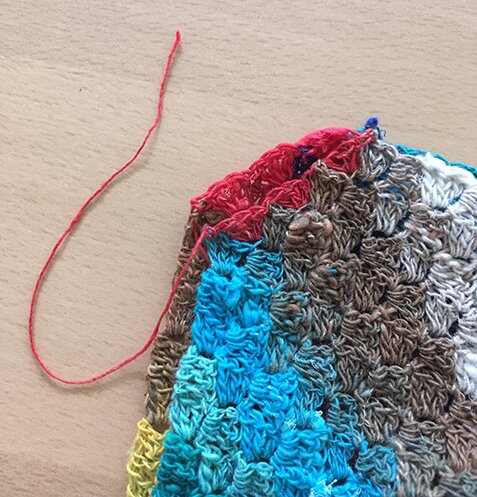
Neck edge:
*Work 3 dc in the corner between first two tiles (where the lower left corner of the tile the working loop is on meets the top right of the next tile), sl st in next turning ch* repeat from * to * until end of row (the neck edge is shown in the next photo). Fasten off.
Round-neck piece (make 2):
Follow pattern/recipe until neck edge. (making the same increases if you’ve made them in the v‑neck pieces.)
*Work 3 dc in the corner between first two tiles, sl st in next turning ch* repeat from * to * 3 more times, ch 3, 3 dc in turning ch.
Continue in c2c stitch pattern, decreasing on both edges until there final tile is made, fasten off.
Sew halves together:
Sew together the centre seams of the two round-neck pieces.
Seaming shoulders:
With wrong side facing, attach yarn to lower edge of shoulder on one piece.
*Work 3 dc in corner between the first two tiles, sl st in next turning ch* repeat from * to * until end of row, don’t fasten off.
With right sides together, place shoulder of v‑neck piece to the shoulder of the round-neck piece just completed, matching both pieces. With working loop still attached to the round-neck piece, sl st in top of shoulder of v‑neck piece.
*Work 3 dc in corner between the first two tiles, sl st in next turning ch* repeat from * to * until end of row, leave a long tail for sewing, fasten off.
Sew entire shoulders together (the slopes we just worked on and the top edges). Repeat on the other shoulder.
The rest of assembly:
With wrong sides facing, sew side seams together. For my top I counted 17 tiles down from shoulder for 7″ in armhole depth, then started sewing to the bottom edge. If making a deeper armhole, measure the desired depth and count the number of tiles within the measurement.
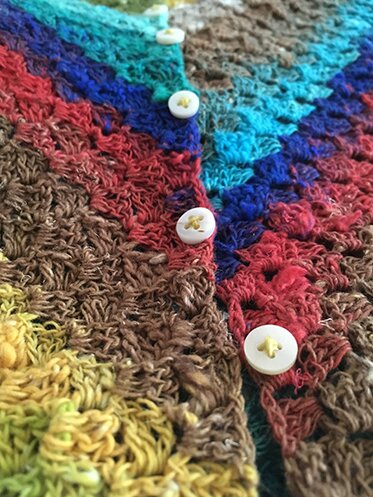
Buttons:
Sew buttons on one edge where the turning ch on the edge will form natural button holes, which is every 4th tile.
Weave in all the ends with a tiny hook, and we’re done! :D
Leave a comment if you have any questions or need clarifications! Happy crocheting!