Eganville, Ontario is a community about an hour and a half drive west of Ottawa. It was also recently featured in an episode of CBC show, Still Standing (of which we’re huge fans! :D) We were going to Ottawa to visit family and to see the Bonnechere Caves nearby, and then we saw the Still Standing episode so we decided that we would stop in the town to explore.
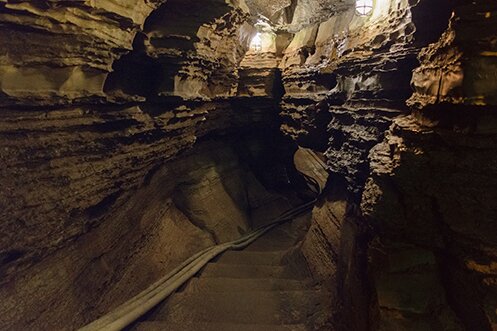
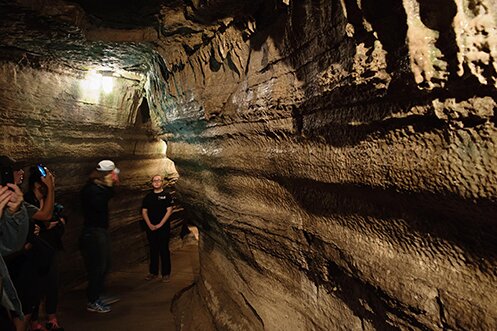
But first, the Bonnechere Caves! The family that maintains the Caves offers daily guided tours in the summer months into October, and our tour guide was very friendly, knowledgeable, and quite animated :) He explained that the network of underground caves and tunnels were carved out by the Bonnechere river. The walls of the cave were imprinted by the movement of the water.
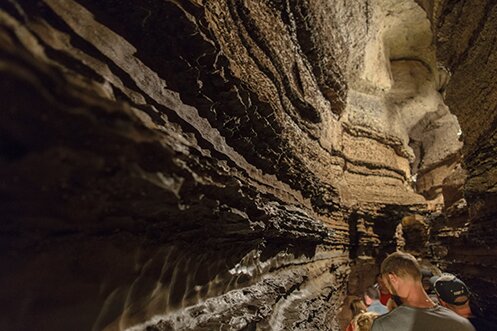
See the stalactites near the ceiling of the cave?
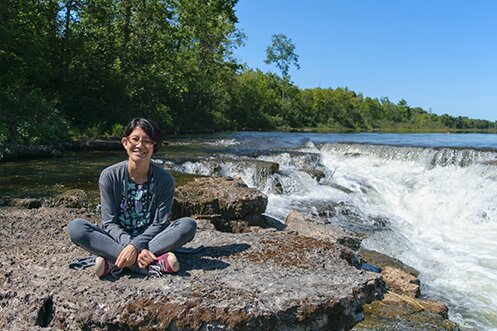
Just across the road from the Bonnechere Cave site there was a nice view of the Bonnechere River, we stopped for pictures :D
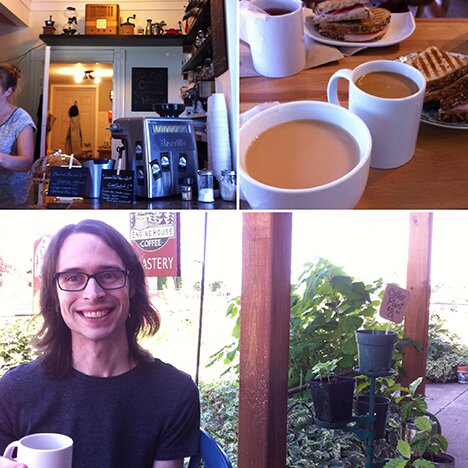
We then headed to Engine House Coffee for lunch, because we saw it on Still Standing :D It is a lovely place indeed, roasts its beans onsite, stocks an excellent selection of organic teas, and has a sunny patio with coffee plants.
Since it was still early in the day, and if we drove back to Ottawa to wander around town we’d have to pay for parking, we thought we’d continue exploring Eganville. We picked up a brochure at the Caves with information about the geo-heritage/fossil hunting trail at the Bonnechere Museum, so we decided to visit.
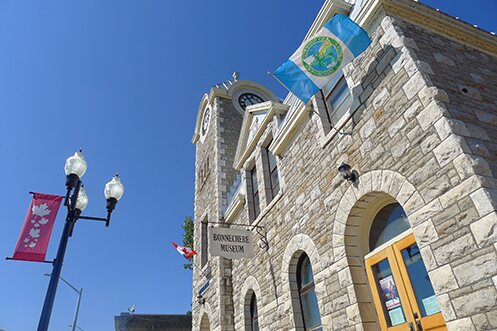
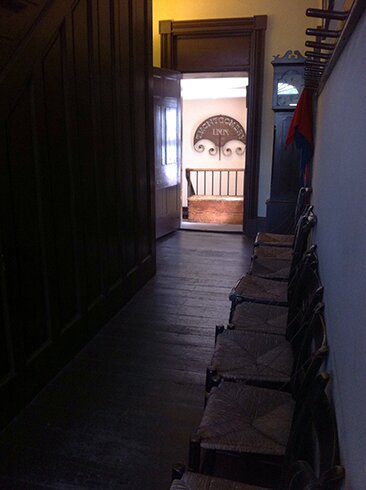
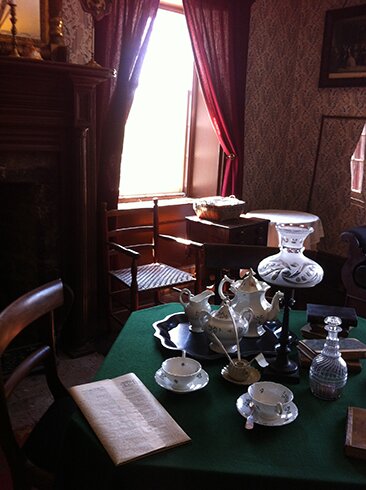
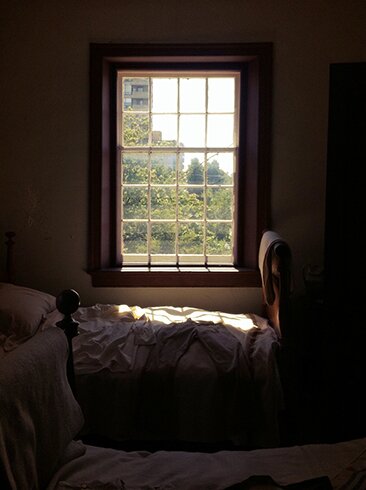
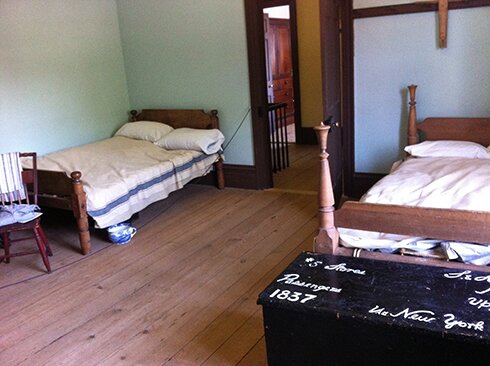
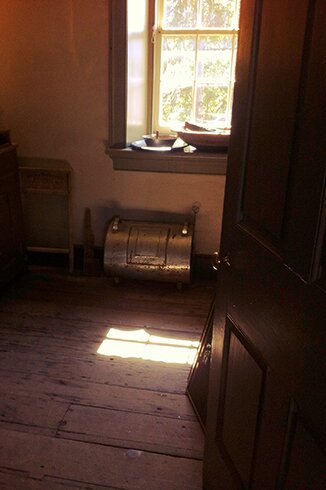
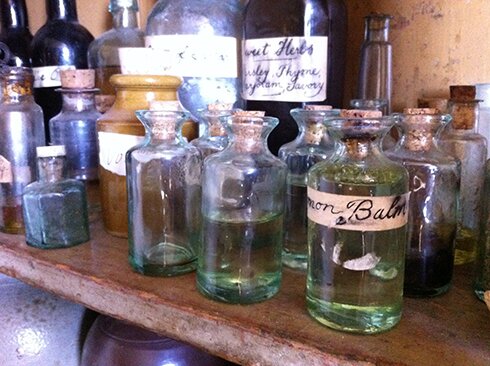
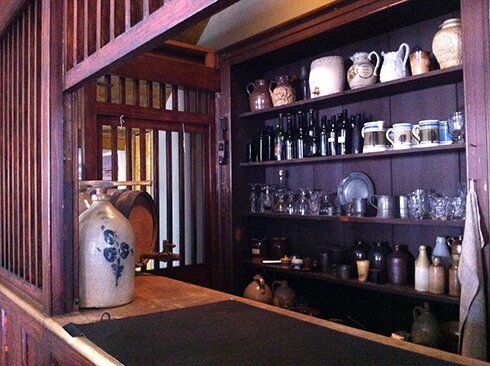
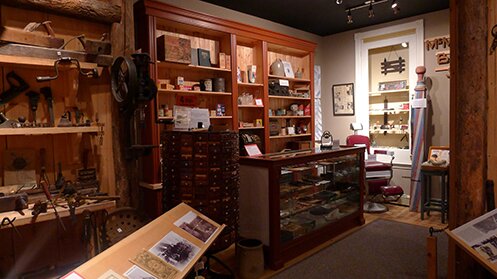
The friendly museum staff told us that the museum building used to be the community’s post office. It now houses a very well organized display of artifacts from Eganville and area.
Admission to the museum includes the geology and fossil trail. Since Eganville is known as “the Ordovician Fossil Capital of Canada”, the museum staff let us know that fossils are relatively easy to find on the trail (and we’re allowed to take one with us per person). She gave us a map and some directions, and we set out on some unplanned wilderness exploring :D
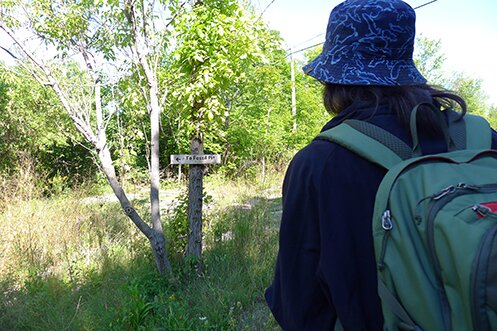
There were signs along the trail directing us to the “fossil pit”.
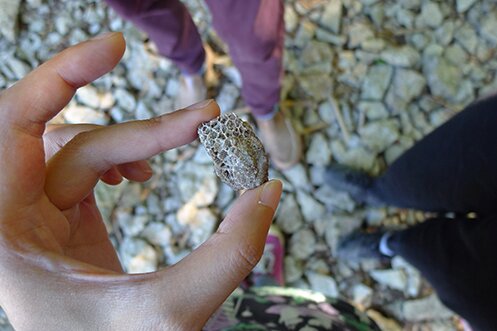
And we found the fossil pit! I think this was a honeycomb coral.
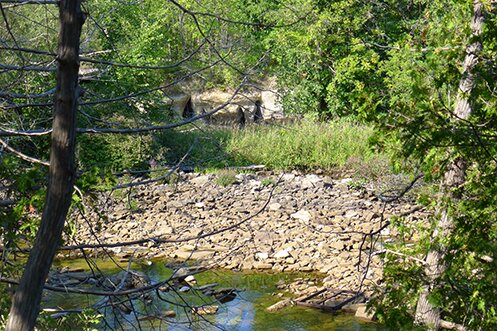
We followed the trail to a cliff area where we could see caves from across the river.
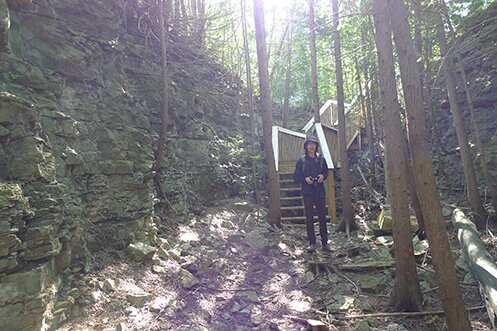
There was also a trench that we could walk down into and look at the layers of sedimentary rocks.
All in all, we find Eganville to be a lovely place for a day trip when one is visiting in the Ottawa area. We quite enjoyed it as city dwellers; it was away from busy urban centres, with a lovely cafe for a leisurely lunch or tea, and it’s got some relaxed (read: gravel paths, boardwalk and sturdy staircases) wilderness exploring :)
Hope everyone’s having a good weekend!