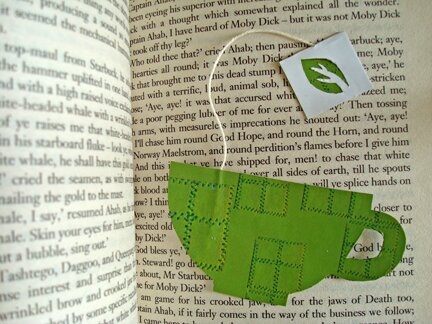
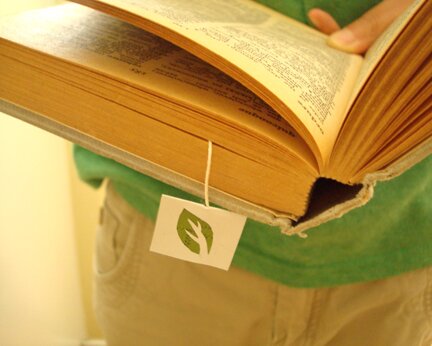
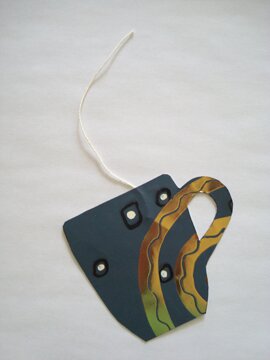
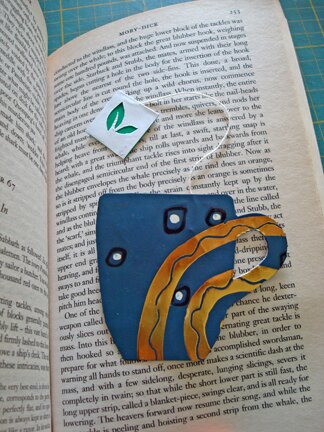
Today I present to you — a teacup bookmark, with a hanging tea tag! :DÂ Possibly a father’s day gift for a tea-drinking, book-loving dad?
Or for anyone who enjoys a good cup of tea. And a good book. At the same time.
So! Instead of favourite things Friday this week I’m going to share how I made this teacup bookmark, because one can only do so much in a week, and I’ve had this idea in my head for a while now. It was something that Mike has seen somewhere and told me about it, and I was inspired by the Victorian Tea we had at the Tollhouse.
It may look like there are lots of steps, but it’s actually a pretty quick project. It probably took me under an hour to make all three, and that’s with my picture-taking.
So! It’s time to get out the glue and scissors!
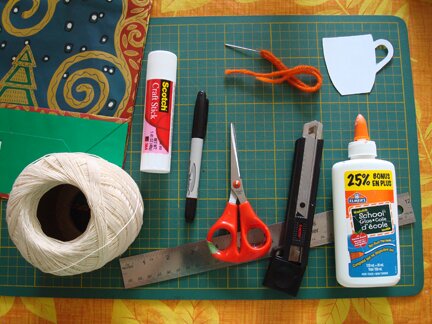
… and a bunch of other stuff… here are all the materials and tools I used.
- Used gift bags (one could use other kinds of paper as well, but I thought gift bags would be a good idea because it’s coated, so it’s slightly heavier and more durable than, say, construction paper, and they have nice patterns. And because I save them when people give me gifts and I have tons on hand)
- Cotton thread (I used crochet thread because that’s what I have, but thin yarn or kitchen twine should work too).
- A glue stick
- A marker (or pen)
- Scissors
- A thick tapestry needle
- A utility knife
- White glue
- A ruler (if you want to be precise)
- A cutting mat (or something to cut on, like old magazines)
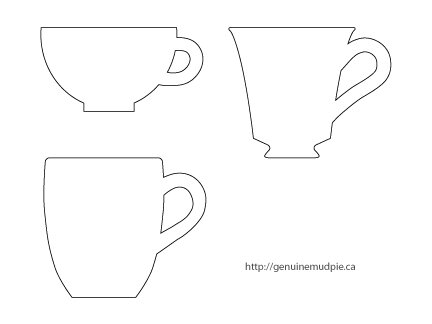
- Teacup templates
I made up this project partly to learn how to use Illustrator, particularly drawing simple shapes and curves. So I made this set of templates with different teacups and a tea mug. Just click on either the image or the link above it and it will bring up a PDF file. Print it at 100% and you’ll get the same size teacups as the ones I made (each is 3 inches wide).
First, I cut out a template. It might be easier to cut out the part inside the teacup ear with a utility knife. (Or teacup handle? It’s “cup ear” in Chinese and I’ve always called it that…)
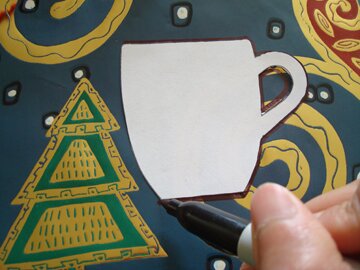
Next, I traced the template on a part of the bag with the pattern that I liked. (I used a Sharpie for this so it’s easier to photograph, but one could use a pen or a pencil)
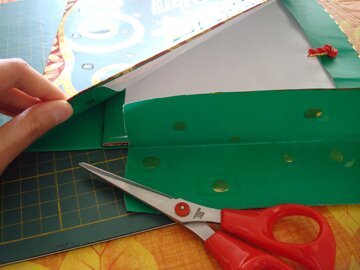
Then I removed the side of the bag where it’s folded, so it would be easier to cut out the teacup.
Then I cut along the top edge of the teacup, and the general area around the teacup through BOTH layers of the bag.
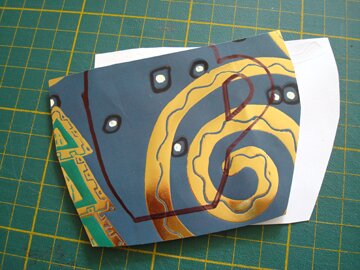
So now we have two pieces, with a straight edge at the top.
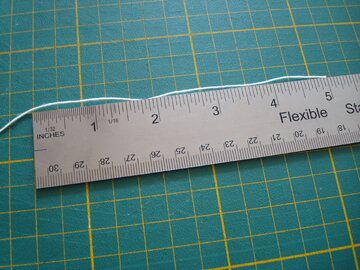
I then cut a piece of cotton thread, about 5 inches in length.
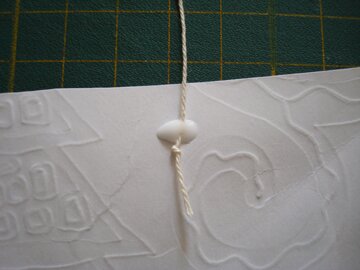
I tied a knot close to one end of the thread. Then I placed a drop of white glue on the back of the piece that doesn’t have the teacup tracing on it, about 3/4 inch from the top edge. I then put the end of the thread into the drop of glue, with the knot just below the glue, like so…
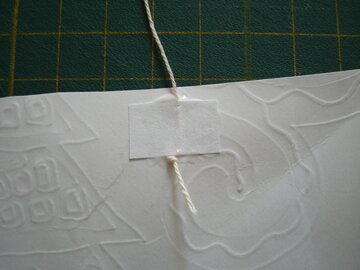
Then I cut out a scrap piece of paper (from the cut-off of the template) about 1/2 inch tall and 1 inch wide. I glued this piece of paper on top of the thread and glue dot, with the knot sticking out, like so…
The thread is now locked in and won’t get pulled out easily.
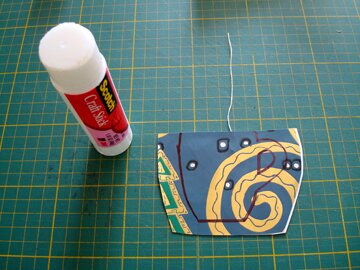
I then slather a generous amount of glue from a glue stick onto the back of the piece with the teacup tracing on it (not white glue, or the paper will buckle), and then pressed it onto the piece with the string, lining up the top straight edges of the two pieces (it’s OK if the other edges don’t line up, as long as the top edges are lined up).
Wait a moment or two for the glue to dry completely, then cut out the teacup shape. Again, it’s probably easier to use the utility knife to cut out the inside part of the mug ear (aka mug handle).
Ta-da! We’re almost done!
Now for the tea tag. One could do lots with it, like write a message (like happy father’s day?), make a monogram (cut out a letter from the magazine?), or just leave it blank. But here’s what I made…
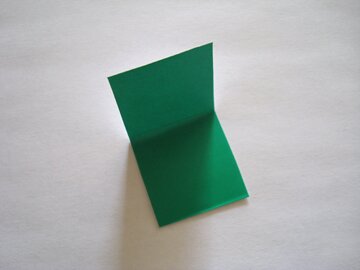
I salvaged the folded side of the bag that I removed earlier, and cut out a 1“x2” rectangle, then folded it in half, with the white side facing out.
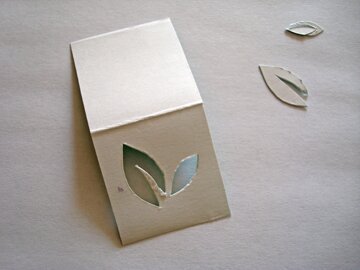
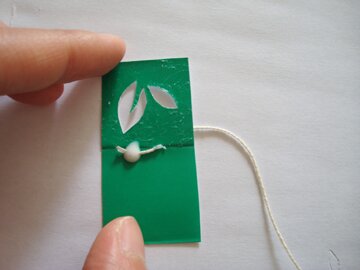
I then cut out some tea leaves on one half with the utility knife (free-hand too! I was pretty proud of myself).
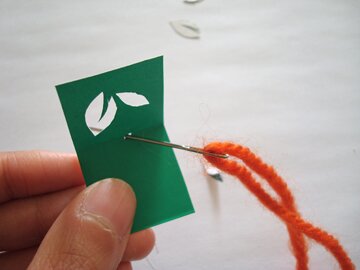
I then used a tapestry needle to poke a hole through the middle of the fold.
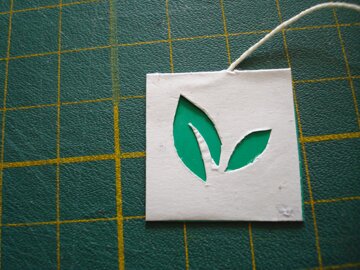
Then I threaded the end of the thread (with the other end already attached to the teacup) through the hole. I then slather a generous amount of glue with the glue stick on the half of the paper with the leaf design. I placed the thread end on middle fold of the paper, so it lied along the fold, then I put a drop of white glue on the thread.
Fold the top down and… ta-da! A one-of-a-kind paper-cut tea tag!
And guess what? The bookmark is ready to mark those pages! :D
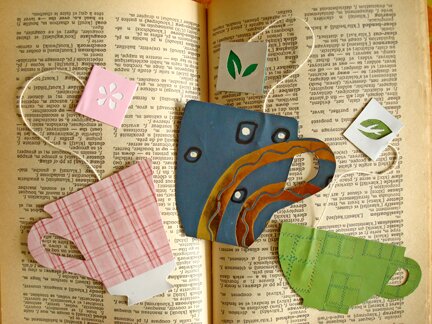
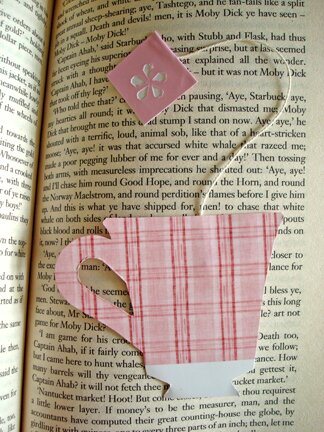
I also made a pink one, with a flower tea tag, for an herbal tea kind of day…
Now I’m going to make myself a nice cup of tea. Thanks for stopping by! Have a great weekend!
Wonderful and delightful project, thank you! Your PDF works perfectly! This will be a nice project for my daughters to complete for their teachers next week (end of school-year here). We’re near Chicago, Illinois, and it is a long holiday weekend for us (Memorial Day).
Thanks again!
Threezcharming
Great project, and you should be proud of those freehand leaves—they really popped out at me when I initially looked at your photos. I wondered where you got the stamp for them, haha.
I printed out your template (and thank you for it, I love the teacup shapes!), hopefully I’m going to work a felt teacup into a little monster-plush I’m sewing today. I’ll send a link if it works out! :)
i actually have some floral / leaf punches made by fiskars, but they went dull after punching 120 wedding invitations…
i’m glad you can find other uses for the teacup templates! they were fun to make and I learned a lot from drawing them. i’d love to see the monster-plush! happy crafting!
Trish,
I think your teacup project is an excellent idea!!!!!! When I came upon your link I was just searching for teacup designs. But as a Pre- School Teacher I feel it’s an wonderful small group project for my daughter’s (who is also a teacher) Pre- K Class, especially for Father,s Day!
Carla G.
Sacramento, Ca.
glad you find the pattern useful, Carla! thank you for visiting! :D
That looks great! :D
Thank you!
Hi lovely designs of tea cups, I am going to scrap book a tea cup design for an invite to a High Tea.
I am also going to add inside the tea cup a tea bag, that will make an impression.
Kind regards
Shireen
that’s such a lovely idea! thank you for visiting, Shireen!
Hi Trish. Very cool craft. I plan on making the tea ones but also trying my hand at coffee themed ones. Maybe having “coffee beans” on the end of the string; just for some variety. Want to make a huge bunch to donate to our local college library. Thanks so much! Greetings from B.C. :)
Wow! It´s a great idea! I love bookmarks!!! It´s a pity you can’t use them on e‑readers :(
thanks so much! there must be some creative ways to make bookmarks for e‑readers! an e‑bookmark? :D
I just made 2 of these- one for me and one for my sister. They’re quick cute projects. I love them and will definately be checking out more of your DIY projects!
i’m glad you like the project, Kaitlyn! thanks for trying it out! :D
Teapot stencil anyone?
Love your site and your blogs! First timer here. Stumbled upon you while looking for stencils for teacups and teapots.
I made one of these and I want do other. I also have wrote in my blog how to do it.
I’m spanish. So I just “translated” to my language and I added my experiences.
Hope you don’t matter.
Thank you thank you! What a well material end, simple, sweet, easy, DIY! Thank you for the template too. We are headed to a tea/book lovers house today, for Christmas. This will be the PERFECT combination handcrafted gift! We decided only handmade gifts and ornaments to give this year! The house looks like steady assembly line with all of them! The kids and I will work on our own versions of this fantastic idea!
thank you for visiting, Jeanine! i’m happy that the project can be a part of your celebration! handmade gifts are the most fun :D
Thank you for sharing. These are so cute. I will be making these! :-)
thank you for visiting my blog! happy crafting!
@ Trish You can revive and sharpen your punches by folding tin foil up just enough so it fits in your punch-then punch the tin foil several times until the punch is sharp again. Hope this helps. In really extreme cases of dullness I also have filed mine sharp just like you would a chainsaw blade or a kitchen knife.
I am going to make mine out of fabric instead of paper so they will last longer- also I thought I might laminate the teacup and tag.
Great idea and so easy to make! I am putting this in a for-tea-th birthday gift bag. Thank you.
I’m glad you like the craft! for-tea-th birthday is brilliant! :D
Muy buena idea,gracias por compartirla
Thanks for visiting Ana!
Wish me luck! I am not much of a crafter. I am going to attempt these as gifts for my book club. We usually drink tea and coffee at the meetings. Thanks for sharing your project.
Hi Peggy, thank you for giving the tutorial a try! A teacup bookmark sounds fantastic for a book club :) happy crafting!
Pretty pleased with my results. Wish I could post a picture. Thanks again. Peggy
One more note. I used kitchen twine. It was a little heavy, would use something finer if I made these again.
happy to hear that it turned out well! baker’s twine might be a nice option!
I did the same as the last commenter and made a few for my book club friends! We are the “Tea Time Bookclub” at our local public library so these are perfect! Thanks so much!
I’m glad! thank you!
Thank you for the template, great idea.
Glad you enjoy the craft!