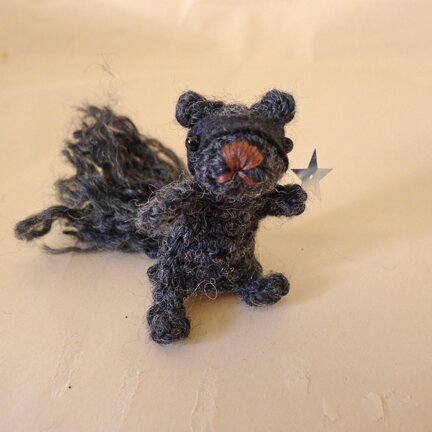
Last week I mentioned making a ninja squirrle, Katsu, for my sister. Finally written up a pattern, so you can make your own ninja too! :DÂ
And unlike most squirrel plush, Katsu is grey. Because most squirrels in Toronto are actually grey, charcoal, or black, (and on extremely rare occasion, white!) but not brown.
Alright, here’s the pattern…
I used:Â
Patons Shetland Chunky — Charcoal
3.75mm hook
Bit of black craft felt — for the satchel
Two 4mm glass beads — for eyes
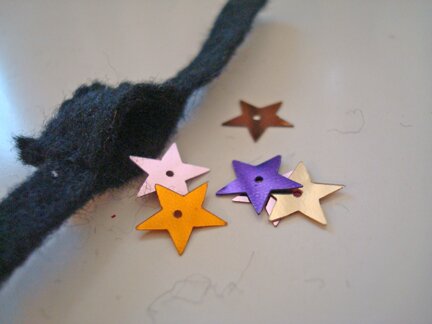
Star confetti — for ninja stars
Straight pins, tapestry needle, sewing needle, black thread
Stuffing (I used bits of scrap yarn)
A note on yarn and hook: I used Shetland Chunky because that’s what I have. Other chunky or heavy worsted weight yarn would do. Or one could probably substitute with a worsted weight yarn, but may have to use a 3.5mm hook instead. I like to have a fairly tight gauge when crocheting plush, so it would keep its shape.Â
A note on pattern: I like to crochet while watching TV and I don’t like to count stitches. So what I started to do is repeating the same stitch (or set of stitches) around and around until the pieces gets to a certain length. As such, the pattern is written in steps rather than in rows. I find that easier, and I hope it works for you too. But if you need clarification please feel free to leave a comment or contact me. I’d be more than happy to connect with you :D
Katsu is very small (about 2.5 inches tall) so it helps if one is familiar with crocheting in the round on a small scale. The upside is, because he’s so small there are not very many stitches involved and so it doesn’t take very long :D
The stitches involved are:
chain (ch)
sc (single crochet)
sl st (slip stitch)
2 sc tog (work 2 single crochet stitches together)
Here it goes…
HEAD:
Step 1: ch 3, 5 sc in 3rd ch from hook, sl st in top of beginning ch.
Step 2: ch 1, [2 sc in next sc, sc in next sc] for 2 rounds. (So you’d see 3 rows of stitches altogether all around.)
Step 3: sc in each sc until piece measures 1″ from beginning.
Step 4: 2 sc tog until there are 5 sc left, sl st in next sc, leaving a 6″ tail, fasten off.
Stuff head, weave tail in the 5 stitches around the opening and pull taunt, tie off.
*Head position: beginning of step 1 = nose, tie off = back of head
EARS:
Leaving a 4″ tail, ch 3, sl st in 3rd ch from hook, leaving a 4″ tail, fasten off.
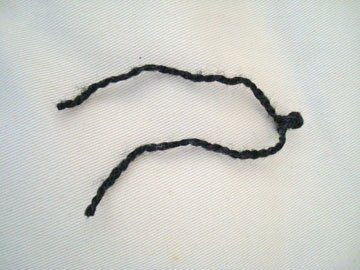
Position ears on head. Using crochet hook, pull tails, one at a time, through the head and out through adjacent stitches at the bottom of the head.
Tie tails at the bottom of the head.
Repeat for the other ear.Â
MASK:
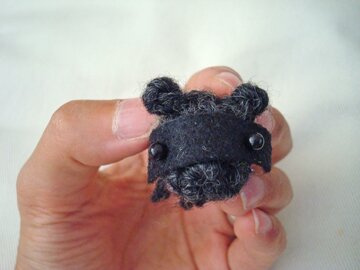
Cut a small strip of black felt and pin it to head with straight pins to determine position of eyes. I happen to have straight pins with black bead pinheads, which make perfect stand-ins for eyes.
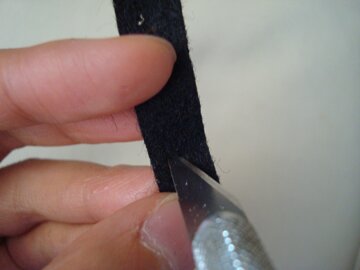
Take mask off head. Note where the pin holes mark the eyes, and cut the holes bigger with an Exacto knife.
Trim the mask between the eyes and bottom left and right to create a more mask-like shape.

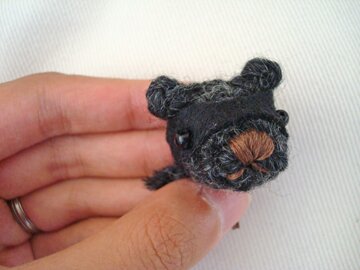
Sew mask to head, then sew on eyes and embroider nose/mouth. Head is complete! :D
 Now we move on to the body…
BODY, LEGS & ARMS: (all made in one piece)
Step 1: ch 10, sl st in 1st ch to form a ring. 1 sc in each ch around.
Step 2: sc in 1st sc, continue to work 1 sc in each sc for 2 rounds. (So you’d see 3 rows of stitches altogether.)
Step 3: 2 sc in next sc, 1 sc in each of the next 4 sc, 2 sc in  next sc, then 1 sc in each sc until piece measures 1 1/4″.
You’ll get a tube shape. Flatten the “tube” for the following steps.
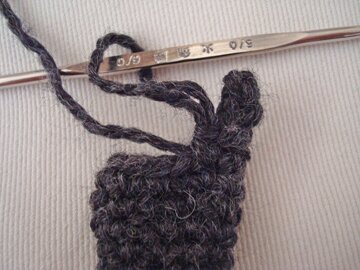
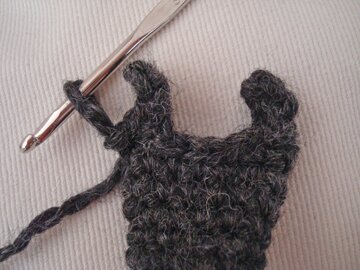
Step 4 (leg): ch 4, sc in 2nd st from hook, 1 sc in each of next 2 ch, sc in the stitch beside where the ch 4 of leg began.
Step 5: Crocheting through both front and back piece of body, sl st in each of the next 4 sc.
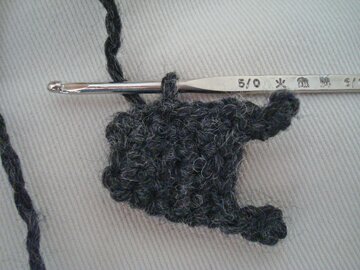
Step 6 (other leg): ch 4, sc in 2nd ch from hook, 1 sc in each of the next 2 ch, sl st in next closest stitch of body.
Step 7: sl st up the side of body until 3rd last round before neck.Â
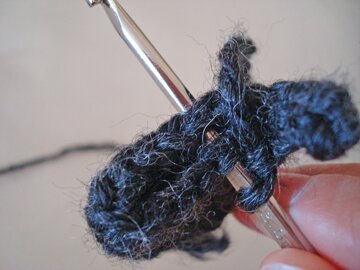
(Begin arm)Â ch 4, sc in 2nd ch from hook, 1 sc in each of next 2 ch, sl st in next sc of body.
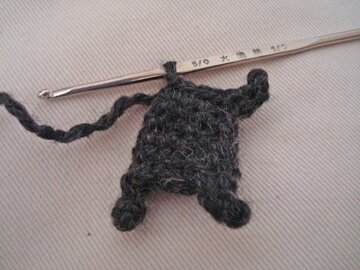
Step 8: sl st across neck opening in front layer ONLY.Â
(Begin other arm) ch 4, sc in 2nd ch from hook, 1 sc in each of next 2 ch, sl st in next sc of body. Sl st down the side of body until beginning of leg. Fasten off.
Stuff body through neck opening. Sew head to body.
Squirrels cannot stand on their own without their big fluffy tails. To make tail:
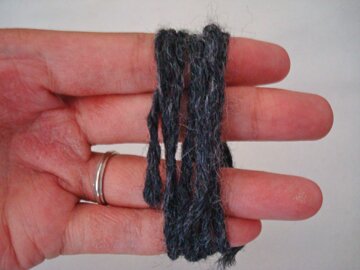
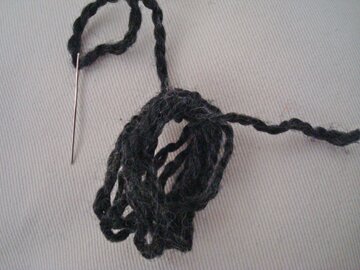
Wind yarn around 4 fingers 7 times.
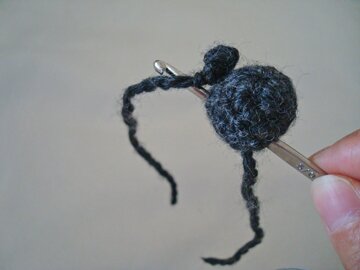
Cut yarn. Take yarn loops off hand while keep the loops. Thread a needle through one of the yarn tails while keeping the other yarn tail free. Wrap yarn tail through the loops, like so…
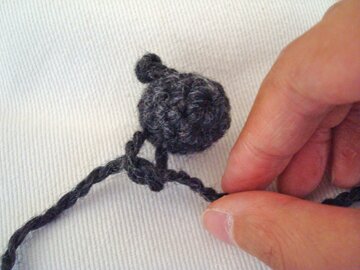
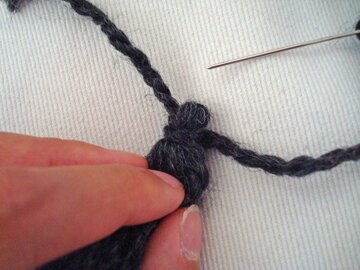
Bunch the loops together and wrap yarn tail around the bunch of yarn loops, like so…
Tie the two tails together. With the needle still threaded, pin the tail to the squirrel :D and secure with a few stitches.
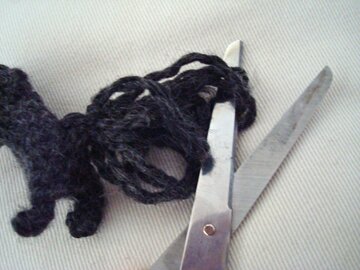
Cut all the yarn loops open. Fray the individual strands of yarn. Then gently roll the tail between palms.
Tail complete! :D
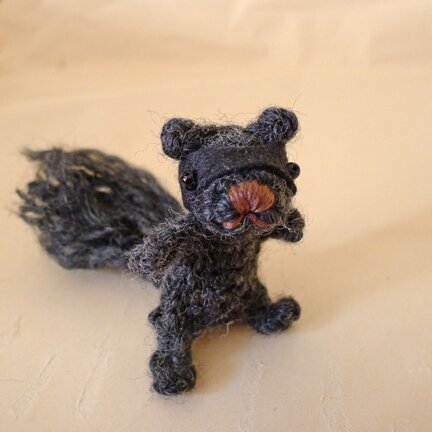
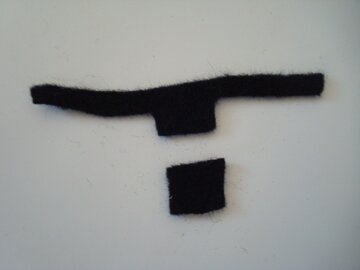
To make Satchel, where ninja squirrels keep their ninja stars:
I cut from black felt these pieces…
Then I sewed 3 sides of the rectangle to the belted part, leaving the top open. Then I just put it on Katsu and pinned the back together with a tiny safety pin.
Here’s Katsu with his satchel…
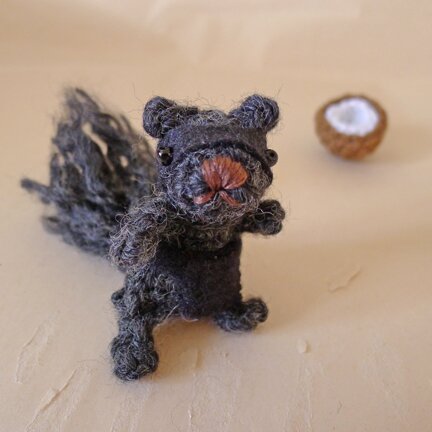
The pattern for the coconut, if you’re interested, is part of the pina colada pattern. (Wonder what the coconut is doing here? Full story in last week’s post.)
Aiming at target…
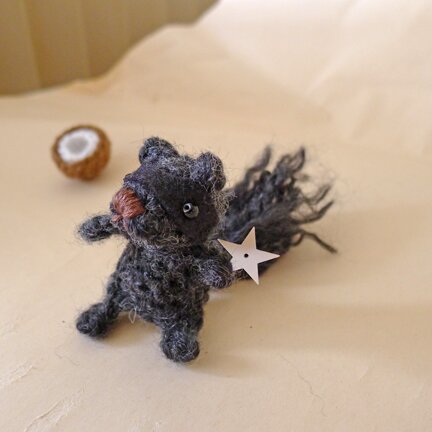
Hi-YA!
Adorable! You are so creative; it is delightful to see your work!
P.S. Remember to include a ‘button’ hairpin for your sister, too ;)
thank you! :D i do wonder if my sister likes wearing hair pins. i haven’t really seen her wear them before…
OMG! This is just the cutest thing I’ve ever seen!! I must have one :) Thanks for sharing him with us!
thank you for visiting! :D
Wooo hoo! this is just awesome!
I really love your patterns- they’re so original and cute.
Really appreciate you sharing them with us :)
thank you so much! :D
I’m creating a magic yarn ball with squirrel stitches markers and little acorns. This will definitely be in the center. Thank you so much!
this sounds very cool! especially love the idea of little acorns :D thank you for visiting, Chari!
Holy crapstick. I just found your blog, and I think I might be in love with you. Or at least your patterns. But possibly you as well.
hahaha! i’m glad you like the patterns! thank you for visiting! :D
this is like the most awesome crochet project I have ever seen!!! you seem like such a lovable person :) thanks for sharing anyway, I’ve just made my own Katsu, it looks a bit retarded but it’s adorable :D
thanks so much joanna for visiting my blog and for trying out the pattern! katsu would be proud :D