When we went to Vancouver a couple of months ago one of the most memorable things was seeing the adorable sea otters.

*heart eyes x1000*
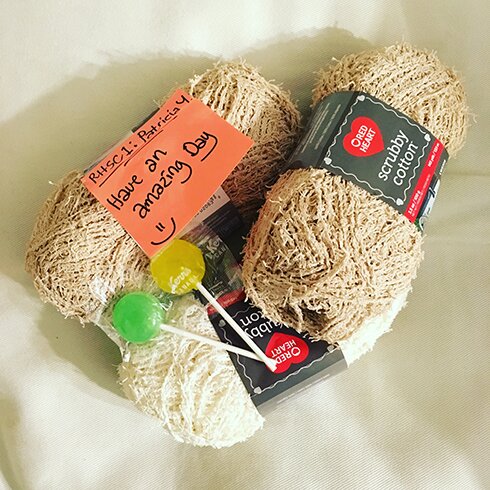
So when the nice folks at Yarn Canada sent me some Red Heart Scrubby Cotton to try out and write a blog post about (they even sent candy and a nice note, aren’t they awesome?), I knew exactly what to make :)
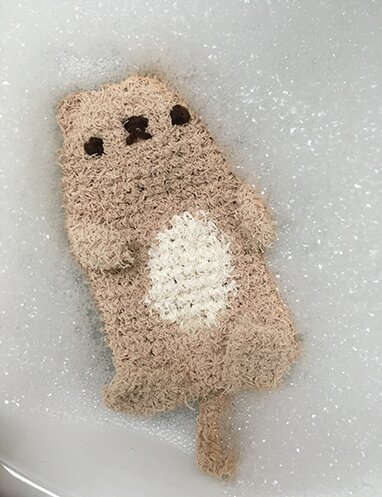
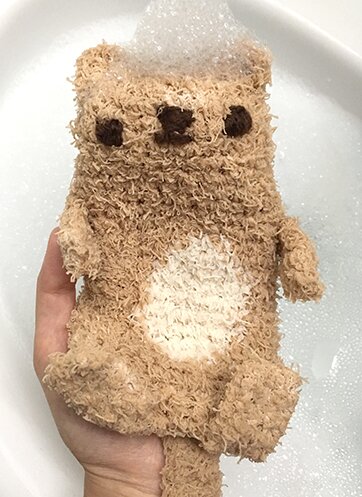
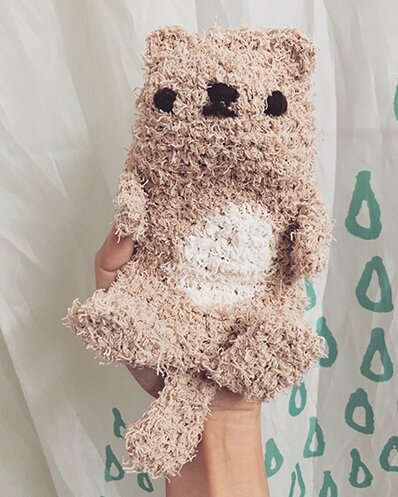
A bath otter, floating on its back, holding your soap! XD
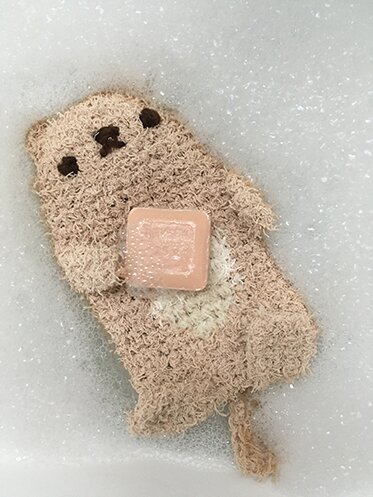
Actually, our test shows that the otter sinks after the holding the soap for a while… but still, it’s fun to see it floating on its back.
It makes a great bath toy, and a soap saver. If you have a tiny bit of soap left just stick it in it’s back pocket and scrub away :D
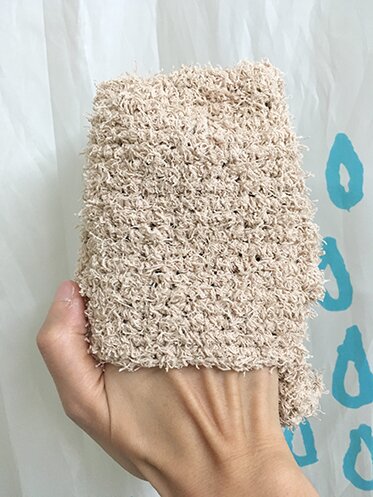
This cotton yarn is super absorbent and softer than regular polyester scrubby yarn, so it makes a great wash cloth.
One skein of scrubby makes 2 otters with plenty leftover for a knit wash cloth, which is quite economical for holiday gift-making.
If you make it with regular wool or acrylic, the pattern would also make a cute hand puppet! :D
I used:
One skein each of Red Heart Scrubby Cotton in tan and loofa
A bit of brown acrylic yarn for embroidering facial features
5.5 mm hook
Tapestry needle
Note:
The otter is worked from top down in the round in the top part, then worked back and forth in the lower part and seamed at the sides in order to create an opening in the back. Then arms and legs are crocheted separately and sewn on. Ears are crocheted directly onto the head. The texture of the yarn makes it a bit challenging to see the stitches, and it is sometimes a bit difficult to undo stitches, but it’s great for blending in yarn ends and sewn seams. This pattern is written with this in mind and the structure is made as simple as possible.
This pattern requires knowing how to do colour change in mid row. If you’re not familiar, please check out this handy tutorial by Moogly :)
Pattern:
Head & upper body:
Round 1: with tan, 10 sc in magic ring, don’t join in the round.
Round 2: 2 sc in each sc (20 sc).
Round 3: [1 sc in next sc, 2 sc in next sc] around (30 sc).
Round 4: 1 sc in each sc around.
Repeat round 4 until piece is 3.5″ tall.
Mid-section area:
6 sc, attach loofa (white), 3 sc in white, switch back to tan.
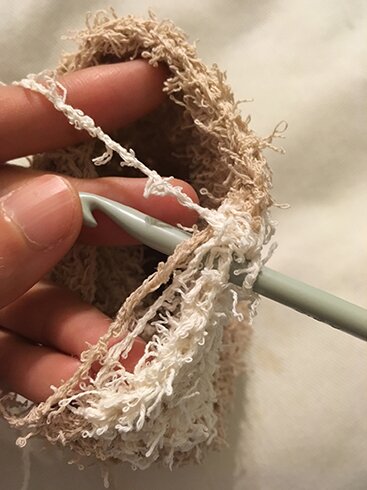
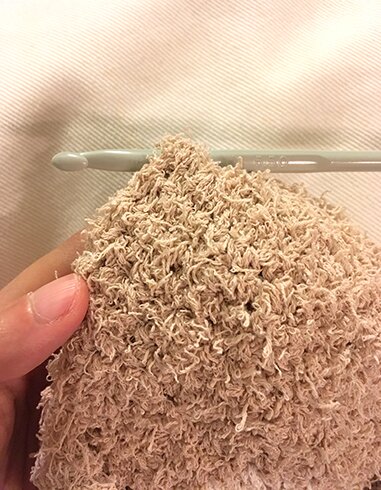
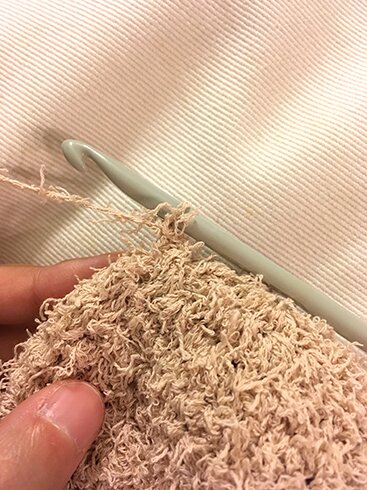
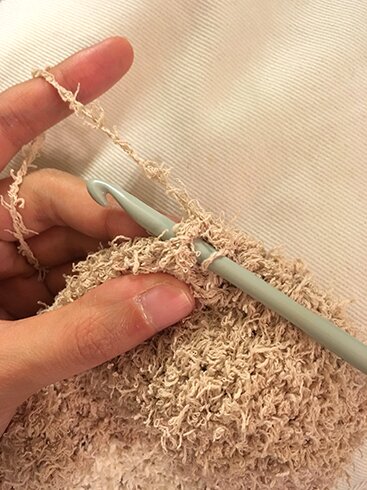
sc in each sc around using tan, until the sc before the first white stitch in the row below, switch to white, sc in the next 5 sc using white, wrap the white strand and the working tan yarn in the stitches as you go, like so…
Switch back to tan and 1 sc in each sc using tan, until the stitch before the first white stitch in the row below, switch to white, sc in next 7 sc using white, switch back to tan.
Continue crocheting in the round, using tan in tan stitches and white in white stitches until there are 4 more rows with white stitches.
Then, sc in each sc around using tan until the first white stitch in the row below, sc with tan in first white stitch, switch to white, sc with white in next 5 sc, switch back to tan.
sc in each sc around around using tan until first white stitch in the row below, sc with tan in the first white stitch, switch to white, sc with white in the next 3 sc, switch back to tan, fasten off white. sc in next 6 sc using tan, turn, leave remaining stitches unworked.
Lower body:
Lower body is worked back and forth in rows over 15 stitches.
Row 1: ch 1 (does not count as sc), sc in next 15 sc, turn.
Rows 2–8: repeat row 1, leave a long tail for sewing, fasten off.
With right side facing, fold lower body piece up in half, sew side seams together.
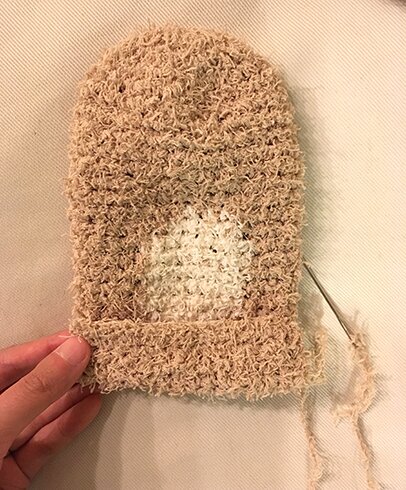
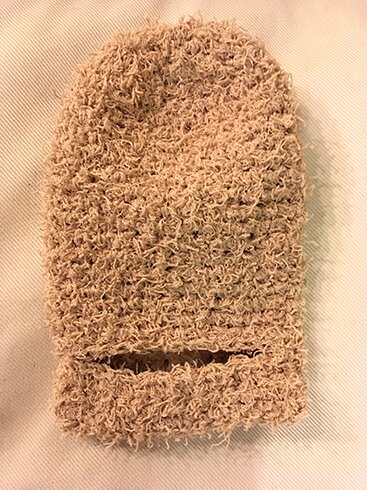
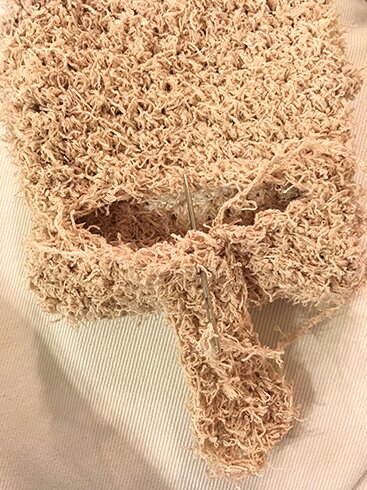
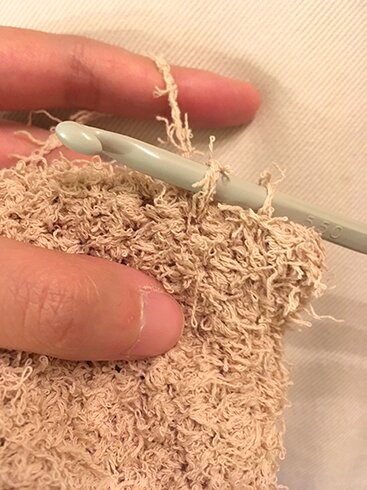
Turn lower body piece right side out. At the back opening, sew together the top and bottom stitches closest to the seam on each side, like the picture below. To sew the other stitches closest to the other seam, I didn’t fasten off, I just wove the working yarn through the top edge of the bottom part of the opening, and actually cinched / gathered the stitches a bit to make the opening more sturdy.
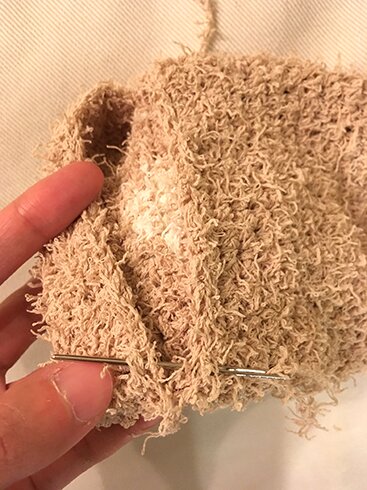
Fasten off and weave in ends. The back would look like this…
Arms (make 2):
Row 1: Using tan, ch 6, sc in 2nd ch from hook, sc in next 4 ch, turn.
Row 2: ch 1 (does not count as sc), sc in next 5 sc, turn.
Rows 3–5: repeat row 2, leaving a long tail for sewing, fasten off.
Fold arm in half so the first row meets the last row, using the yarn tail, sew along side and top of arm using whip stitch, then sew arm to body along the side, also using whip stitch.
Legs (make 2):
Row 1: Using tan, ch 6, sc in 2nd ch from hook, sc in next 4 ch, turn.
Row 2: ch 1 (does not count as sc), sc in next 5 sc, turn.
Rows 3–7: repeat row 2, leaving a long tail for sewing, fasten off.
Fold leg in half so the first row meets the last row, using the yarn tail, sew along side and top of arm using whip stitch, then sew arm to body along the bottom of body, also using whip stitch.
Tail:
Row 1: ch 12, hdc in 3rd ch from hook, hdc in next 2 ch, sc to end of row, turn.
Row 2: ch 1 (does not count as sc), sc in each sc, hdc in each hdc, turn.
Row 3: ch 2 (counts as hdc), hdc in next 2 hdc, sc in each sc, leaving a tail for sewing, fasten off.
Sew tail to edge of bottom park of opening on back using whip stitch, like so.
Ears:
Insert hook through a stitch on the side of the head.
Pull up a loop of yarn and secure yarn.
Insert hook in a stitch to the left.
Pull up a loop, then yo and pull through both loops on hook, thus making an sc. Make 4 more sc in the same stitch, then sl st in a stitch to the left in head.
Repeat for the other ear on the other side of head.
Embroider eyes, nose and mouth with acrylic yarn. Fasten off and weave in ends.
Ta-da!
As usual, let me know if you have any questions about the pattern!
Special thanks to the nice people at Yarn Canada for thinking of me and sending the yarn :) Please do check out their website if you live in Canada, free shipping for orders over $45, or flat rate of $5!
Happy crafting!
I just love this little fella! Thank you!
I’m glad you like him! Thank you for visiting!
I love receiving your posts, & this one in particular is so great!! Thank you for always providing cheer in our mailboxes : )
Ravissant! attendrissant! superbe! Bravo!! Claudine.
Thanks so much Mayumi! :D
Thank you Claudine! :D
This is just the cutest! Can’t wait to make him right away. He is different than any other bath mitt I’ve seen, and that yarn gives him extra dimension. Thank you for sharing this pattern!
I had a difficult time with the white stitch change .. any advice most appriciated
thank you Jennifer! happy crocheting!
Hi Kelly, so sorry about the delay in reply! It’s a bit hard to explain the colour change with words, but Moogly has a handy tutorial which I’ve included in the otter pattern above: http://www.mooglyblog.com/switching-colors-in-the-middle-of-a-row/
Hope this helps!
So so cute! We absolutely love otters in our house, I love crocheting, and my little one loves baths, so this one makes everyone happy! :D
Happy to hear you like the pattern Diana! Happy crocheting! :D
I am across your site via this pattern. I got the yarns to work on it a few months ago but finally have time to start it during isolation. Thanks so much for the pattern!
glad you like the pattern, happy crocheting, and keep well!