The Great Toronto Yarn Hop is coming up in exactly a week, on July 14! :D
All of us volunteers are getting super excited and busy organizing for a fun day knitting/crocheting/yarn-crafting in public with other yarn enthusiasts. It’s a great event for people to get to know each other, make a statement about the importance of craft and creativity by crafting in public, and support independent yarn-craft businesses.
So how does it work, you ask? Yarn-hoppers buy tickets and get organized into teams that take different public transit routes throughout the city to visit different independent yarn shops. At the end of the day we reconvene at a resto-pub for food, drinks and raffles. Proceeds from tickets and raffles go to Sistering, a 24/7 women’s support and drop-in centre that offers much needed services like primary healthcare, support groups, counselling and meal program to women who are experiencing homelessness/precarious housing, social marginalization and other challenging circumstances.
Sistering has a special place in my heart because that was where I trained as a social worker. The participants, volunteers and staff were the most valuable, knowledgeable teachers and I wouldn’t know what I know now and be where I am today without them.
There are still tickets left on a few of the routes, you can find out more details and buy tickets here!
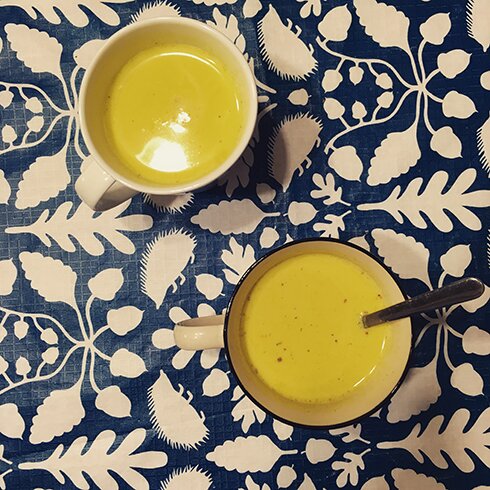
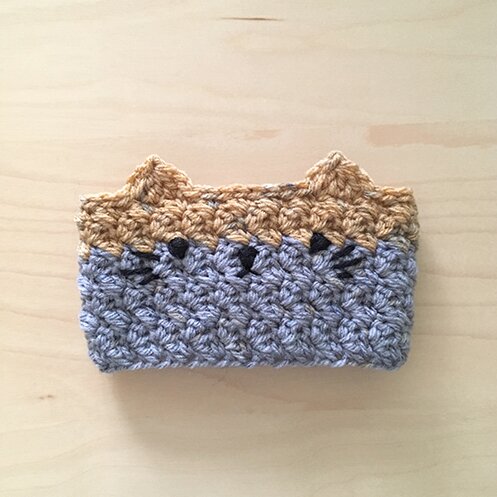
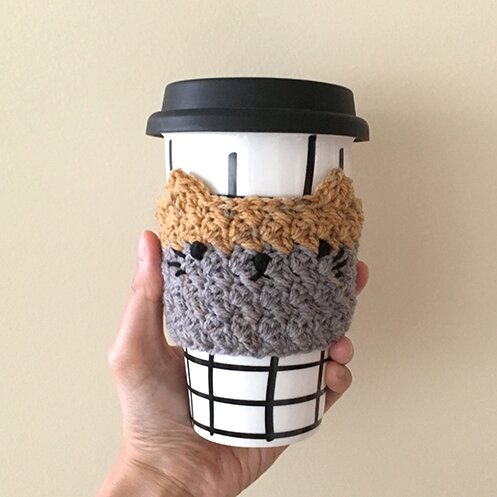
If you can’t physically come to the Yarn Hop, you can still join us! I wrote a crochet cup cozy pattern as part of the gifts for the Yarn Hop participants, called Caturday (because, you know, the Yarn Hop is on a Saturday). You can donate to Sistering through this Yarn Hop link, and I will send you the pattern!
You can donate any amount, and you don’t have to let me know how much you donated or send me any proof, I trust that we all want to make a difference in someone’s life when we have the opportunity to. Simply send me an email at genuinemudpie@gmail.com letting me know that you have donated, and I will send you a pdf file of the pattern in reply :)
The cup cozy uses a small amount of DK yarn and 4 mm hook. It has a dense, textured fabric that will keep your fingers safe from hot beverages. If you’re not into cats, simply omit the last row and the embroidery, and you’ll have a simple yet not-so-plain cup cozy to show off a beautiful yarn. Great for using up scraps!
Want to know more about how your donations will make a difference? Visit Sistering’s website for information and inspiring stories from the most resilient women.
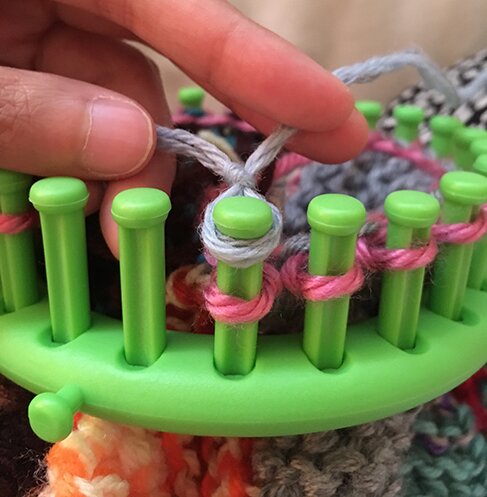
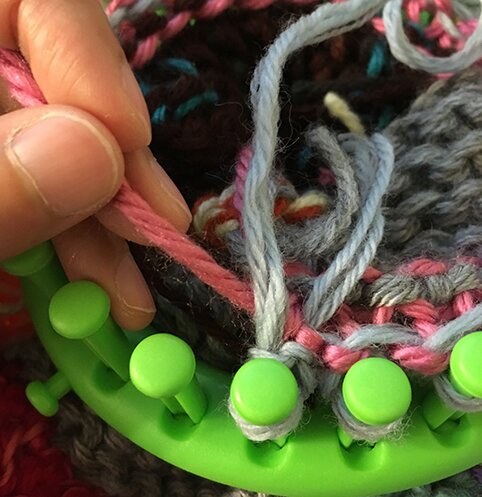
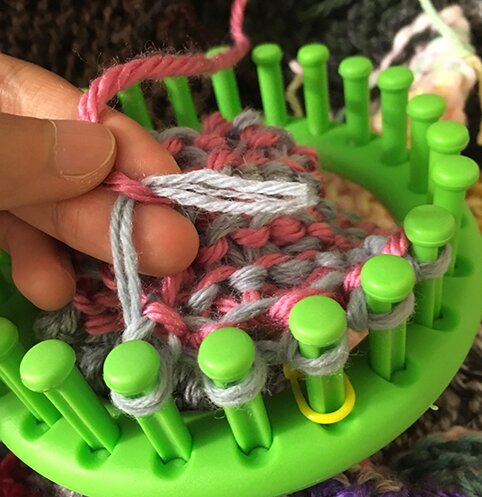
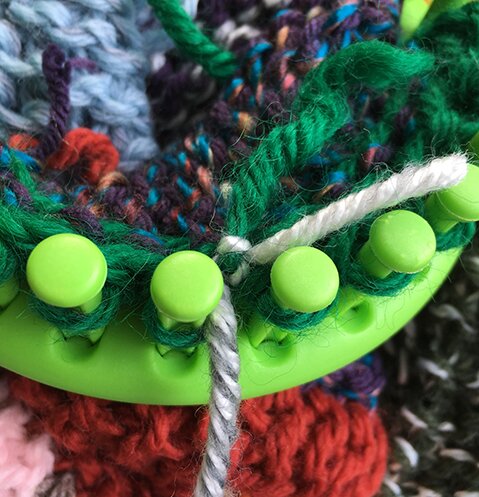
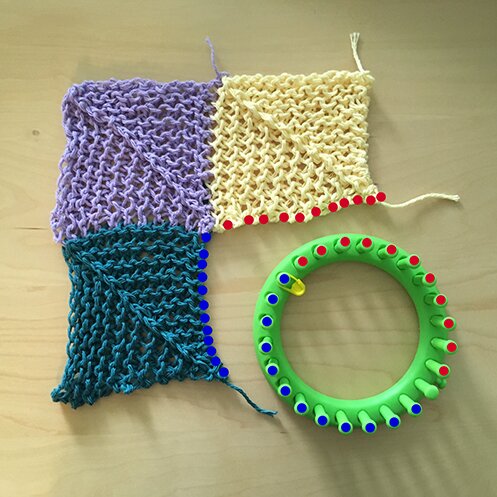
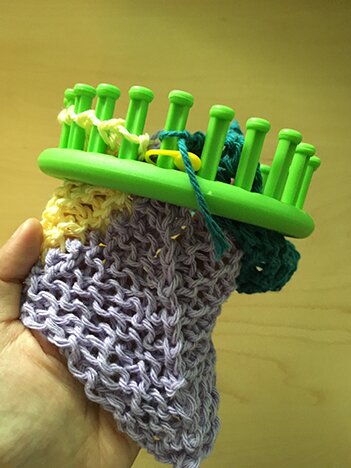
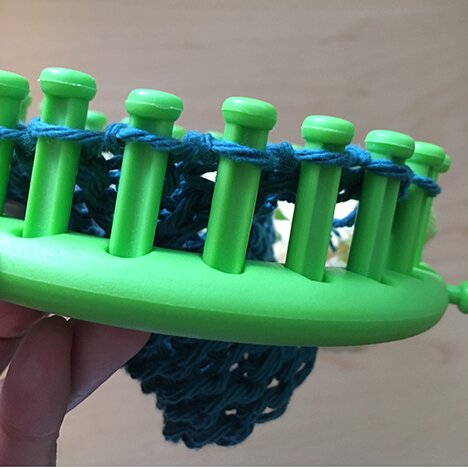
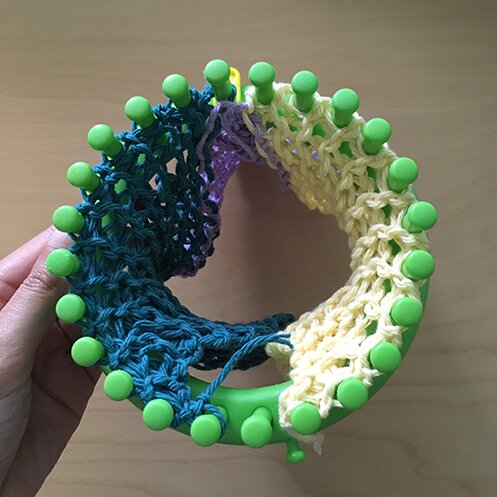
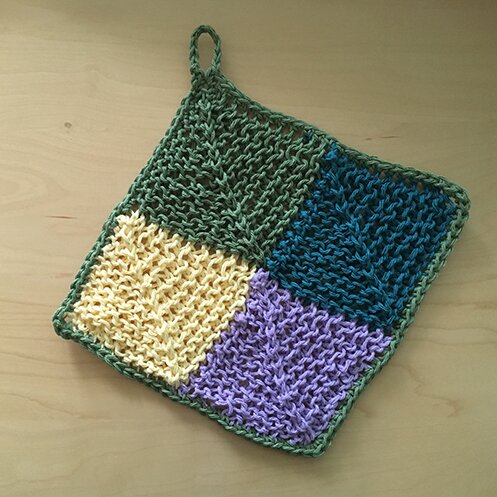
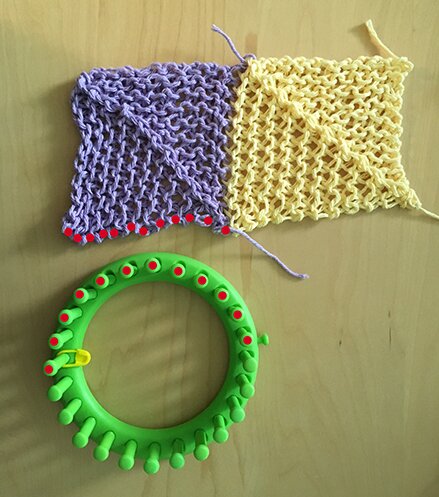
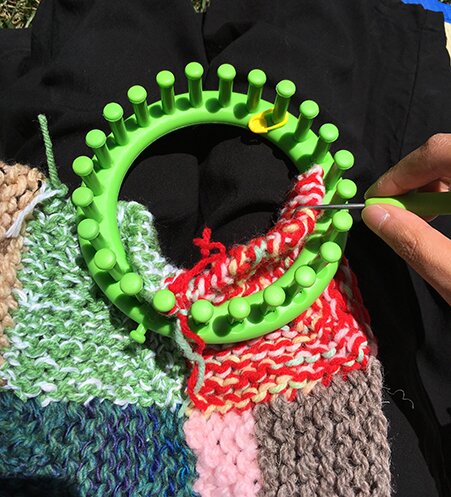
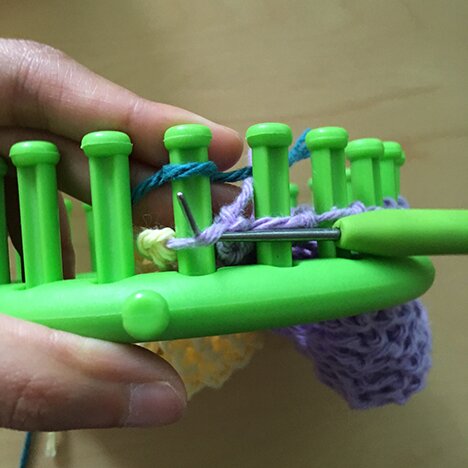
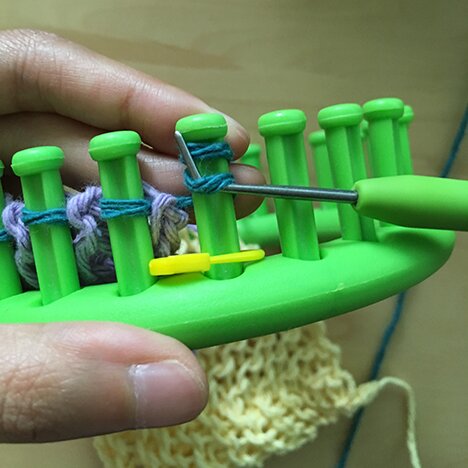
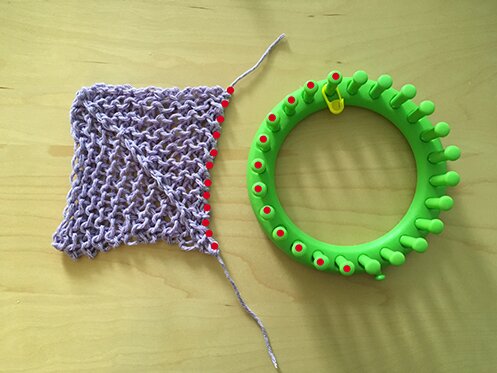
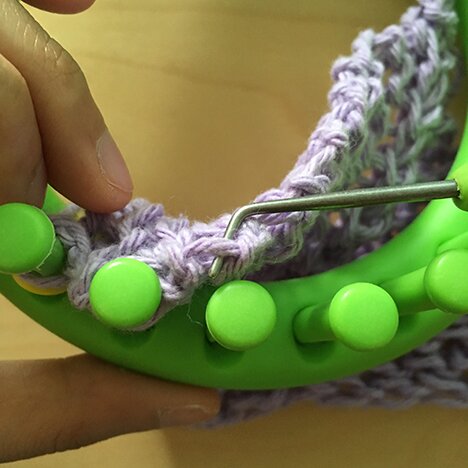
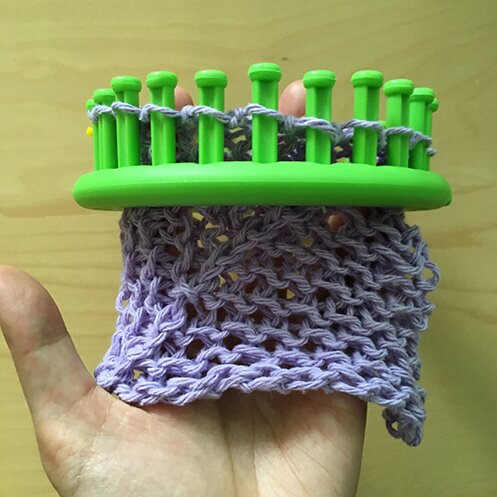
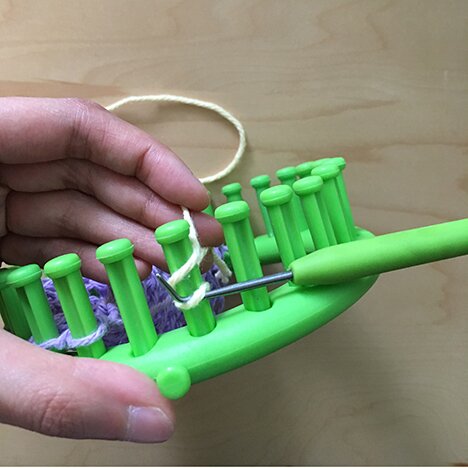
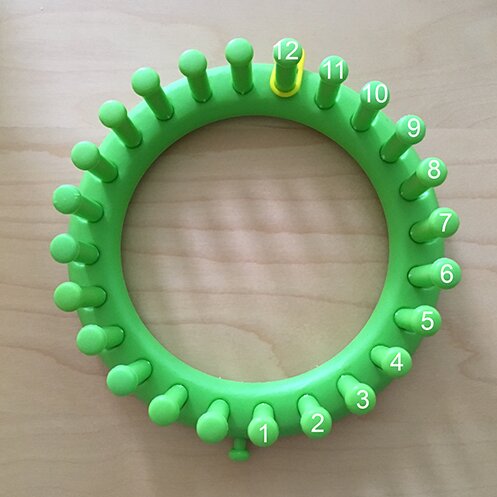
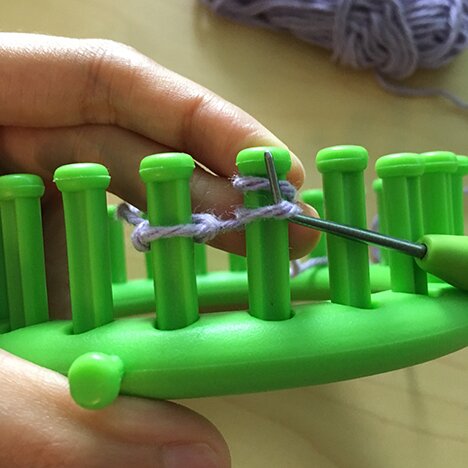
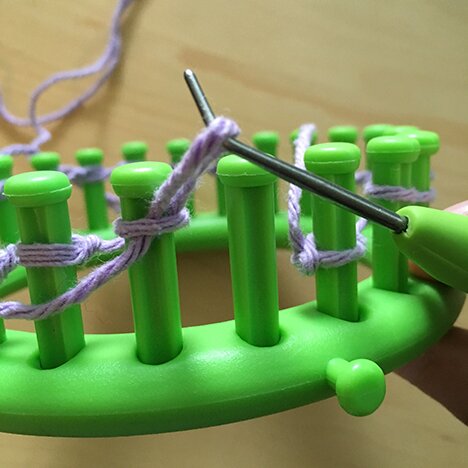
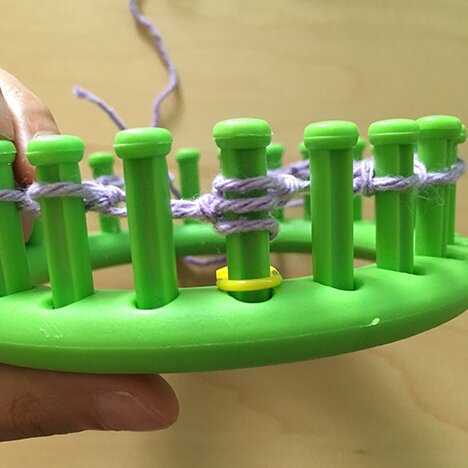
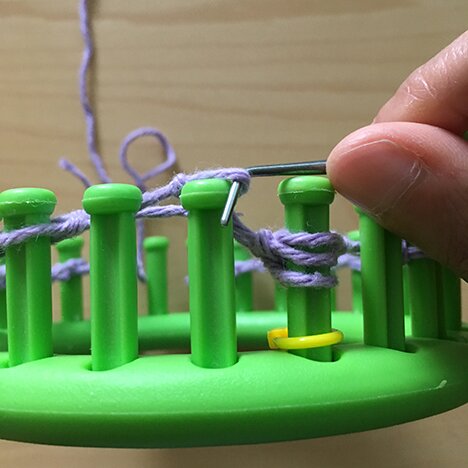
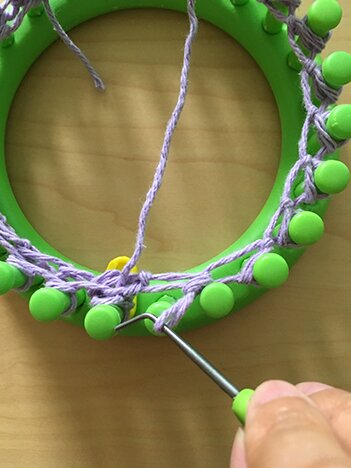
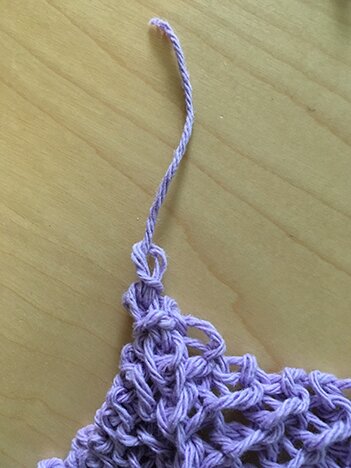
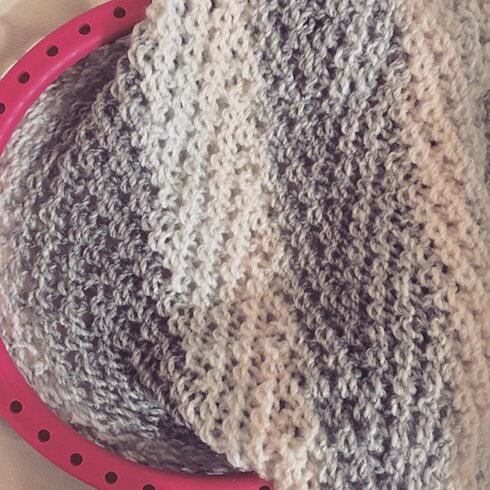
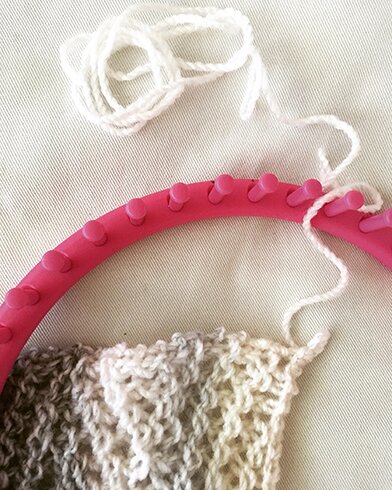
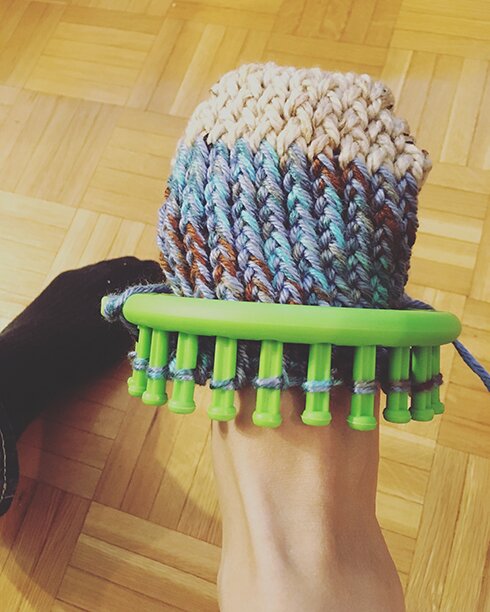
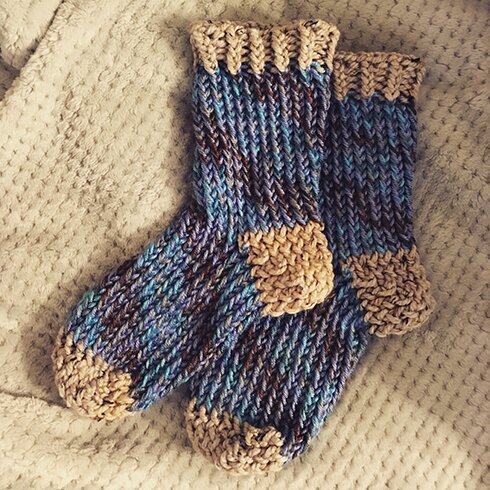
In the meanwhile, I was also busy loom knitting a mascot for the team that Mike and I are co-leading — Team Alpaca! Look how cuuuute… (if I do say so myself, haha)
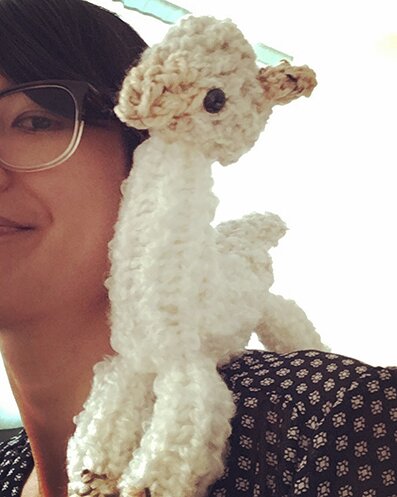
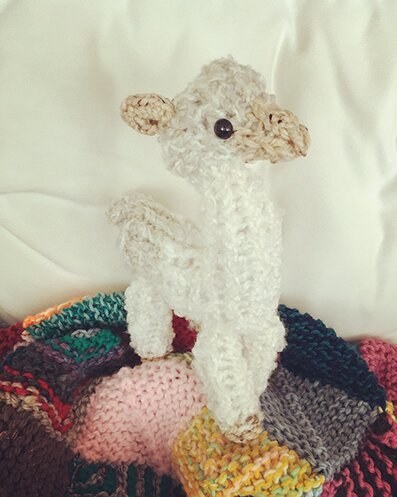
I’ve named him Cousin Alpaca, because I have a plush llama, who is perhaps like a cousin to alpaca…? Anyway, I thought Cousin Alpaca is a good name :D
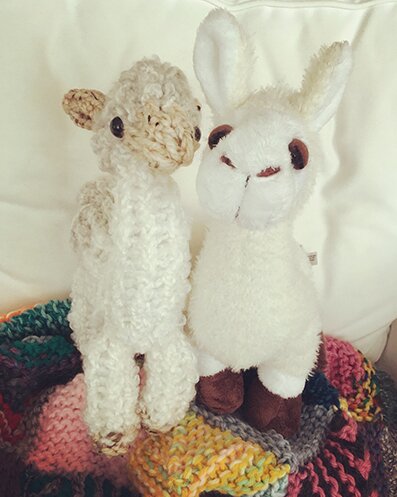
If you loom knit and want to make your own alpaca, the pattern is by the Loom Muse and can be found here.
If you’re in or near Toronto, come hang out with us and Cousin Alpaca next Saturday! :D Hope your weekend is full of crafty goodness!