levitating into the holidays

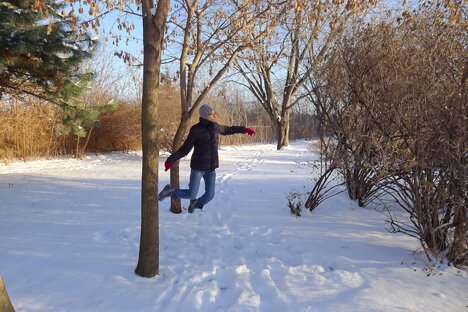
winter levitate

It’s harder to take levitating photos these days now that it’s so cold out. It’s not so big a problem for the person jumping because jumping repetitively helps one keep warm, but it’s probably torturous for the person taking photos, to be standing still, hands exposed in the freezing air, taking shot after shot. Fortunately for us it was warming up a bit last week, and the snow makes for a nice picture. This picture only took five jumps or so.

Have a happy Sunday!


Tweet about this on TwitterShare on FacebookPin on PinterestShare on TumblrPrint this page

this week’s awesome finds

 Brilliant! I imagine there’s shredded coconut in the jar too so one could shake it and make it snow :D Snow globe cookie jar spotted on The Crafty Crow.


Last year we made a granola nut mix for our families (we called it the “happy health squirrel mix” :D I can’t remember what recipe we used though). We didn’t have time to do that again this year, but this looks delicious! Definitely saving it for next year. From Make and Takes.


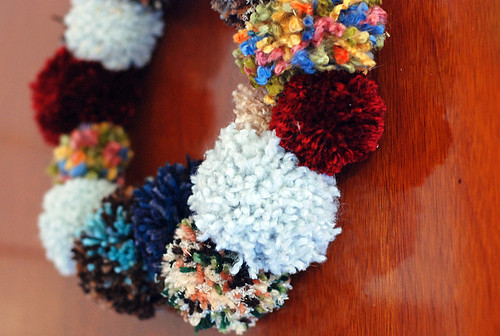
A pom pom wreath! Awesome way to use up small bits of yarn and so very festive. Spotted on Do Stuff.


Magical acorn ornaments from Lil Fish Studios. They make great pendants too I think!


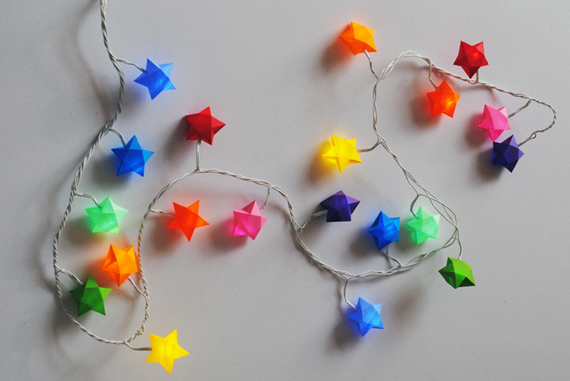
Templates for paper stars on Minieco. I love that they can be put over string lights.


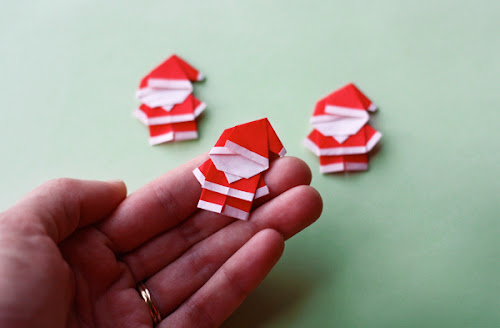
 Love how quaint these tiny Santas are. Follow the link on How About Orange for the origami diagram.


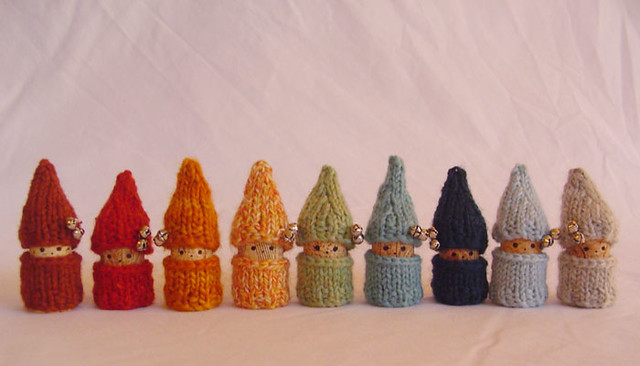
They made a brief appearance in my friend Nancy’s blog post on The Pickled Herring, posing with the beautiful and delicious Krumkake (check out the post if you want to learn to make krumkake!). And then Nancy pointed out to me that they’re called Korknisse and there’s a pattern for them on Ravelry by Manne!


Happy Christmas crafting! :D


Tweet about this on TwitterShare on FacebookPin on PinterestShare on TumblrPrint this page

thomas takes san francisco

I usually don’t like making imitations of well-known cartoon characters for fears of infringing copyright laws, but this young friend of mine absolutely LOVES Thomas the Tank Engine and I wanted to make him a present for his 3rd birthday. I don’t think he would be at all impressed if I made him anything else.

So I made these Thomas mittens, using the mitten pattern from Lion Brand Yarn. He’s posing here in front of this photo we have of San Francisco.

IMG_1399


He’s got sort of a crazed look on its face but I’m actually quite proud of it. I managed to incorporate a popcorn stitch for the nose rather than making it separately and sewing it on.

IMG_1403

The face took a lot of work, so for the second mitten instead of making another face I decided to sew on the number 1 instead, which is Thomas’ train number.

After opening the gift and exclaiming “It’s Thomas!” my young friend ran around the room while hugging the mittens. I think he likes them :)


Have a splendid day, everyone! :D


Tweet about this on TwitterShare on FacebookPin on PinterestShare on TumblrPrint this page

holiday cheers

IMG_1396


Taking in the festive sights and sounds around the city :D

Last week a friend and I made it to the Christmas market at the Distillery, but it was really cold! I think it was -20℃ with windchill. But everything was so pretty and magical. I managed to take a few blurry pictures.

And there was a giant Christmas tree!

IMG_1390


This past weekend I went to the City of Craft show. The organizers are the best at festive decorating! I can only imagine how much work (and love) went into cutting out these paper rabbits.

IMG_1409


And they make lovely shadows…

IMG_1411


All the vendors were amazing, my friend and I were ooh-ing and ahh-ing at every booth. And the wonderful thing about the internet is that you, too, can visit these shops even if you couldn’t come to the show! :D I especially love the absolutely adorable miniature animals by Jenny Wren, I wonder if she would sell the lovely necklaces displayed at the show when her shop reopens, there was this fuzzy squirrel with a mushroom sitting in a tiny bell jar pendant!! And the super cute needle-felted animals by Lesley-Ann Green! Her business card has a really cute and kind-looking fox on the back, I propped it up on my desk and it makes me smile every time I look at it. It’s going to help me get through all the papers in the winter term I think. 


Hope you have a cheerful day!


Tweet about this on TwitterShare on FacebookPin on PinterestShare on TumblrPrint this page

spontaneity

headband


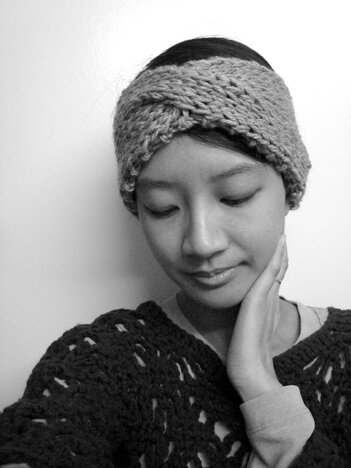
Looking for a very last minute gift? This headband took me just one hour to make, and I don’t even knit very much. Perfect for this snowy weather we have going on these days! It’d probably look better on someone with longer hair, but it’s really quite cozy.

It is based on this simple headband pattern from The Knit Cafe. I think the original looks very cute but the garter stitch kind of obscures the twist design a bit, so I thought I’d substitute with stockinette stitch. Spontaneously decided to write a post about my modifications and didn’t wait for daylight to take photos, so I thought I’d try to be stylish and make it black and white :P The yarn I used is grey anyway :) 

Here’s what I did:

I used 10 mm straight needles, 1 strand shetland chunky and 1 strand worsted weight yarn held together, a cable needle, and tapestry needle.

Cast on 12 stitches.

Row 1: knit 

Row 2: knit first stitch, purl until last stitch, knit last stitch

Repeat rows 1 and 2 until piece is 8.5 or 9 inches long, end with row 2.

Cable row: knit first stitch, place next 5 stitches on cable needle, knit the following 5 stitches, knit the five stitches on the cable needle, knit last stitch.

Repeat row 2, then row 1 and 2 until entire piece is 17 or 18 inches long, bind off. 

Sew the ends together. The post on The Knit Cafe has a nice photo tutorial for seamless join (scroll down for the seaming tutorial).


Happy crafting! :D


Tweet about this on TwitterShare on FacebookPin on PinterestShare on TumblrPrint this page

order of the year

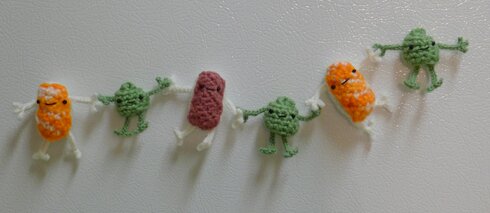
Because I only get about one order a year. And that’s perfectly ok, because I’ve been really busy with school and work. But I do really enjoy working on these. Makes me really miss having a shop. I hope that one day I’ll be able to get back to it. 

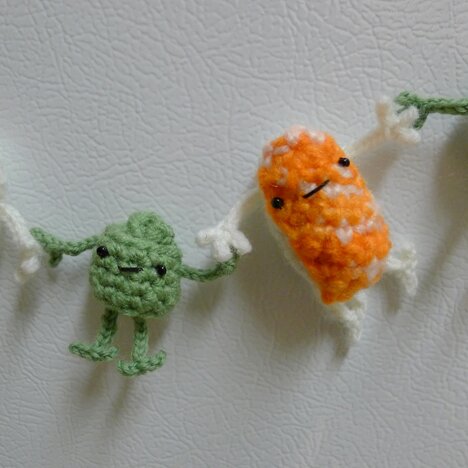
But here it is, nigiri and their wasabi friends :D

team sushi


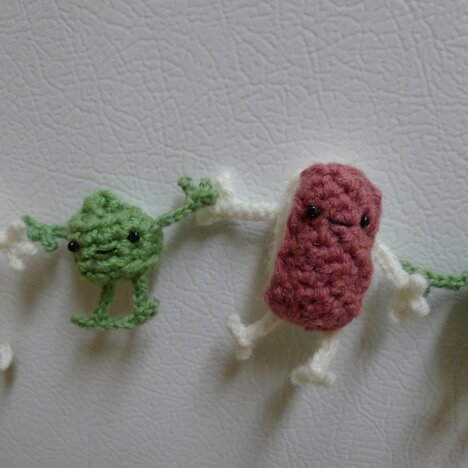
Close up of the tuna…

nigiri and wasabi friend 2


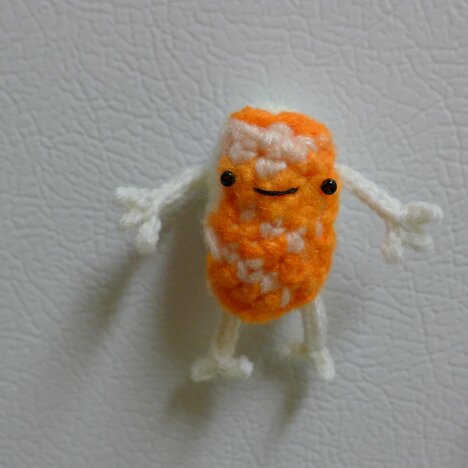
Close up of the salmon… I found this nice variegated orange yarn with white/peach, I think it mimics the marbling of the salmon nicely.

nigiri and wasabi friendsalmon

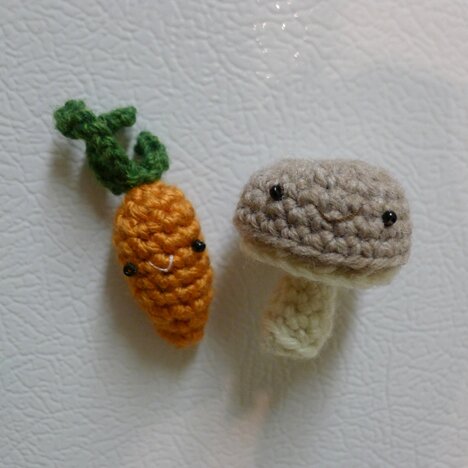
Plus a carrot and crimini duo.

team veg

They’re on their way to the east coast (my favourite part of the country!) as I write! Safe travels, tiny plush friends! 

Now that I’m on break, will be back with more festive postings soon! Cheers!


Tweet about this on TwitterShare on FacebookPin on PinterestShare on TumblrPrint this page

this week’s awesome finds

Yup, I’m still here. I don’t think I’ve ever let so many days go by between posts before. But then I don’t think I’ve ever been so busy in my life with school work… It should quiet down a little closer to the holidays, and I will be able to finally finish and show you a project that I’ve been working on since the summer. But in the meanwhile, awesome finds! :D

Aren’t these so cute? From Kiddley.


I love acorns. Lovely acorn necklace tutorial by Erica from Caught on a Whim.


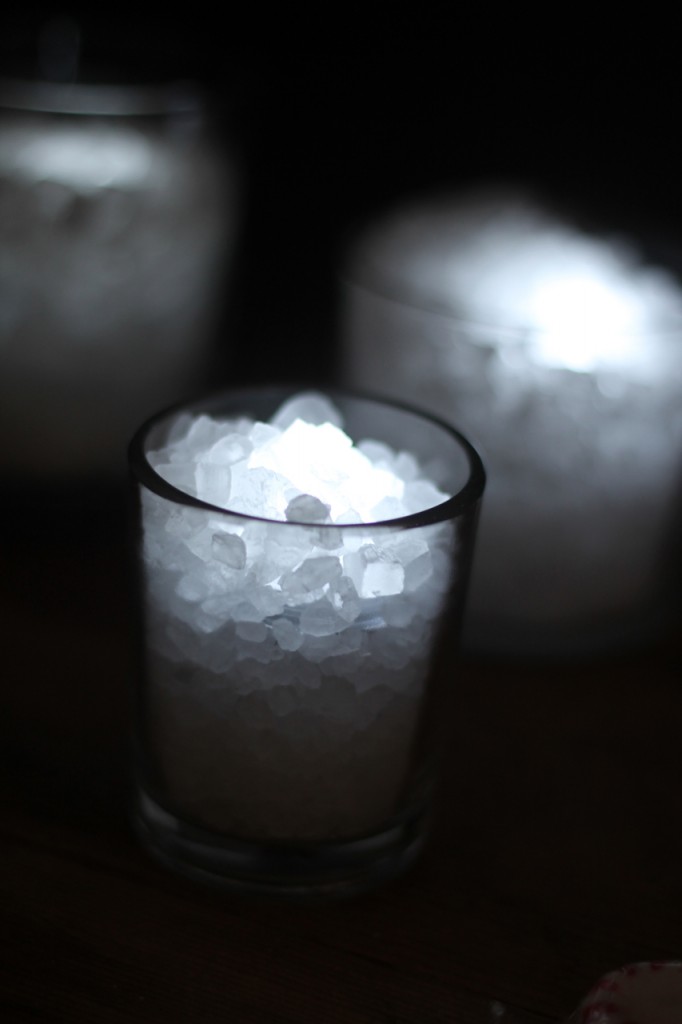
Brilliant idea for winter-themed centrepieces! Ice pots from Family Chic.


Beautiful sheath dress, tutorial by Cotton & Curls.


I’m going to make this as soon as the last paper is done! I picture it with a sparkly yarn… or maybe a greyish teal. Lace tunic from Lion Brand Yarn.


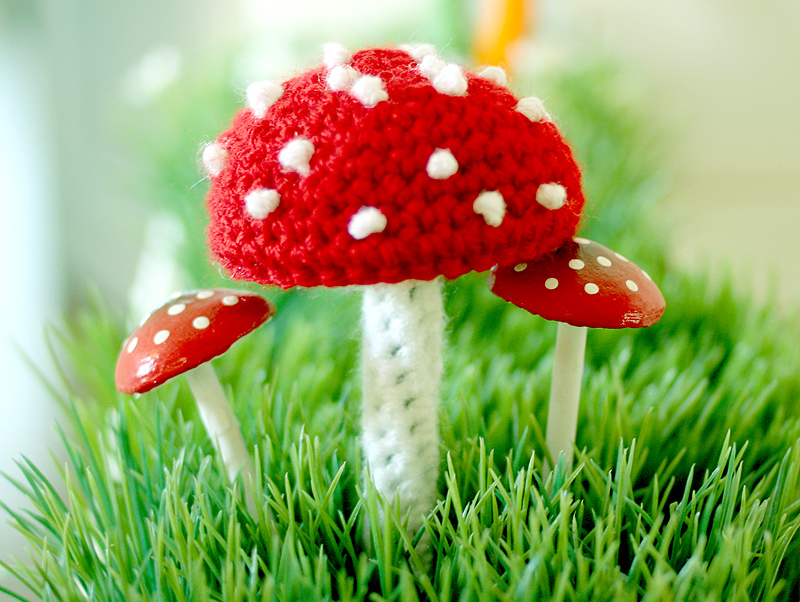
This made me so happy today, I can’t wait for the pattern to come out. A mushroom pen cozy! I will need it for the winter semester. From Twinkie Chan.


I hope to be back in a week or so with a crochet project to show. Until then, have a wonderful Sunday and an awesome week!


Tweet about this on TwitterShare on FacebookPin on PinterestShare on TumblrPrint this page

autumn scarf

DSC03063

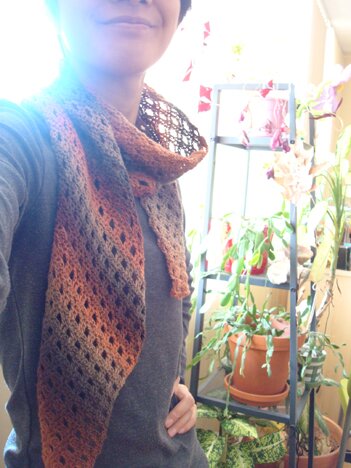
Finally made it! Amy’s B(ias)³ scarf! :D 

I didn’t make it as long as the pattern instructed because I only had 2/3 skein of the yarn that I wanted to use (it was a sock weight yarn by Mary Maxim, which I think has been discontinued :S), so it’s more like a scarflette, but I’m still really happy how it turned out :D

You can get the pattern for free at Amy’s Ravelry store :D

Here’s a closer look of it…

DSC03067

 Have a great weekend, everyone! 


Tweet about this on TwitterShare on FacebookPin on PinterestShare on TumblrPrint this page

blues

P1060072


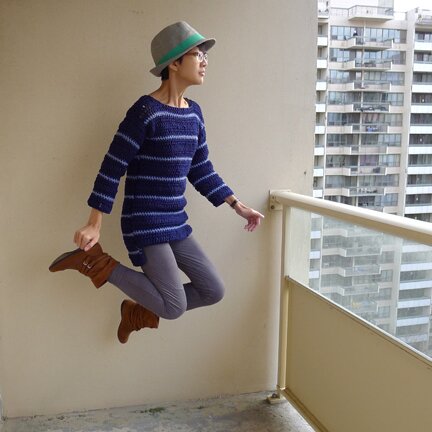
Pattern for a sweater that I talked about a while ago. Have been working on it slowly since the end of summer. And of course I have to celebrate its completion with a levitating photo :D It features an uneven hemline, with the back piece is longer than the front piece. It’s more like a tunic, so it can be worn over leggings.

Yarn weight: light worsted
(I used this acrylic yarn that I have a huge pile of in my stash, I like that it doesn’t stretch out of shape easily, especially when it’s crocheted with a large hook)

Yardage: aprox. 1400 yards for main colour, 150 yards for contrasting stripes 

Hooks: 9mm and 6.5mm

Measures:
Length from shoulder to bottom edge of back piece — 27“
Bust — 34″
(Though the sweater is quite stretchy, and pattern is easily adjustable by adding or subtracting foundation stitches. One may need more yarn if making a larger sweater.)
Sleeve circumference at shoulder — 14″

Stitches used:
Single crochet — sc
Double crochet — dc
Double crochet together — dctog
Single crochet together — sctog
Slip stitch — sl

Note:
1. Throughout the pattern, the turning ch 3 in dc rows counts as a dc, but the turning ch 1 in sc rows (stripes) do not count as an sc.
2. The main colour is carried up (not fasten off) when making the stripe rows, but the stripe colour yarn is fasten off at the end of each stripe section and not carried up over main colour sections.

PATTERN

Back:

With main colour and larger hook, ch 43.

Row 1: dc in 3rd ch from hook, dc in each ch across, turn. 

Row 2: ch 3, skip first dc, dc in each dc across, turn.

Row 3: repeat row 2, at the end of the row attach stripe colour, switch to stripe colour while carrying the main colour up.

Row 4: with stripe colour, ch 1, sc in first dc, sc in each dc across (including top of turning ch-3 of previous row), turn.

Row 5: ch 1, sc in first sc, sc in each sc across (but not in the turning ch-1 of previous row), switch to main colour, fasten off stripe colour, turn.

Row 6: ch 3, dc in first sc, dc in each sc across, turn.

Rows 7–9: repeat row 2.

Repeat rows 4 to 9 six times.

Next rows: repeat rows 4–7 once.

Neck shaping (right, facing you):

Row 1: ch 3, skip first dc, dc in next 9 dc, 2 dctog over next 2 dc, turn.

Row 2: ch 3, skip first dc, 2 dctog over next 2 dc, dc in each dc across, turn.

Row 3: ch 3, skip first dc, dc in each dc across, fasten off.

Neck shaping (left, facing you):

Row 1: count 29 dc from the right edge, attach yarn to next dc. ch 3, skip first dc, 2 dctog over next 2 dc, dc in each dc across, turn.

Row 2: ch 3, skip first dc, dc in each dc until last 2 dc, 2 dctog over next 2 dc, turn.

Row 3, ch 3, skip first dc, dc in each dc across, fasten off.

Front:

Crochet exactly the same way as Back, except repeat rows 4–9 five times instead of six times.

Crochet neck shaping the same way as Back. 

Sleeves:

With main colour, ch 29.

Rows 1–6: same as Back rows 1–6.

Row 7 (increase row): ch 3, skip first dc, 2 dc in next dc, dc in each dc until last 2 dc, 2 dc in next dc, dc in top of turning ch, turn.

Rows 8–9: ch 3, skip first dc, dc in each dc across, turn.

Rows 10–12: same as Back rows 4–6.

Repeat rows 7–12 twice more.

Next 3 rows: ch 3, skip first dc, dc in each dc across, turn.

Next 6 rows: repeat Back rows 4–9. Fasten off.

The sleeve should be 33 stitches wide at the top edge. Repeat for the other sleeve.

Assembly:

Crochet shoulders together using slip stitch.

Mark the 17th dc at the top edge of the sleeve. With right sides facing, match the 17th dc at the top edge of the sleeve to the shoulder seam and pin it down. Pin down the rest of the top edge of the sleeve to the front and back of sweater. Crochet sleeve to body of sweater. It might need a slight bit of stretch to make sure that the sleeve is 14″ wide when unfolded. Repeat for the other sleeve.

Lower edge:

With smaller hook, main colour and right side facing, attach yarn to centre back of hem, sc in each st until the edge.

You are now working along the side of the rows in the longer back piece. ch 2, sl st in the top of first row from the bottom edge, ch 2, sl st in top of second row, ch 2, sl st at the point where the back piece meet the front piece.

sc in each st along the front hem, sc in the point where the front piece meets the back piece.

Now work along the side of the rows in the longer back piece. ch 2, sl st in base of second row from the bottom edge, ch 2, sl st in the base of first row, ch 2, sl st in the bottom corner.

sc in each of the remaining st in the back hem. Fasten off. 

Neck edge:

With smaller hook, main colour and right side facing, attach yarn to centre back of neck. sc evenly around neck. Generally, I worked 1 sc in each st, and 2 sc in each row when I’m working on its side, and 3 sctog when there is a steep curve (in the first 2 neck shaping rows). I hope this makes sense. Ultimately it’s about crocheting around the neck in a way that pulls it together a little.

Weave in all ends.

And that’s it! Let me know if you spot any mistake or have any question!
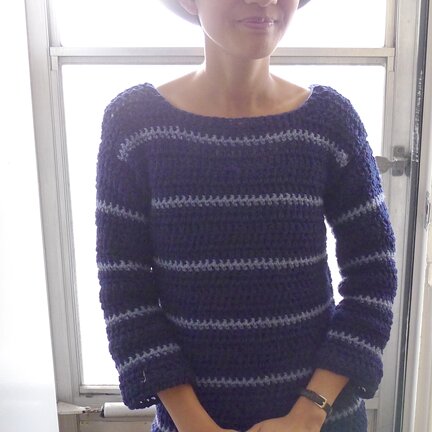
P1060076


Happy fall! :D


Tweet about this on TwitterShare on FacebookPin on PinterestShare on TumblrPrint this page

glowing

Photo 11-3-2013, 3 15 11 PM - Copy

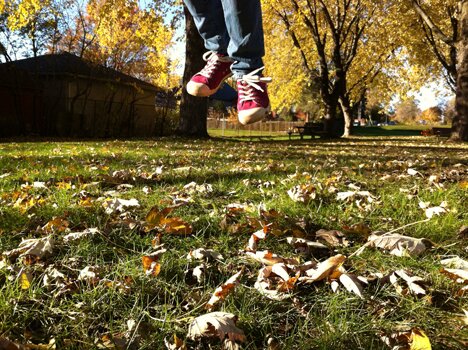
It’s been grey and rainy for the past few days, but the sun is finally out today. The fall trees looked like they were glowing in the sunshine. The brightness makes for sharp levitating photos too :D

Hope you have a great start to the week!


Tweet about this on TwitterShare on FacebookPin on PinterestShare on TumblrPrint this page