anniversary village tour :D

 Our wed­ding anniver­sary hap­pens to fall on a Sat­ur­day this year. To cel­e­brate, we toured Black Creek Pio­neer Vil­lage. It’s kind of like get­ting out of the city, and trav­el­ling to anoth­er time, even, while still being in the city and being able to go home for din­ner :D 

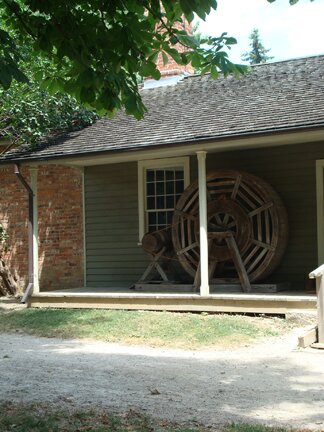
 Dogs con­tributes to the fam­i­ly’s liveli­hood too. They run in the wheel and churn butter. 


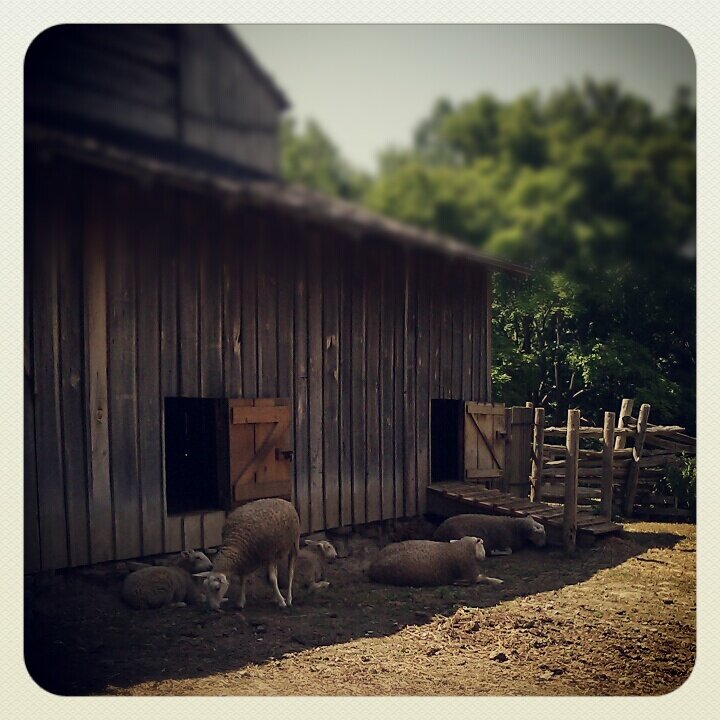
 At the same time, these sheep…


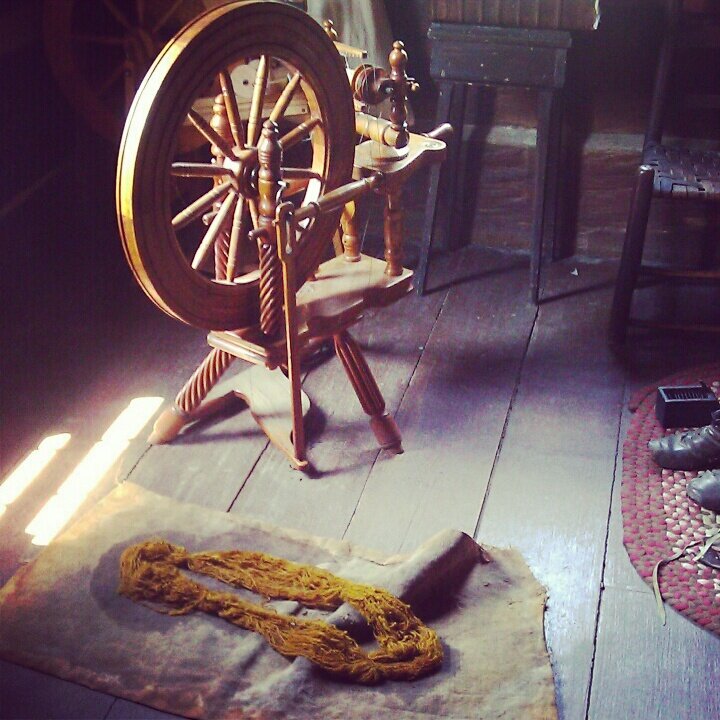
… they pro­duce wool for dye­ing and spin­ning. This skein was dyed with onion skin.


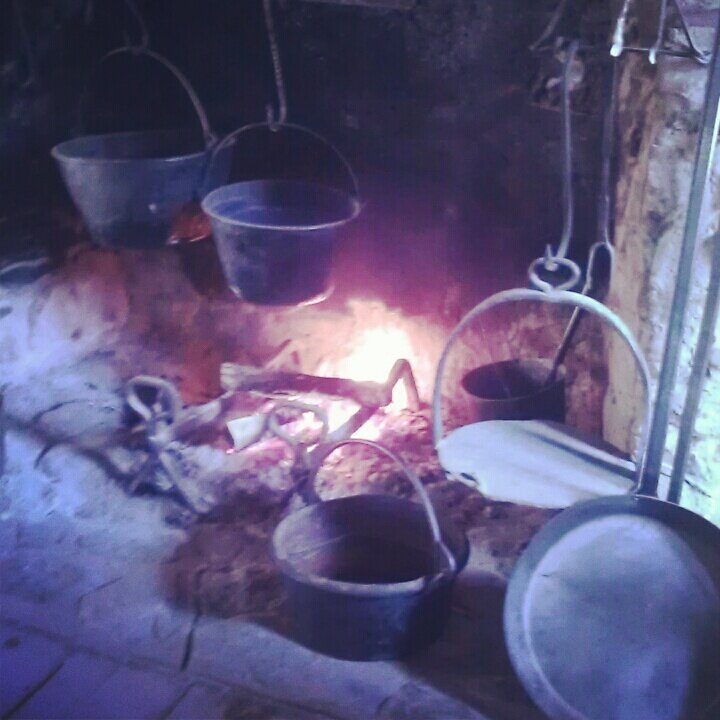
The friend­ly docent said that they don’t add oth­er things to fix the dye. Just boil it for a long time over the fire.


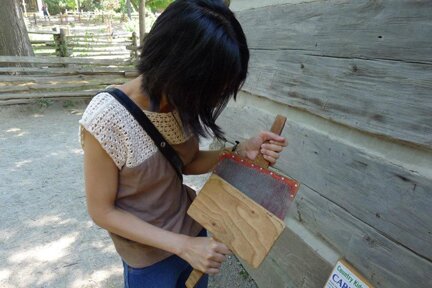
Final­ly under­stand what card­ing means…


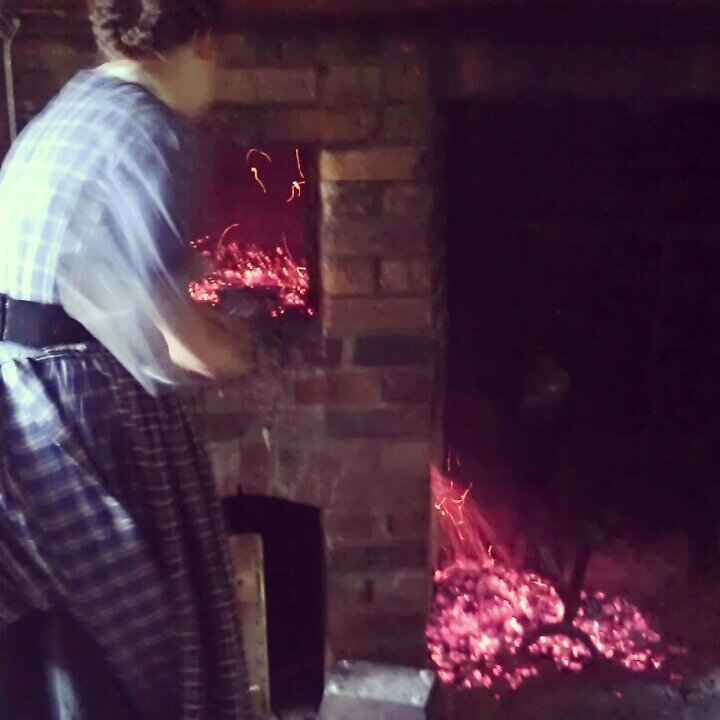
In anoth­er house, a docent is get­ting the oven ready to bake some lemon bis­cuits. I real­ized that the docents weren’t pre­tend­ing. They car­ry out chores and work in the vil­lage as though they were liv­ing there, and they chat with vis­i­tors as they come. Many things they make, like rugs, blan­kets, wool, wood­en toys and bread, are sold in the gift shop to sup­port the oper­a­tion of the muse­um. The mill makes flour for the vil­lage’s use. This is fas­ci­nat­ing. I’ve always won­dered what it would be like to work as a muse­um docent. How would it feel at the end of the work day when they move to a dif­fer­ent way of life?


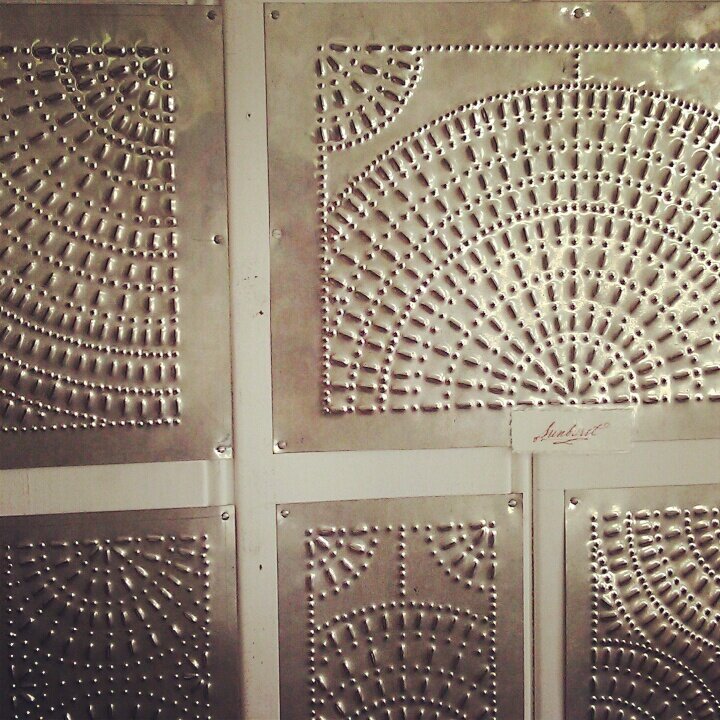
Any­way, I digress. Here we’re in the tin­smith’s shop, where the love­ly tin ceil­ing pieces come from.


 Gor­geous wallpaper.


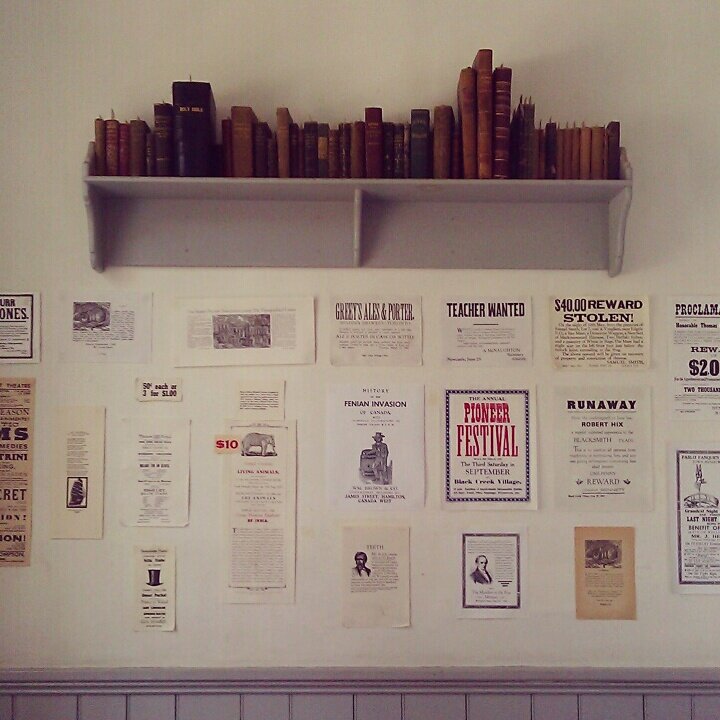
The print­er’s office, Mike’s favourite place.


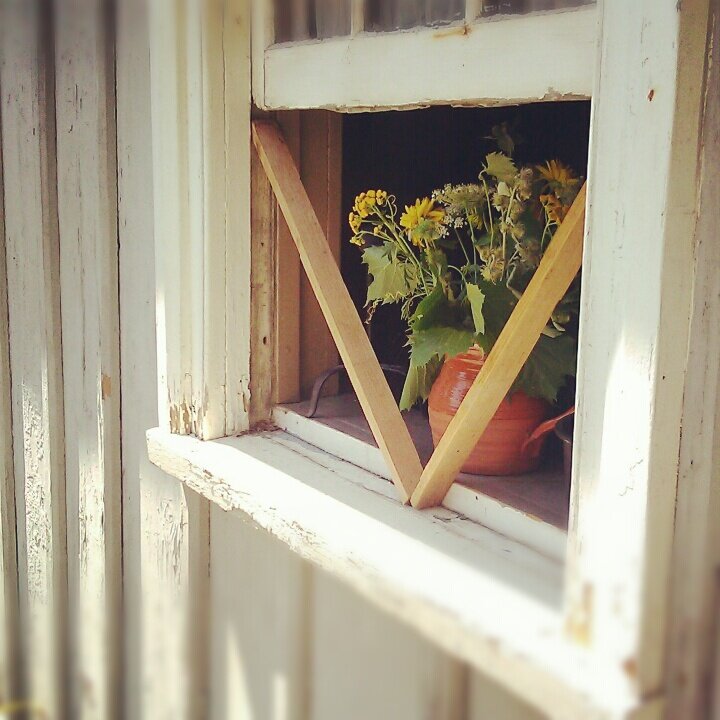
I love old windows.


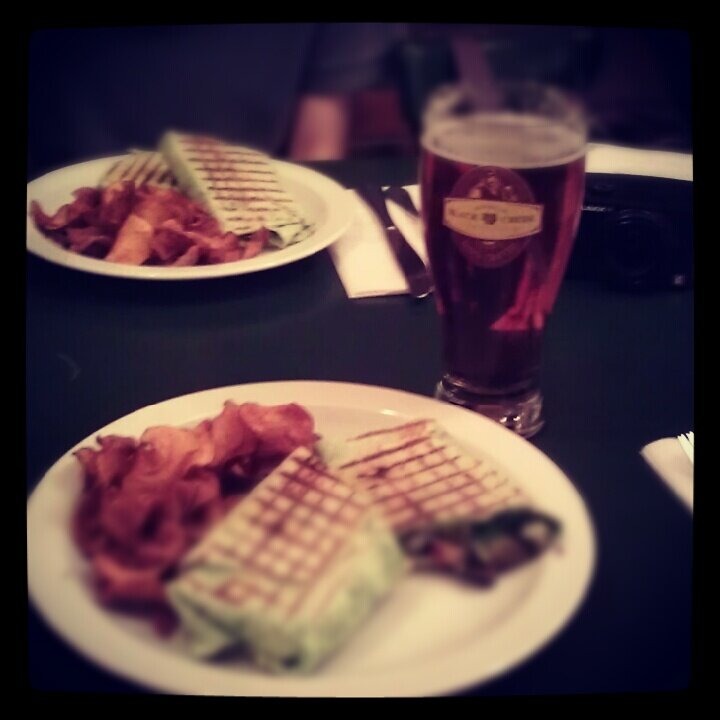
We took a lunch break at the Half Way House, with yam chips, and beer brewed on site :D


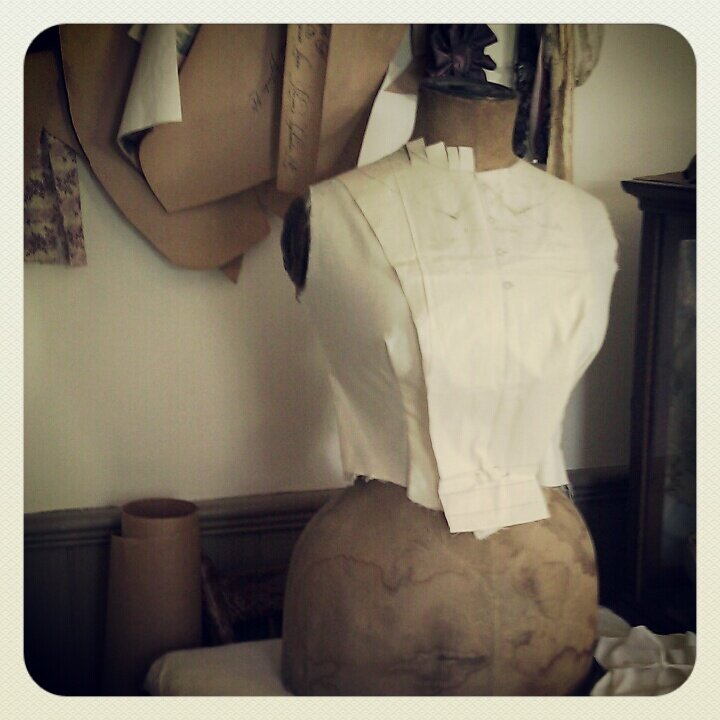
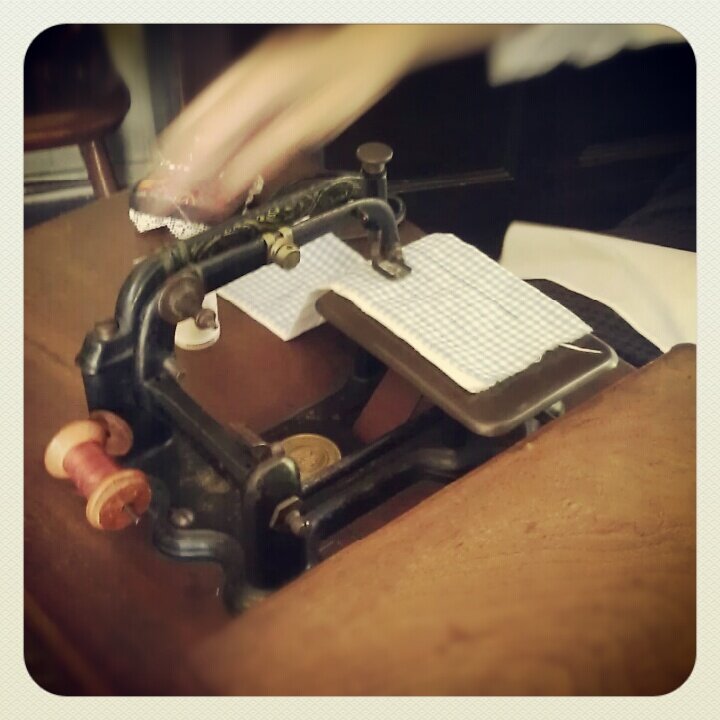
 Then we went to the dress­mak­er of the village.


 She demon­strat­ed the sewing machine, but the nee­dle was out. It stitch­es side­ways. I like how small and sim­ple it is. 


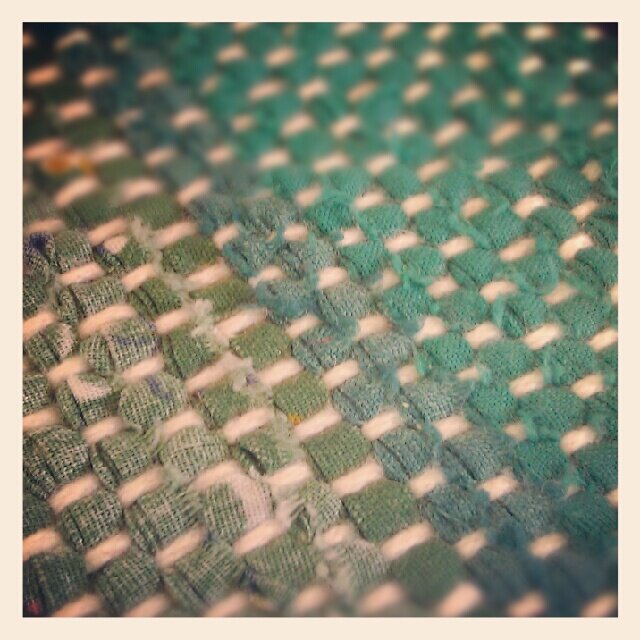
 We then went to the weaver’s. Rug woven with wool and strips of fabric.


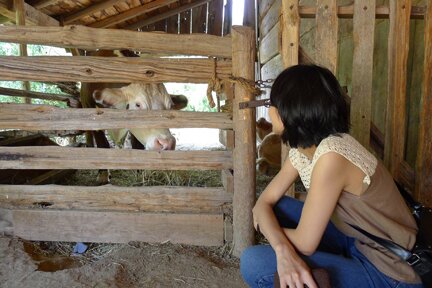
Chat­ted with a cow. Good times.


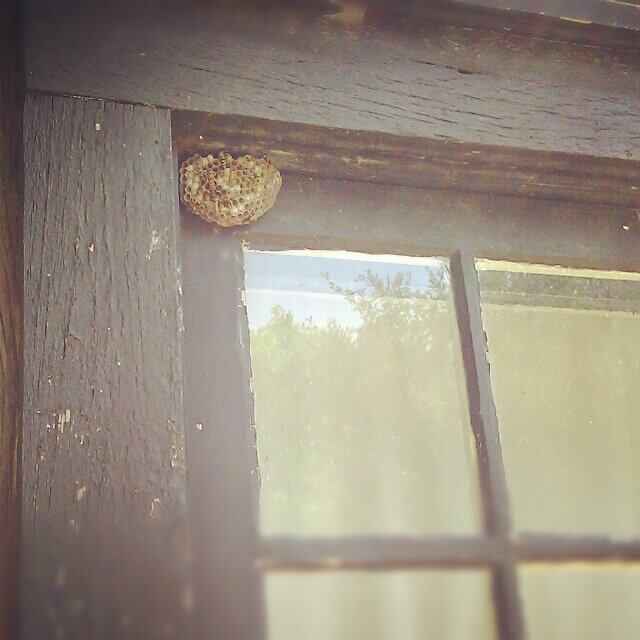
Some wasps made them­selves a home.


Flow­ers from the garden.


Hope your week­end was won­der­ful! :D Have a great start to the week! 


square-a-day update

Day 13. Inspired by a pho­to I saw.


Day 14, deep sea navigation.


Day 15, red bam­boo. I was teach­ing Chi­nese writ­ing with cal­lig­ra­phy brush­es at a sum­mer camp that day. Tried using Chi­nese cal­lig­ra­phy brush with watered down acrylic, but it did­n’t work so well.


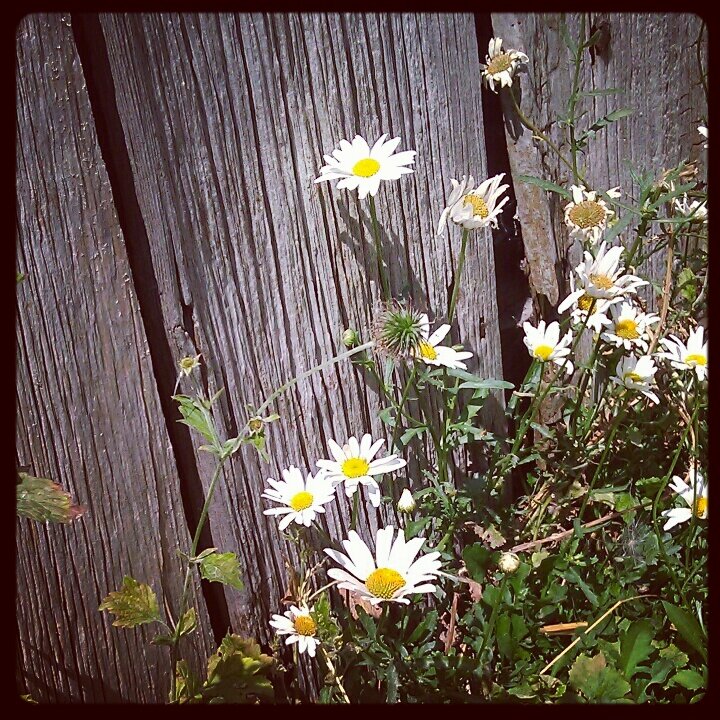
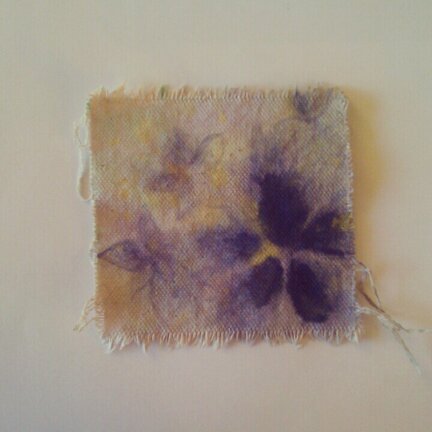
Day 16, wood and daisies. It was our 5th wed­ding anniver­sary, and my sis­ter told me that wood and daisies are tra­di­tion­al gifts for a 5th anniver­sary. We toured Black Creek Pio­neer Vil­lage that day (pic­tures to come! :D) and took lots of pic­tures of old wood hous­es and daisies.


Day 17, nests. Mask­ing flu­id and sewing on some beads.


Day 18, guests of the land. Used white glue instead of mask­ing flu­id. Came to the con­clu­sion that white glue does not func­tion well as mask­ing flu­id. I think I’ve exper­i­ment­ed with this before. For­got what the results were. Should have checked my own blog first :P 


Have a love­ly day, every­one! :D


More on the square-a-day project:
first post
sec­ond post 


ginkgo


Erra­ta in row 1 — sor­ry about that! 

 New pat­tern! :D 

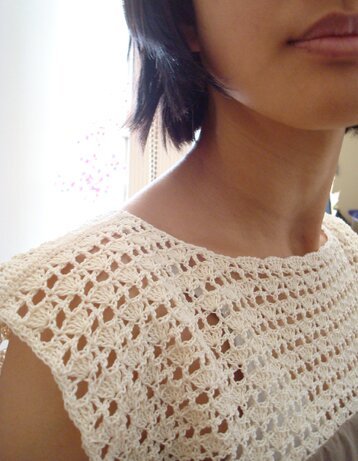
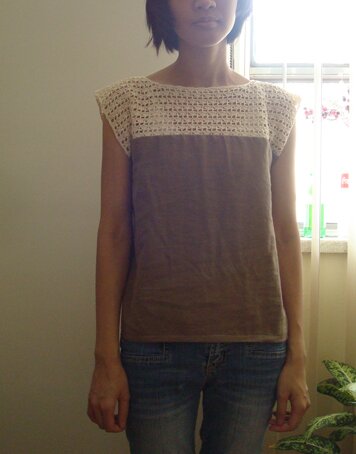
Real­ly lik­ing those half-lace blous­es that are pop­u­lar nowa­days. So I fig­ure I could make my own lace :D

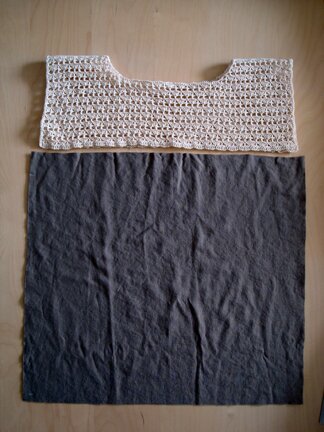
It’s basi­cal­ly a part cro­chet, part fab­ric square top (my favourite kind of shirts!) with neck shaping.

I tried to make a gink­go leaf pat­tern in the lace.


The size I made is 34″ around. But it’s a sim­ple grid-like pat­tern repeat so every part is eas­i­ly adjustable. 

I used one skein of #10 cot­ton cro­chet thread, and a 2.5mm hook.

Lace pat­tern starts from the bottom.


Shell = 5 dc in 1 st

Shell in the beginning/end of row = 3 dc in 1 st


Lace (make 2)

ch 135. (for size adjust­ments, add or minus mul­ti­ples of 6 stitch­es. 6 stitch­es equals approx. 0.75″)

Row 1 (WS): ch 3, dc in 4th ch from hook, dc in each ch across. 

Row 2 (RS): ch 3, 2 dc in same st, skip 2 dc, dc in next dc, [skip 2 dc, 5 dc in next dc, skip 2 dc, dc in next dc] across, skip 2 dc, 3 dc in the top of turn­ing ch. Turn.

Row 3: ch 5, skip shell in the begin­ning of row, dc in next dc, [ch 2, dc in 3rd dc of shell, ch 2, skip rest of shell, dc in next dc] across, ch 2, dc in top of turn­ing ch. Turn.

Row 4: ch 3, 5 dc in next dc, [dc in dc, 5 dc in next dc across], dc in 3rd ch of turn­ing ch. Turn.

Row 5: ch 5, dc in 3rd dc of shell, [skip rest of shell, ch 2, dc in next dc, ch 2, dc in 3rd dc of shell] across, ch 2, dc in top of turn­ing ch. Turn.

Row 6: ch 3, 2 dc in same st, dc in next dc, [5 dc in next dc, dc in next dc] across, 3 dc in 3rd st of turn­ing ch.

Row 7 — 16: cro­chet rows 3–6 twice, then rows 3–4

Right neck shaping:

Row 17: work as row 5 until 15 dc’s are made, dc in 3rd dc of next shell, turn.

Row 18: ch 3, skip 1st dc, dc in next dc, [shell in next dc, dc in next dc] to end, 3 dc in turn­ing ch, turn.

Row 19: ch 5, work as row 3, dc in 3rd dc of last shell, skip rest of shell, dc in next dc, turn.

Row 20: ch 3, skip 1st dc, shell in next dc, work as row 4 to end.

Row 21: ch 5, work as row 5, dc in 3rd dc of last shell, dc in turn­ing ch.

Row 22: repeat row 18.

Row 23: ch 1, sc in same st, sc in each st across. Fas­ten off.

Left neck shaping:

With wrong side fac­ing, count­ing from the left edge, attach yarn to 3rd dc of the 8th shell.

Row 17: ch 3, skip remain­ing dc of shell, dc in next dc, work in pat­tern to end, turn.

Row 18: work in pat­tern until sec­ond last dc, dc in 2nd last dc, dc in last dc, turn.

Row 19: skip 1st dc, dc in 3rd dc of 1st shell, con­tin­ue in pat­tern to end, turn.

Row 20: work in pat­tern, end with dc in turn­ing ch, turn.

Row 21: ch 3, dc in 3rd dc of 1st shell, con­tin­ue in pat­tern to end, turn.

Row 22: work in pat­tern, end with dc in turn­ing ch, turn.

Row 23: ch 1, sc in same st, sc in each st across. Fas­ten off. 


Repeat from begin­ning for the oth­er piece.


With right sides togeth­er, sew shoul­der seams together. 

With right side fac­ing, work a row of sc even­ly across each sleeve edge by cro­chet­ing 2 sc in each row.

With right side fac­ing, attach yarn to a stitch in the cen­tre of neck­line and sl st in every st around neckline.

Slight­ly block or gen­tly press the piece so it lies flat.


Now the sewing begins! 

Deter­mine total length of blouse, or how long you want your blouse to be.

Fold cro­cheted piece in half along shoul­der seams and mea­sure its height from shoul­der to bot­tom of piece. 

Sub­tract height of cro­cheted piece from total length of blouse = length of fab­ric needed.

Mea­sure width of cro­cheted piece from sleeve edge to sleeve edge = width of fab­ric needed.

Add 1/2″ seam allowance on all sides.

Cut 2 pieces of fab­ric to measurement.


With the sewing machine, I zigzag stitched around all sides on both fab­ric to min­i­mize fraying.

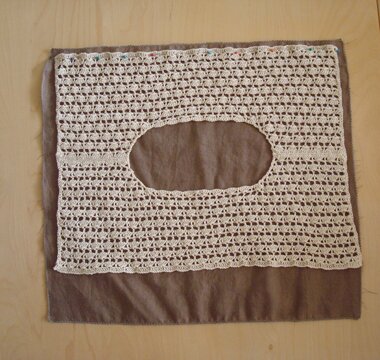
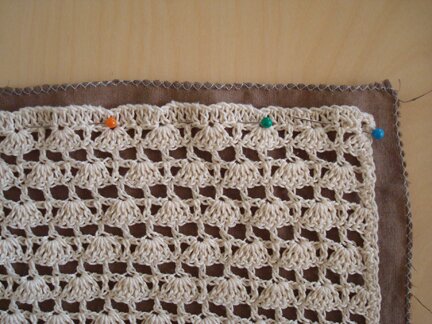
With right sides togeth­er, cen­tre cro­cheted piece on fab­ric along top edge. Pin bot­tom row of cro­cheted piece to the top edge of one piece of fab­ric, leav­ing the 1/2″ seam allowance on fab­ric, like so…


Close up of pinning…


Using small and close-togeth­er run­ning stitch­es, hand-sew fab­ric and cro­chet piece togeth­er along the stitch­es between the dc row and the first shells row (where I placed the pins in the pho­to above).

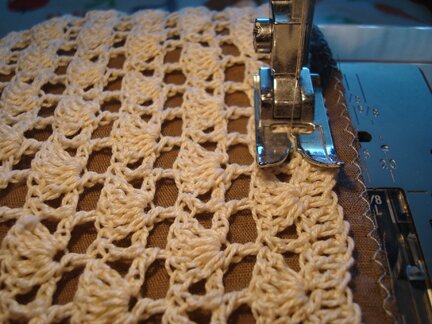
Then machine-sew along the same line with large stitch­es, like so.


Repeat with the oth­er side of the cro­chet piece and the oth­er piece of fabric.

Press seam allowance down­ward (see pho­to below).

For the length of the arm­holes, I mea­sured from top of shoul­der to mid chest. Alter­na­tive­ly, one could mea­sure a sweater that fits well from top of shoul­der to under­arm to get the mea­sure­ment. Mark where the arm­hole ends on the fab­ric. Then sew each side seam up to that mark, like so…
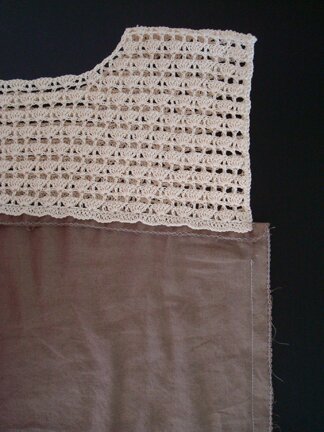
 

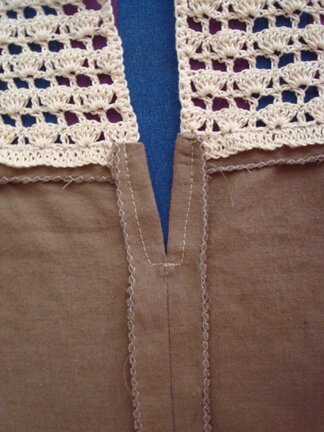
Press side seams open. Then sew a V‑shape around the bot­tom of each arm hole, with the seam allowance of the fab­ric wrap­ping around the edge of the cro­chet piece. Back stitch a cou­ple of times at the bot­tom of the V, across the side seam. Like so…
 

Press and sew hem. And we’re all done! :D
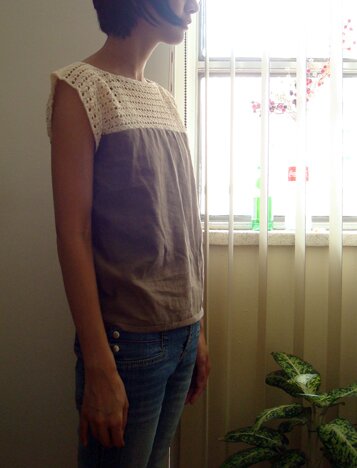
 

Feel free to drop me a note if you want any clarification!

Have a won­der­ful Thurs­day! :D


square-a-day update

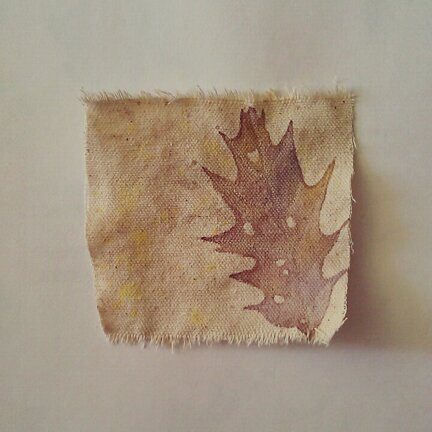
Day 7, repli­cat­ing a leaf I picked up on the way to school last fall.


Day 8, the great escape.


Day 9, sys­tems the­o­ry, or, “if I could write my paper in colours and shapes”.


Day 10, resilience. I made a stamp using craft foam and a bot­tle cap. A city ris­ing from the sea. A recur­ring motif of the Wall City.


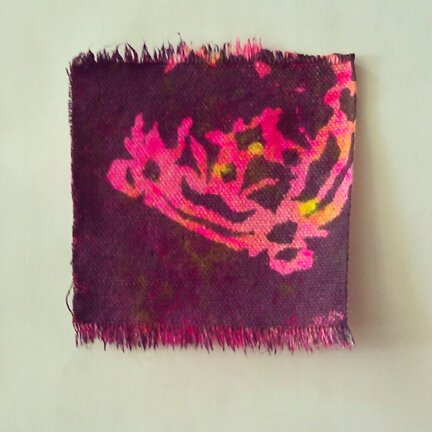
Day 11, lantern. An attempt­ed sun print with a paper snowflake kind of paper-cut­ting method. But the sun was­n’t con­sis­tent enough (despite the heat) that day to make it work. Used the paper cut as a sten­cil instead. I like how bright the magen­ta and yel­low are. Almost flo­res­cent and glowing.


Day 12, lantern, 2. Thought the paper cut sten­cil­ing was fun, made anoth­er one.


Hap­py Wednes­day! :D


More on the square-a-day project:
first post 


this week’s awesome finds

I love any­thing with con­densed milk in it. It’s one of the three ingre­di­ents in this home­made frozen yogurt! It does require an ice cream machine, but one could also make pop­si­cles with the recipe. From Cur­bly.


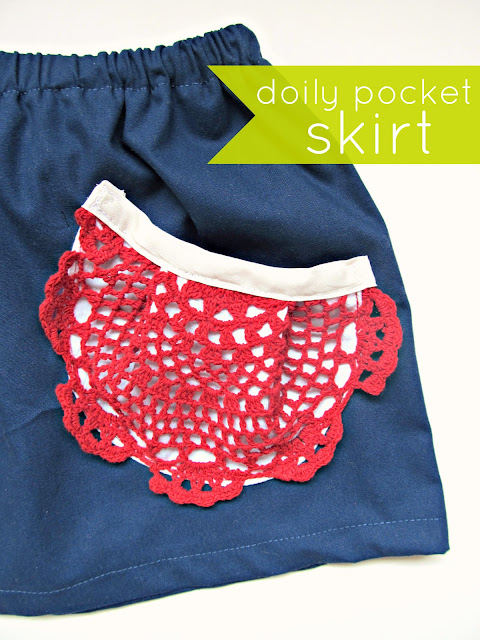
Super cute! I’d so wear a skirt with doily pock­ets. Tuto­r­i­al from Home­made by Jill.


Sweet bot­tle neck­laces. To car­ry fairy dust, of course. Tuto­r­i­al from Lana Red.


An awe­some way to say hel­lo. Polar­i­od pop-up card, print­able on Pho­to­jo­jo.


Bright and sweet ric rac flow­ers, spot­ted on Ucre­ate.


Have always been fas­ci­nat­ed by air plants! This one is even wear­able. Air plant brooch tuto­r­i­al on Craft.


Have an amaz­ing start to the week, friends!


square-a-day project

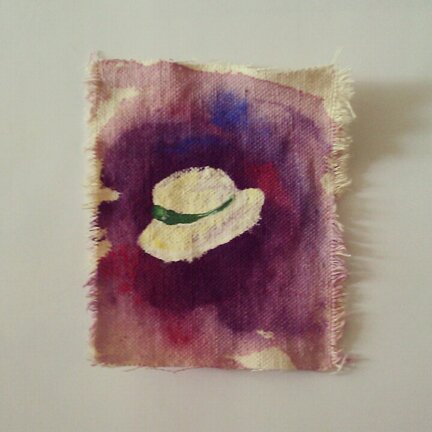
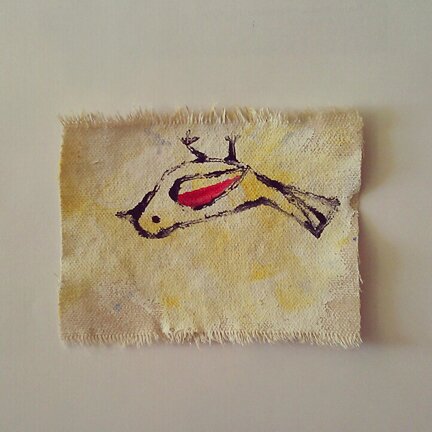
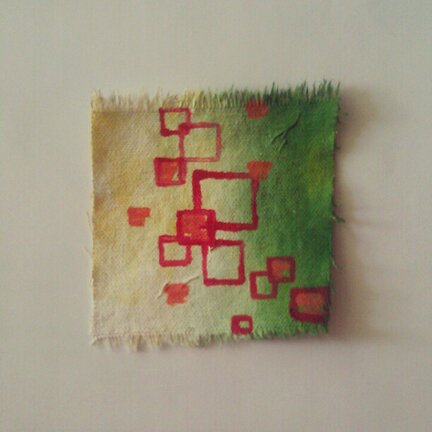
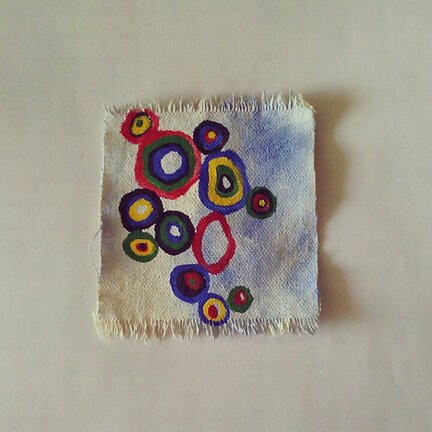
About a week ago I decid­ed to start a paint­ing project. To reac­quaint myself with paint. I decid­ed to paint one square (4″ x 4″ ‑ish) a day for a month (30 squares). 

Because part of my work involves facil­i­tat­ing art groups. Peo­ple in the group work on paint­ing projects. I work with them on the paint­ing projects. I encour­age peo­ple to paint (amongst oth­er art things). But I don’t real­ly paint in my own time.

I’m tak­ing a sum­mer course and the prof once said, “don’t ask your clients to do things you would­n’t do yourself.”

I don’t usu­al­ly call the peo­ple I work with “clients”, but that’s not the point.

The point is, I don’t paint. So I feel like a hypocrite. 

So, I was cut­ting can­vas square for a project for the group and I came up with this square-a-day idea.

It’s a bit of dis­ci­pline, but it’s fun so far. I try to paint what­ev­er comes into mind and not give it too much thought. But usu­al­ly I have an idea of what I’m going to paint ahead of time. I try to be spon­ta­neous and accept the final prod­uct for what it is. Ideas that I try to pro­mote in my work.

Some have titles, some don’t.

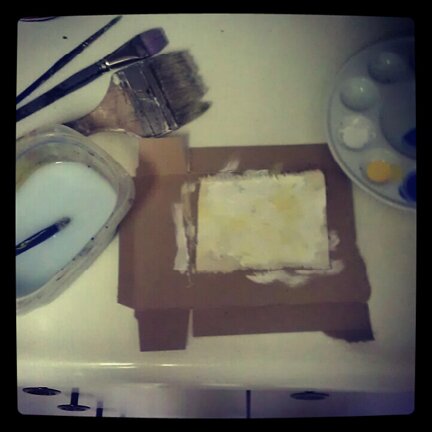
So this is the set up, on the kitchen counter. Not that I don’t have oth­er spaces, it’s just near the sink. 


Day 1, I was glanc­ing at my hat as I was get­ting ready in the morning.


Day 2, Red Wing. I was look­ing at a place mat lean­ing upside down on the kitchen counter. Remind­ed me of the res­i­dent red winged black bird in the near­by park.


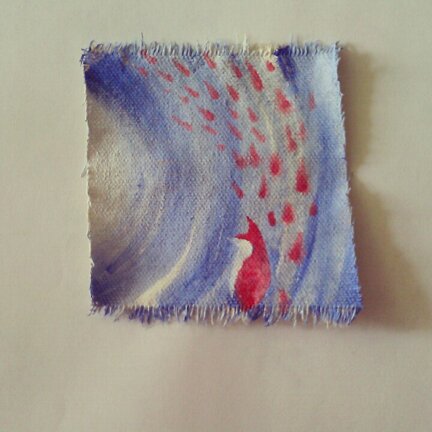
Day 3, Ghosts. Inspired by an Insta­gram pho­to I saw. But kind of got frus­trat­ed by the way the watered down paint blotch­es on raw can­vas. End­ed up rins­ing the paint­ed can­vas under the tap and fin­ished with just a few strokes of dark­er blue because I could­n’t deal with it anymore.


Day 4, blend­ing the back­ground was pleasant.


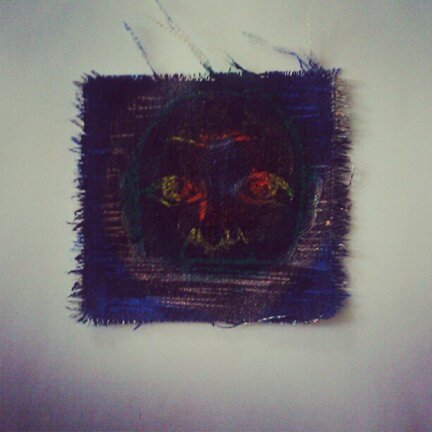
Day 5, The Observ­er? Also reminds me of the humans in Moom­in­val­ley. Was just exper­i­ment­ing to see if wax crayon/ink scratch­ing work on canvas.


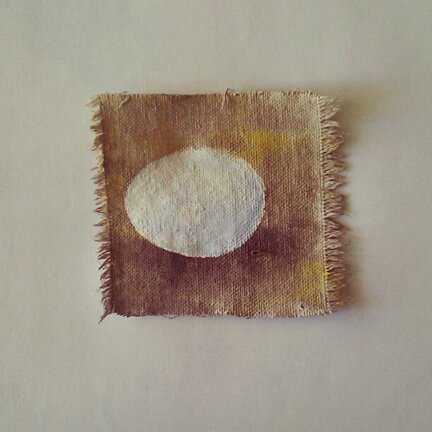
Day 6, ce n’est pas un Å“uf. Thought I would try to paint from some kind of still life. In this case, an egg. 


Will keep you post­ed on the project! :D
Have an awe­some weekend!


big waves


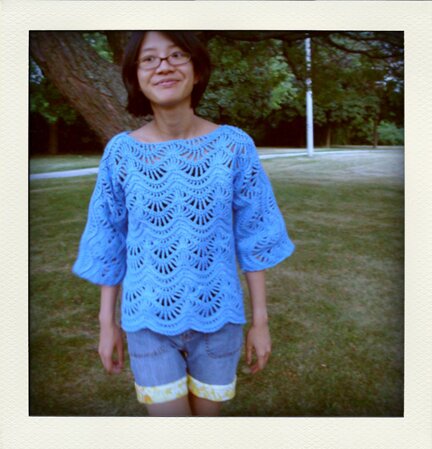
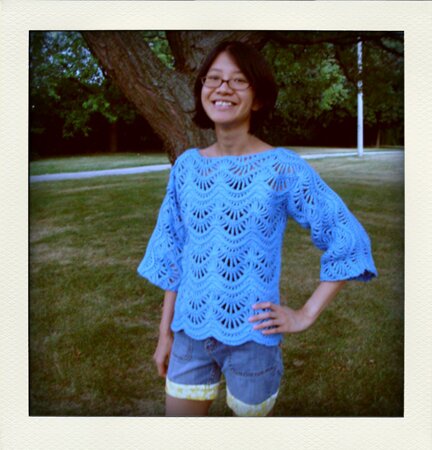
This sweater took a real­ly long time, but it’s final­ly done :D
It’s from the lat­est Vogue cro­chet edi­tion. I thought I had enough of a sport weight yarn to make it, but half way through I real­ize there was no way. The pat­tern just uses up so much yarn so quick­ly. And I could­n’t get more of the same yarn because it was like­ly a 1 kg mys­tery fiber bag I got a long time ago from Wal­mart or Zellers.

But wait! I have this ginor­mous ball of blue worsted acrylic that I got for Christ­mas last year (no joke, the ball of yarn was big­ger than my head), I thought I’d give it a shot.

Because the yarn is now much thick­er, I had to mod­i­fy the pat­tern a bit. But that also means I can get it done quick­er! :D

Still, it took weeks. And I still did­n’t have enough yarn, so I had to short­en every­thing. Good thing I’m short.

And of course it turned out real­ly stiff. The sleeves were espe­cial­ly puffy. So I tried to “block” it by iron­ing it at low-medi­um heat under a wet tow­el. At one point I acci­den­tal­ly rest­ed the iron on a spot for too long and it looked like the acrylic near­ly melt­ed :S but it made the fiber much soft­er. So I tried to do the same to the entire sweater. Not sure if that’s a prop­er way of treat­ing acrylic yarn (hope it does­n’t fall apart in the wash :S — can any­one tell me if I’ve just killed my new sweater?), but the drape is now much better.


Per­fect day to take pho­tos of it because it’s unsea­son­ably cool today. But it’s a bit sad that I’ll have to wait until fall to wear it. I’ll just have to start on a sum­mer project :D
Have a hap­py Wednesday!


the magical value village

I’ve said it before, and I will say it again — Val­ue Vil­lage is a mag­i­cal place.

:D

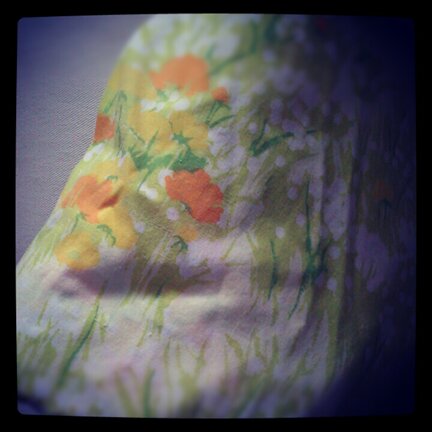
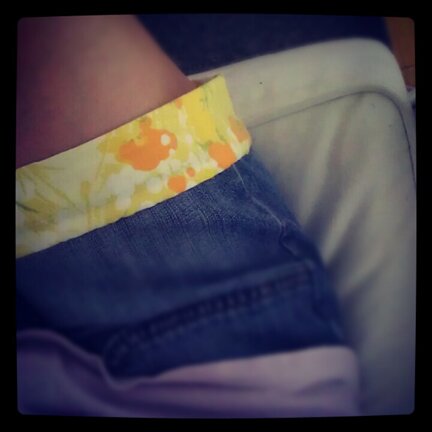
It tru­ly is! I have a pair of capris that I tried to turn into shorts, but then I cut too much and it was too short, so I thought I could length­en them with some hem trim­ming. And I thought some vin­tage fab­ric would look cool. So I had in my head this vision of a yel­low flo­ral vin­tage sheet and looked through hun­dreds of list­ings on Etsy but could­n’t find any­thing I wanted. 

So I thought I’d make a trip to Val­ue Vil­lage and give it a try. And it was right there, wait­ing for me on a hang­er in the linen department…


It was per­fect! Not only was it the pat­tern I was envi­sion­ing, it was also a ginor­mous king size sheet for 4.99! There are parts of it that are more yel­low and parts of it more grassy green. I think I’m going to make a 1960-esque sun dress with the rest of it :D

I got so car­ried away try­ing to find a sun dress pat­tern I almost for­got about trim­ming the shorts. But here they are :D


Love­ly pat­tern, eh?


Also from the linen depart­ment I found a pil­low case made of a very light fab­ric with leaf pat­terns. I’ve always want­ed a leaf pat­tern top :D (I used a square blouse pat­tern like this one.)


That’s not it. On my way out of the linen depart­ment I spot­ted this… *gasp*


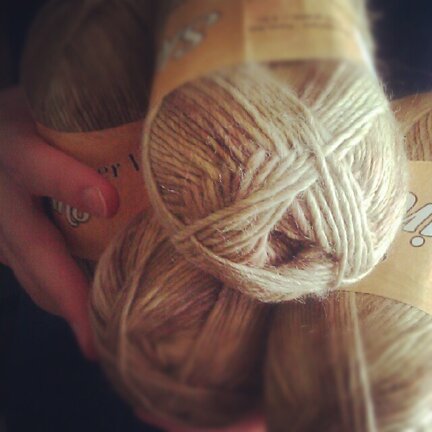
YARN!!! It’s YARN!!! 4 skeins of this soft mot­tled brown/tan wool for 2.99. It kinds of look like rov­ing, but it’s 30% wool + 70% acrylic. Don’t know what I’m going to make with it yet, but I like the colours a lot.

See? Val­ue Vil­lage is a mag­i­cal place :D


On a sep­a­rate note, it was my niece Lucy’s first birth­day last week and I mailed this to her…


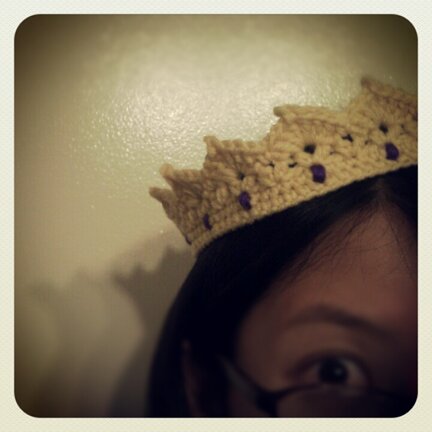
Because she’s also known as Queen Lucy (as in Queen Lucy of Nar­nia). And because it might be use­ful for future dress-up games. I made it fol­low­ing this pat­tern. It can be quite a ver­sa­tile crown for a queen, king, princess, prince, or oth­er royalties. 

I was going to sew on some but­tons, but then I thought but­tons could be chok­ing haz­ards. So I embroi­dered with some pur­ple yarn instead. 

I don’t think Queen Lucy would mind me try­ing on her crown to show my blog friends.

Mike and I lat­er got a pho­to her wear­ing it and spin­ning :D


Have a won­der­ful week, everyone!


summer cactus friends

Hel­lo, friends.


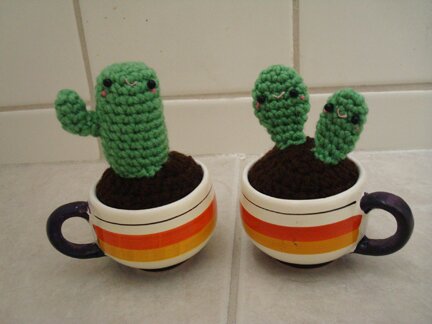
A while ago I came across these awe­some old teacups, I knew they’d go great with cac­ti. I made two for my cub­by at my friend’s shop. Here’s the oth­er one :D


Alto­geth­er now :D


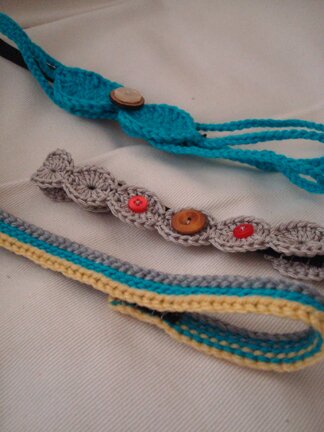
Also tried some­thing new and made a few headbands. 


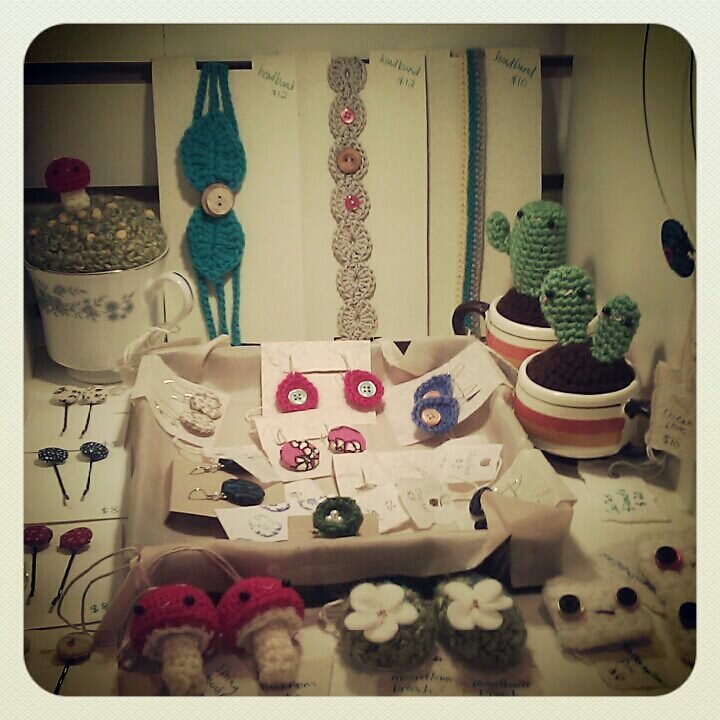
Cub­by updat­ed! :D


Have a great week­end, everyone!


Â