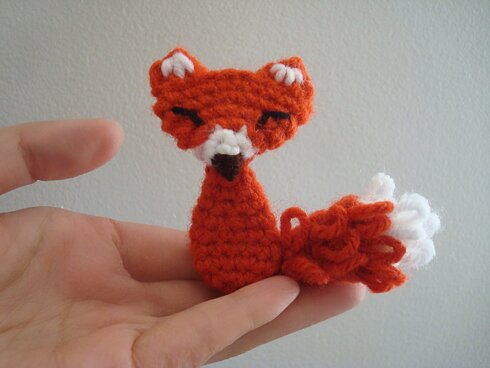
We’re at the 11th pattern for the 12 Days of Woodland Creatures (and Their Favourite Things) project! :D
But first, apologies for the recent delays of posting these patterns! My computer had died a week ago, so it’s been challenging to re-size and upload photos for the blog. As Mike is helping me set up a replacement computer hopefully there won’t be as long of a wait for the last pattern of the series!
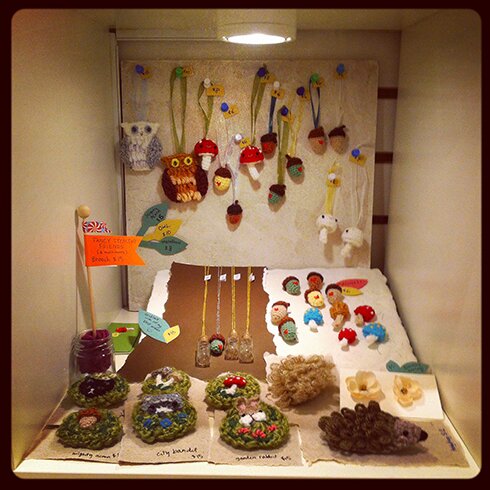
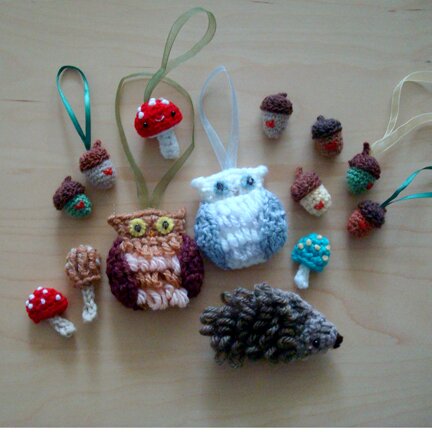
As mentioned in my first post for this project, I’m making all these creatures and their favourite things for a baby mobile. And I heard through the Ravelry CAL group that there are others who are interested in making mobiles too! That’s awesome!
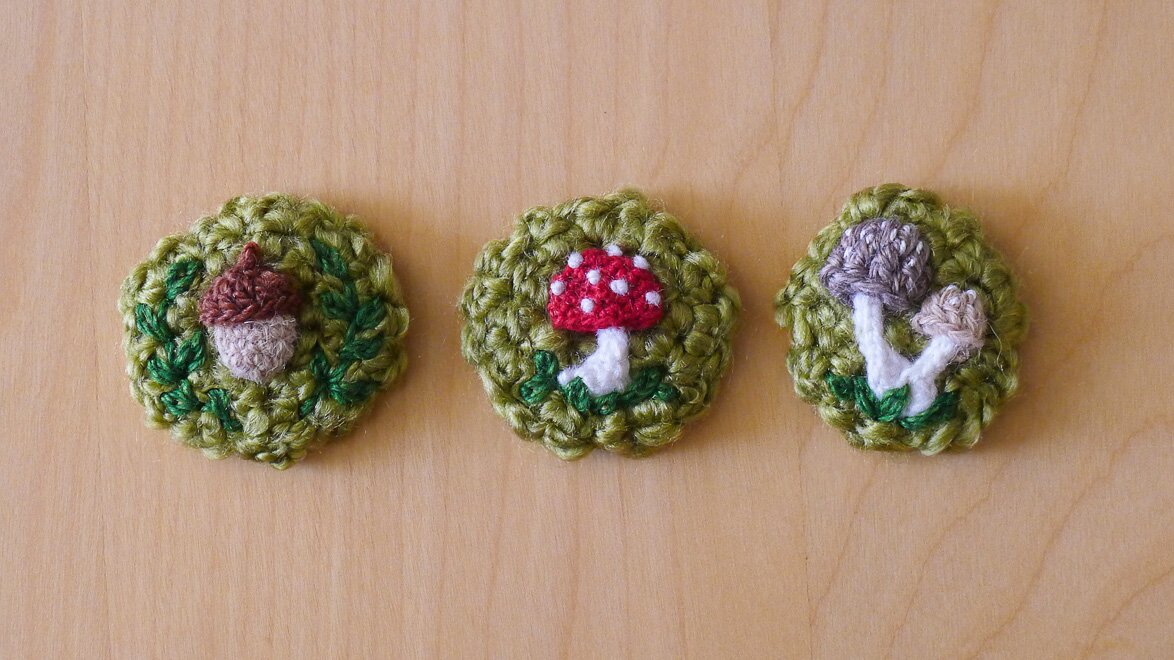
For the foliage, I chose oak for strength, ginkgo for peace and wisdom, and vine for the resilience and tenacity to overcome the challenges that comes his way. All my best wishes for the young one.
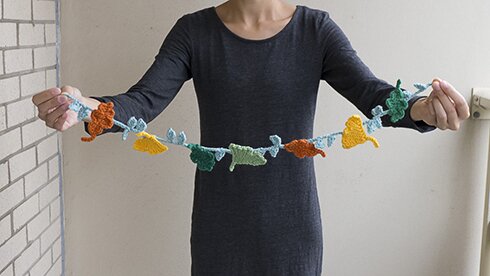
SO! My plan for this garland is to attach it around the wooden hoop that the other creatures and things will dangle from. (I might use an embroider hoop if I can’t find a plain wooden hoop or ring, I envision it to be about 6–7″ in diameter.)
But it can also be a regular garland for decorating the walls. And it can have other creatures added to it, like this adorable bat by Lucy Ravenscar that I just spotted today :D And again I spaced the leaves rather closely in preparation for the mobile, but you can adjust the lengths in between leaves in any way you like.
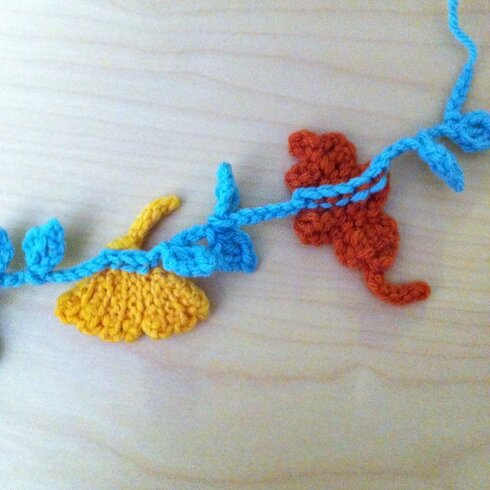
The construction involves crocheting the oak and ginkgo leaves separately, and then making a chain of vine and smaller leaves, and attaching the oak and ginkgo leaves as you crochet the vine. You can attach other creatures to it in the same way.
I used:
Worsted weight yarn in orange, yellow, dark green, bright green, and blue-green (but I’m sure other colour combinations will look fabulous too!)
3.5 mm hook
Pattern:
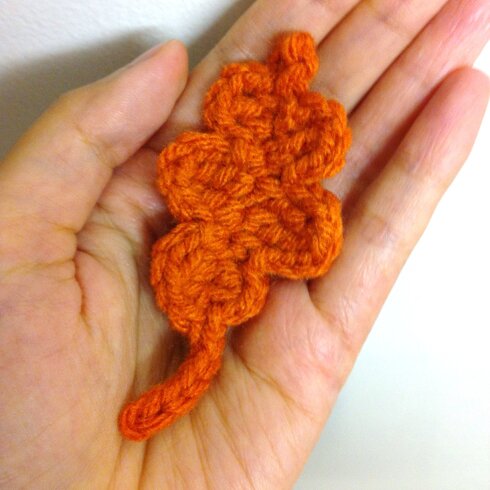
Oak (make as many as you’d like)
The oak leaf is created by first crocheting half the leaf down the middle chain, then making the stem, then crocheting the other half of the leaf, going up the same middle chain.
First half: ch 12, sc in 5th ch from hook, ch 2, dc in next ch, ch 2, sc in next ch, ch 3, 2‑tr-tog over next 2 ch, ch 3, sc in next ch, ch 2, dc-sc-tog* over next 2 ch, ch 1, sl st in last ch, do not fasten off.
*dc-sc-tog: yo, insert hook in next ch, draw up a loop, yo and pull through 2 loops on hook, insert hook in next ch, draw up a loop, yo and pull through all loops on hook.
Stem: ch 4, sl st in 2nd ch from hook, sl st in next 2 ch, do not fasten off.
*you can make the stem longer or shorter by making more or fewer ch.
Second half: crocheting in the remaining loop of the middle chain, sl st in first ch of middle chain, ch 1, sc-dc-tog* over next 2 ch, ch 2, sc in next ch, ch 3, 2‑tr-tog over next 2 ch, ch 3, sc in next ch, ch 2, dc in next ch, ch 2, sl st in next ch, fasten off, weave in ends.
*sc-dc-tog: insert hook in next ch, draw up a loop, yo, insert hook in next ch, draw up a loop, yo and pull through 2 loops on hook, yo and pull through all remaining loops on hook.
Ginkgo (make as many as you’d like)
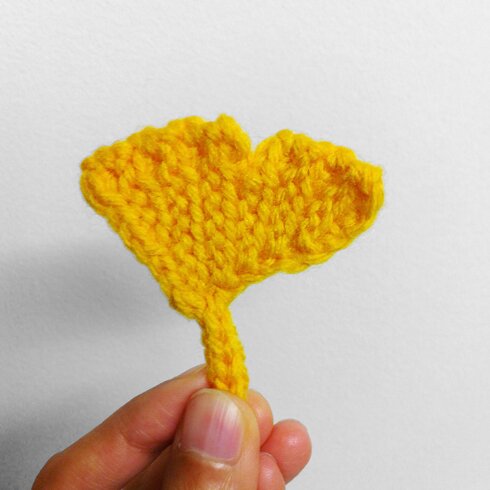
For the ginkgo leaf we are crocheting in the front loop only.
ch 9.
Row 1: sc in second ch from hook, sc in next 3 ch, turn.
Row 2: sl st in first sc, sl st in next 2 sc, sc in last sc, ch 1, turn.
Row 3: sc in first sc, sl st in next 3 st, sl st in next ch in the beginning chain, turn.
Row 4: sl st in first st, sl st in each st across until last st, sc in last sc, ch 1, turn.
Row 5: sc in first sc, sl st in each st across, sl st in next ch in the beginning chain, turn.
Row 6: sl st in first st, sl st in next 3 st, ch 3, turn.
Row 7: sc in second ch from hook, sl st in next ch, sl st in each st across, sl st in next ch in the beginning chain, turn.
Row 8–10: repeat rows 4–5, then row 4 once more.
Row 11: sc in first sc, sl st in next 4 st, turn.
Row 12: skip first st, sl st in next st, sl st in next 2 st, sc in last st, ch 1, turn.
Row 13: sc in first sc, sl st in next 3 st, sl st in skipped st in the row below, sl st in remaining unworked st in 2 rows below, sl st in the first ch of the beginning ch (the ch 9 in the very beginning), don’t fasten off.
Stem: ch 7, sl st in second ch from hoo, sl st in each ch across, sl st in the first ch of the beginning ch (the ch 9 in the very beginning). Fasten off, weave in ends.
Vine
The vine is made of chains, and you can crochet the leaves as frequently as you like between chains.
Small leaf: ch 4, dc in 3rd ch from hook, ch 1, sl st in top of dc just made, ch 3, sl st in same ch where dc was made. Continue ch for vine.
When you want to attach an oak or ginkgo leaf, make sl st across the back of the leaf. Here’s a back view of the garland to show how the leaves are attached.
It might even make a nice leaf crown :D (silliness is absolutely necessary)

Have a lovely weekend, everyone!
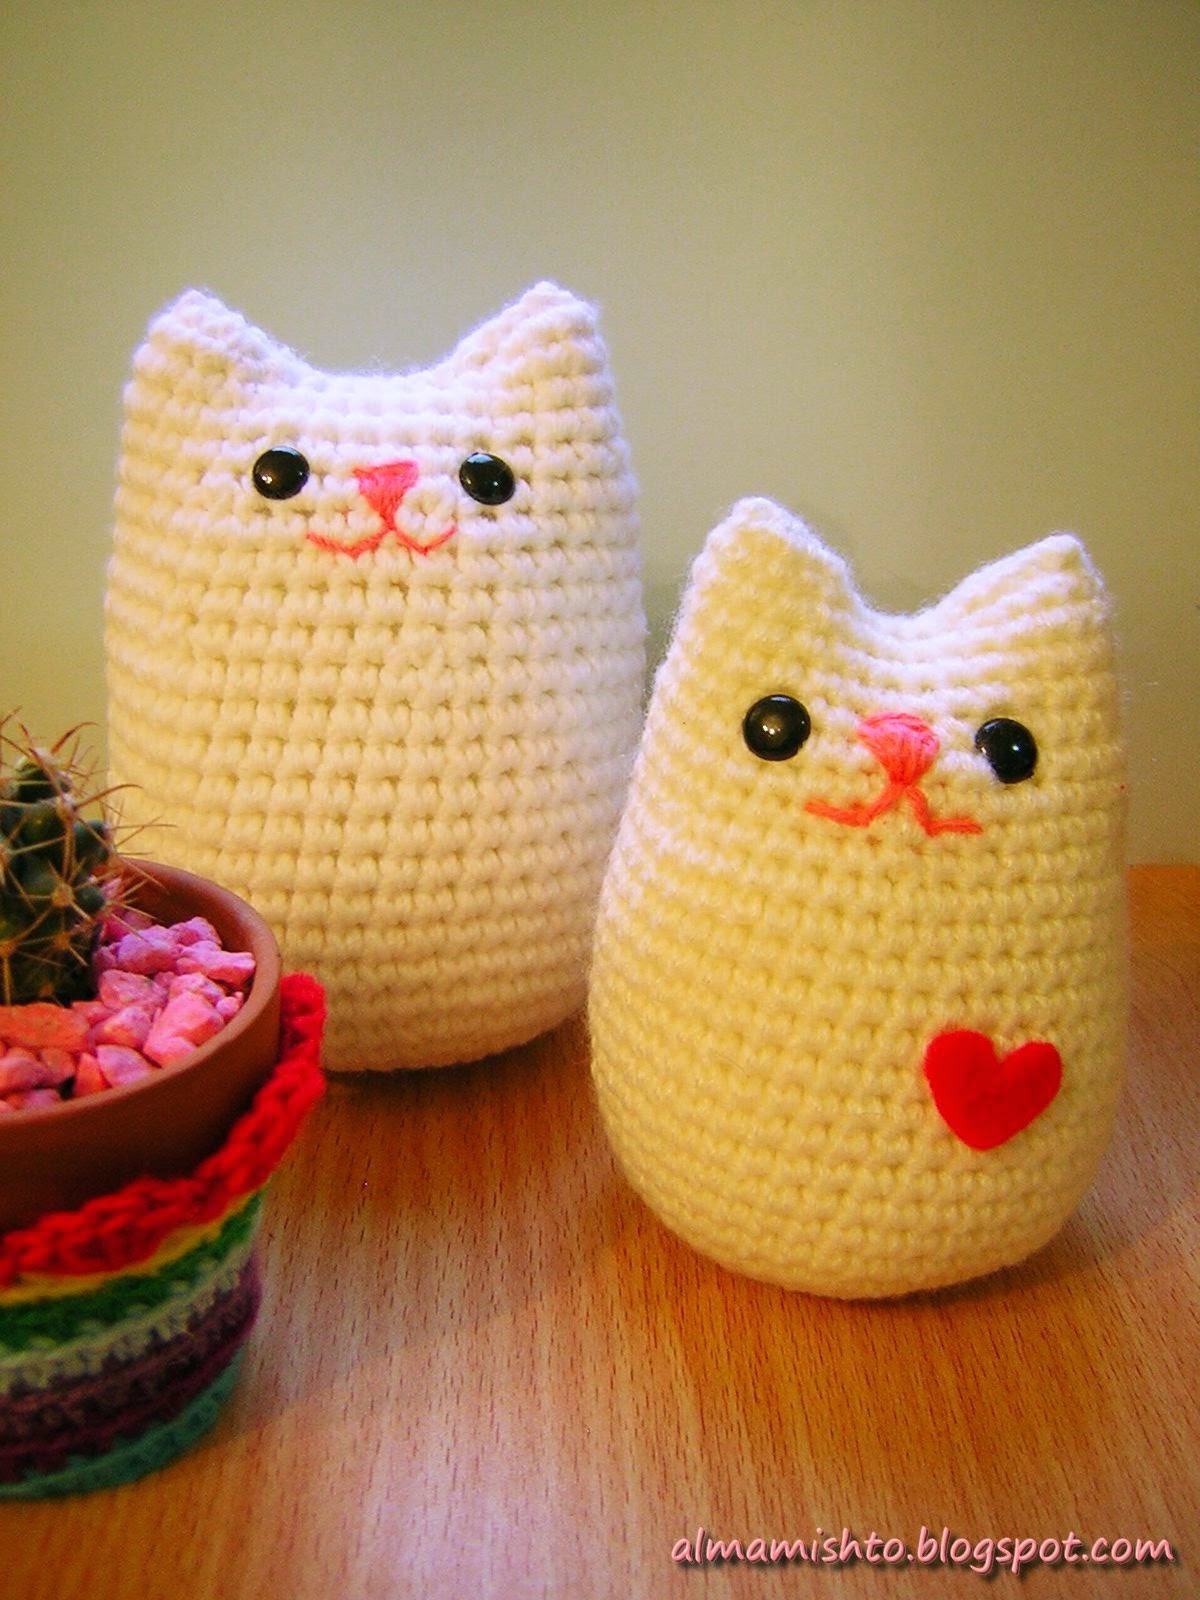 Aren’t these the most huggable cats? Pattern on Mishto.
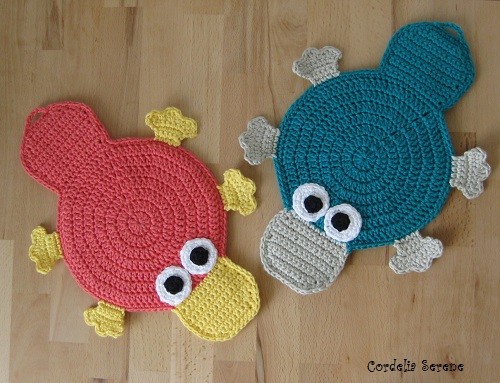 Who knew platypuses would make such awesome potholders? Pattern at Patalappumania.
 Flying squirrels are the coolest! Also a great way to upcycle an fleece blanket or sweater! Pattern on Wild Olive.
 Another flying squirrel, this time a very helpful needle-minder. I don’t embroider very much, but I imagine it would be a lot of fun making the squirrel fly across the fabric by moving the magnet on the back :D Also from Wild Olive.
.JPG) Speaking of embroidery, love these embroidered plastic canvas earrings. From Emuse.
Speaking of embroidery, love these embroidered plastic canvas earrings. From Emuse. I don’t have a food dehydrator, but if I do I would definitely give this a try — it is fascinating! I would never think of turning watermelon into jerky. Very curious about how it would taste… Spotted on Instructables.
 Fun and funky Perler bead buttons! From Maker Mama.
 Looks super awesome and very easy to make! Burger balloons from Studio DIY.