Had a virtual hangout with my family following the public health announcement recommending the wearing of homemade face masks when in situations where proper distancing can’t be easily followed.Â
My mom said, why don’t you keep yourself busy and make some masks?
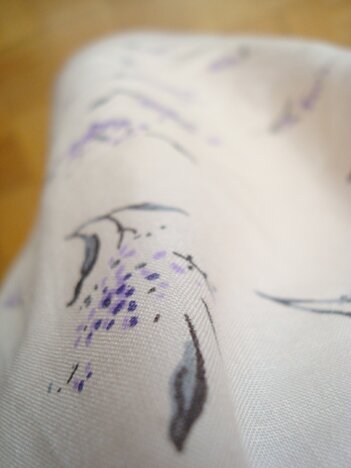
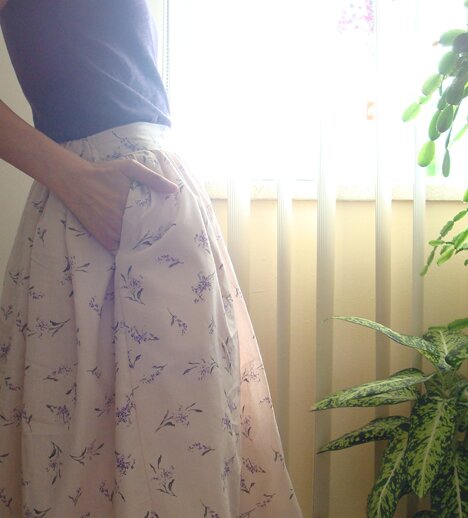
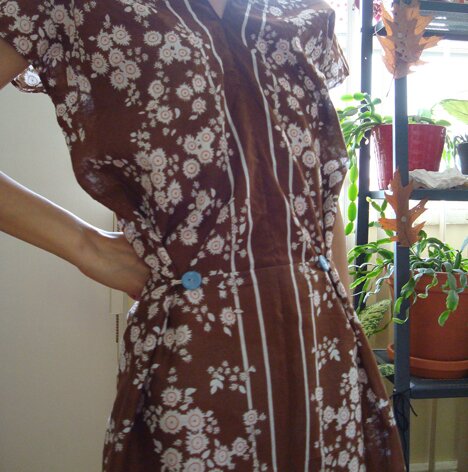
When we moved last spring I donated all of my fabric stash to the art therapy school for their puppetry course, because I was trying to minimize the amount of things we had to move. I kept, however, a piece of fabric that was gifted to me along with some tobacco from a woman who was part of an expressive arts group that I co-facilitated 7 or 8 years ago. Over the years I never found a project that was worth using this gift. I also had another piece of vintage floral cotton that I bought from Etsy and was saving for making a dress (that I would never wear anyway). So, miraculously, I had fabric to work with.
Mike found this video tutorial, which is by far the best one I’ve seen. It’s straightforward, easy, and has filter pocket.
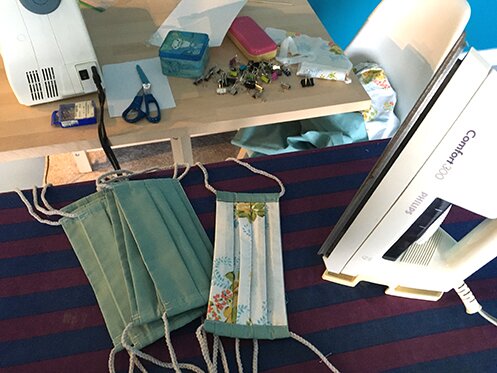
The living room/corner now a mask-making station.
So I’ve been making them for friends and family, especially those who are still working in essential service roles. The gift that keeps on giving. Finally a project worth using the fabric for.
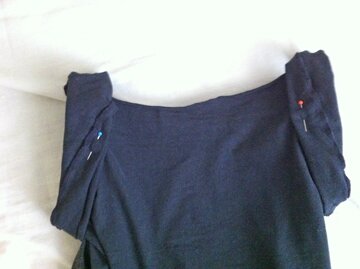
It’s a good pattern that works well, form-fitting to the face.
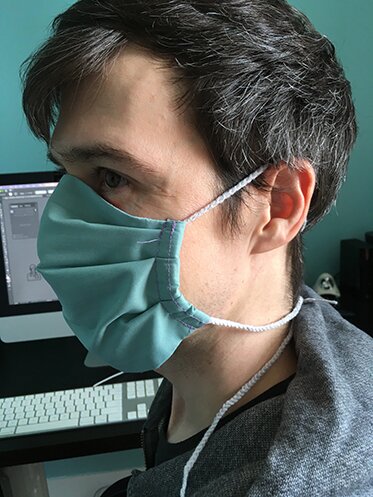
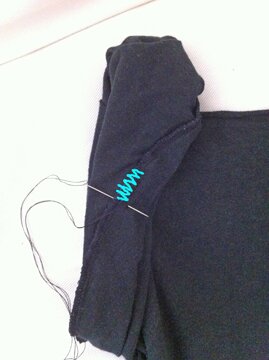
I didn’t use elastics for the ears because I don’t have enough of it, and I was reading that elastics irritate the ears anyway. So I crocheted the ties.
Running out of fabric soon, ordered some from a local yarn store, eweknit. If you’re in the Toronto area and want to buy fabrics, please consider supporting them — they’re offering 20% off till end of April and free shipping over $75.
If you don’t have a sewing machine, the CDC also has how-to’s for no-sew versions using a t‑shirt or a bandanna and some hair elastics.Â
If you do sew and want to support frontline workers in Ontario, masks can be donated to the Michael Garron Hospital, Trillium Health Partners, this Facebook group that coordinates mask orders and distribution, Sew for TO, and The Sewing Army. (There may be others, these are the ones I know of.)Â
Hope you’re staying well as you’re reading this, and please wear a mask if you must go out so as many people as possible can stay well too.
Â
Â