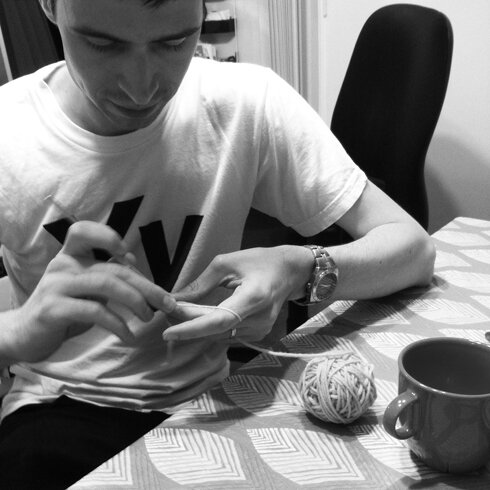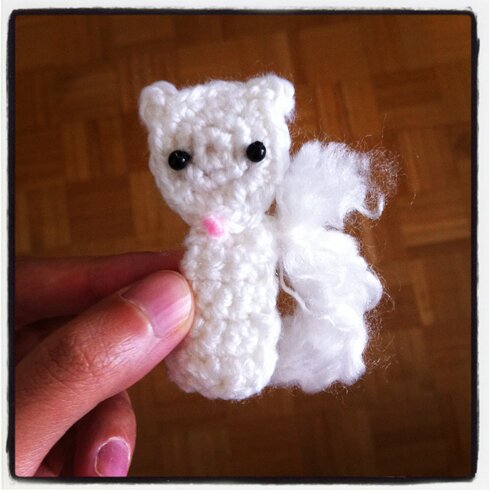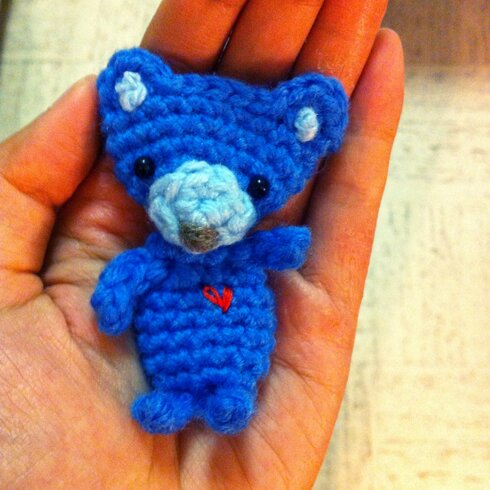
6th pattern in the 12 Days of Woodland Creatures (and Their Favourite Things) project. Can you believe we’re already half way done? Fun times go by fast :D
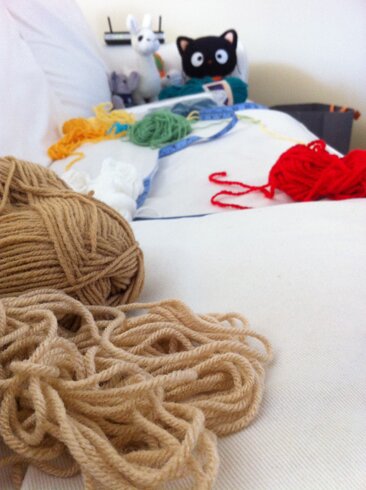
For this bear I used:
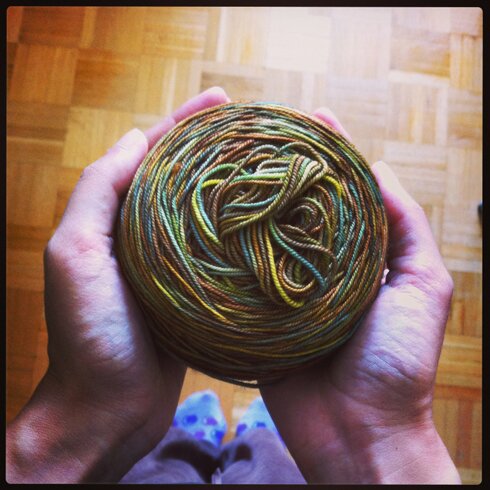
Worsted weight yarn in blue, light blue and brown
3.5 mm hook
Small black beads for eyes
Needle and thread for sewing and embroidering
Pattern:
Head
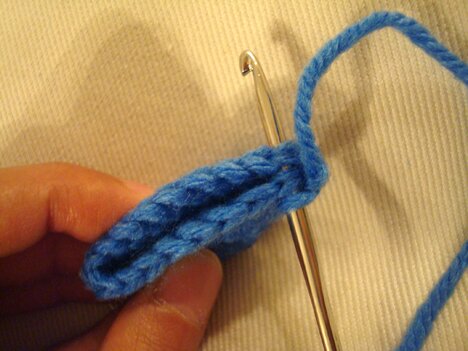
Round 1: With blue, 6 sc in magic ring, do not join.
Round 2: 2 sc in each sc around, do not join (12 sc).
Round 3: *1 sc in next sc, 2 sc in next sc*, repeat from * to * around, do not join (18 sc).
Continue working 1 sc in each sc around until piece is 1″ tall, ch 1.
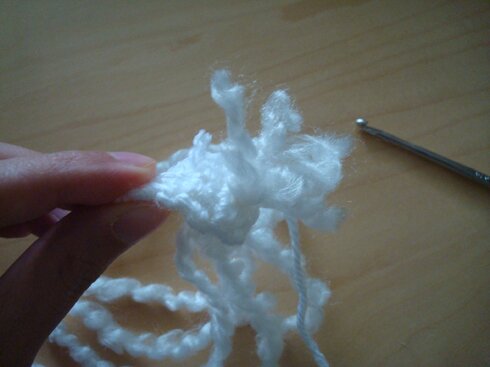
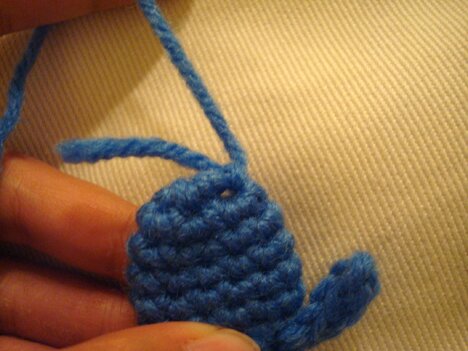
Now we make the ears. Press head flat, insert hook in next sc and the sc before the st on hook, like so…
Make 1 sc in these sc, then make 2 hdc and 1 sc in same sc, sl st in each of next 5 sc in both layers, ch 1, [1 sc, 2 hdc, 1 sc] in next sc, sl st in last sc on the edge, fasten off. Weave in end.
Snout
Row 1: With light blue, 3 sc in magic ring, turn.
Row 2: ch 1, sc in first sc, 2 sc in next sc, sc in last sc, sl st in magic ring, fasten off, leaving a long tail for sewing.
Embroider nose on snout with brown yarn.
Face
Sew snout to head. Sew on eyes. Sew french knots on the ears with light blue yarn.
Body
Round 1: With blue, 6 sc in magic ring, do not join.
Round 2: 2 sc in each sc around, do not join (12 sc).
Continue making 1 sc in each sc around until piece is 1″ tall.
Second last row: *1 sc in next sc, 2 sc tog over next 2 sc*, repeat from * to * 3 more times.
Last row: 1 sc in each sc around. Fasten off, leaving long tail for sewing.
Arms and legs
Arms are attached between first and second rows from the top of body, and legs are attached between last and second last row of body.
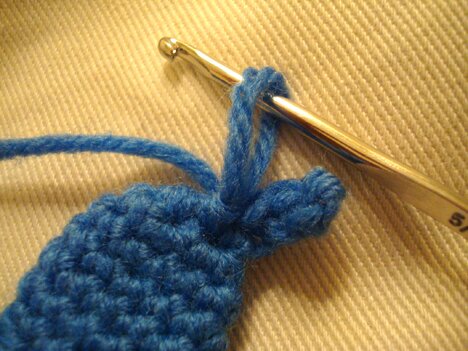
Attach yarn to the st where the arm/leg would be, like so.
Draw up a loop, ch 4, sc in 2nd ch from hook, sc in each of next 2 sc, sl st in the st where the yarn is attached, pulling up a length of yarn about 24″ long as you complete the sl st…
Cut yarn. Insert hook through the stitch where the 2nd leg will be AND the stitch where the first leg is attached, and pull the yarn through.
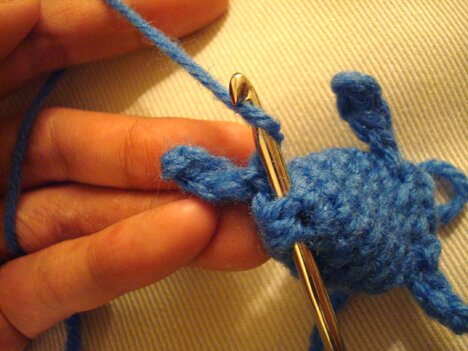
Insert hook in the stitch where the 2nd leg starts and make 1 sc in the stitch. ch 4, sc in 2nd ch from hook, sc in each of next 2 ch, sl st in the st where the leg is attached, fasten off, weave in ends.
Do the same for the arms, except use sl st instead of sc when crocheting down the arms.
Using long tail from body, sew body to head. I also made a french knot for a tiny tail.
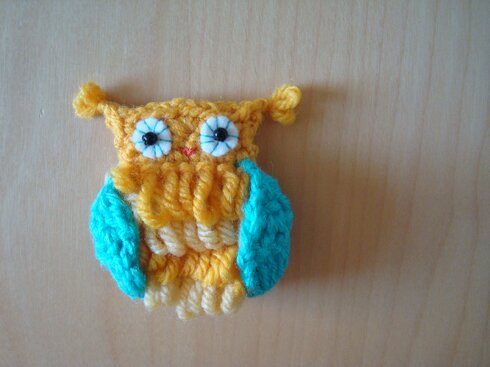
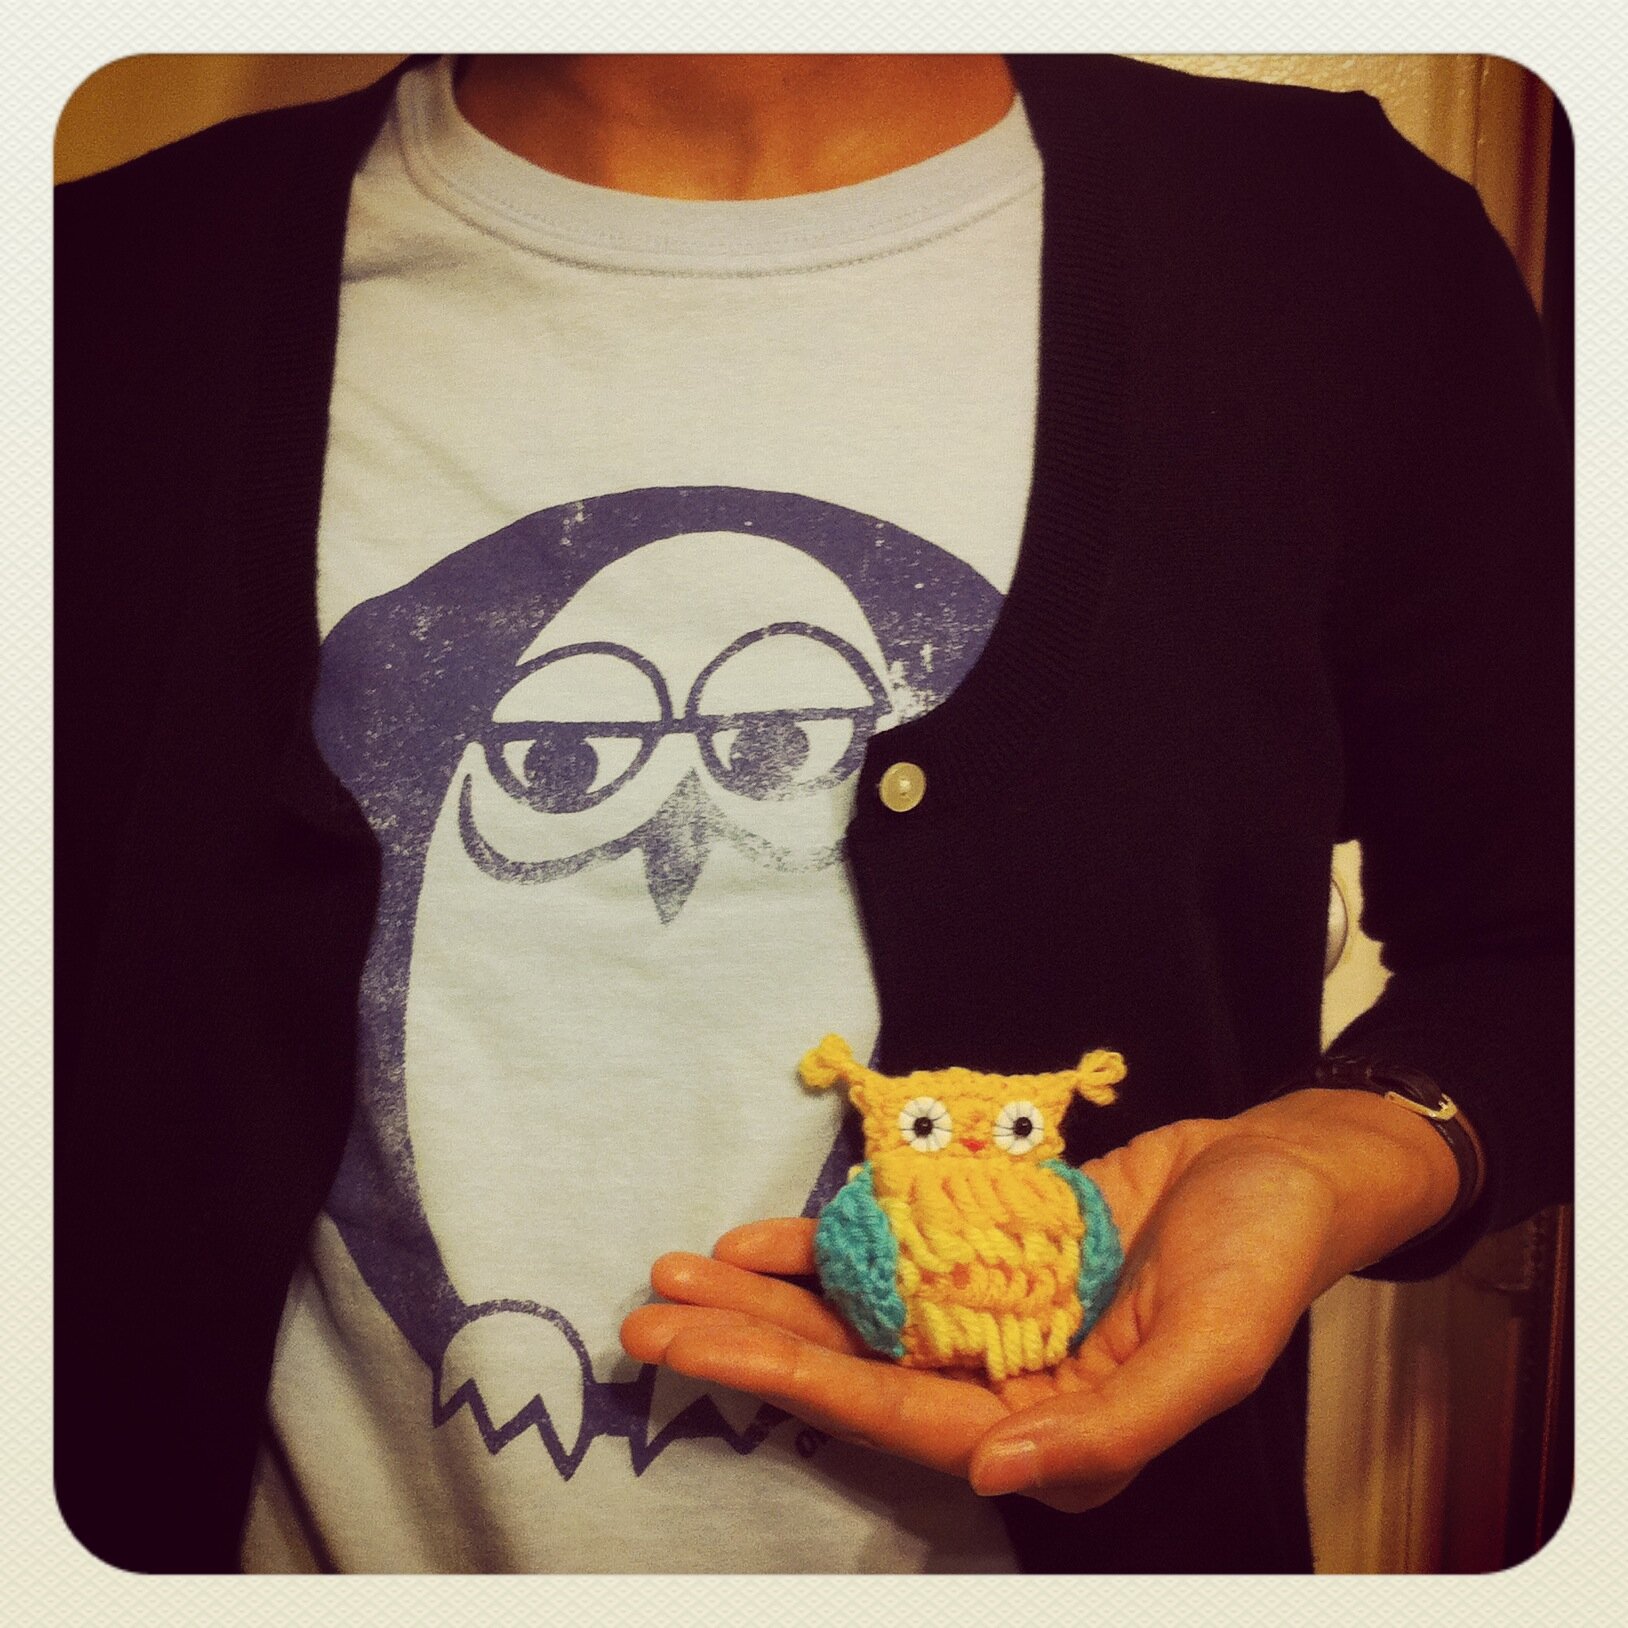
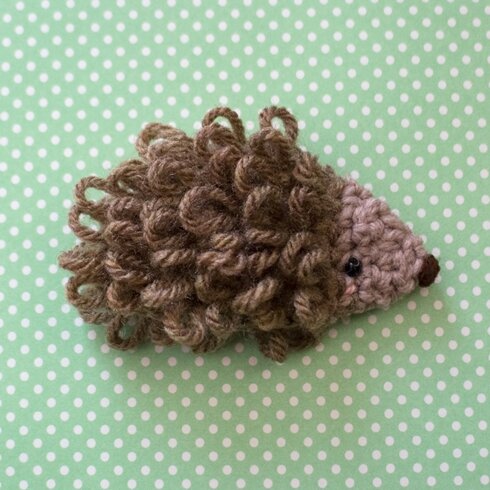
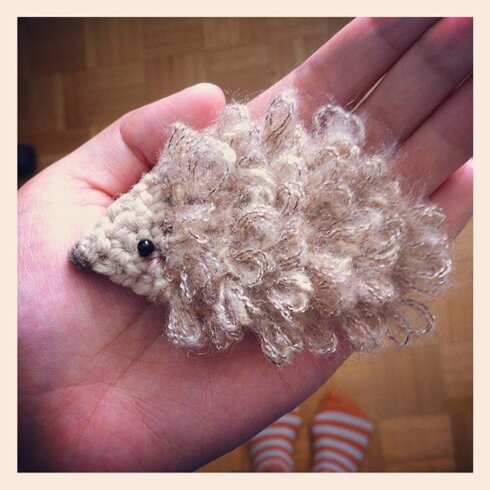
And we have a bear! :D
Have a happy rest of the week!