I have such oddly shaped feet, it’s quite difficult to buy shoes that are comfortable. Shoe-shopping is always a time-consuming ordeal. So I thought, maybe I’d crochet my own shoes! That way I could make them custom fit and comfortable!
I have no idea how to make shoes, but I thought for sure there’d be patterns on Etsy, so I looked, and came across a pattern by Wildflower and Sage. I love that it includes instruction for making the shoes outdoors ready. There actually aren’t very many like this one out there.
Was very excited, went out and bought all the materials right after I downloaded the pattern :D I couldn’t find hemp (which is what the pattern called for) at the local Michaels and Home Depot, so I bought #48 jute, and started on the soles…
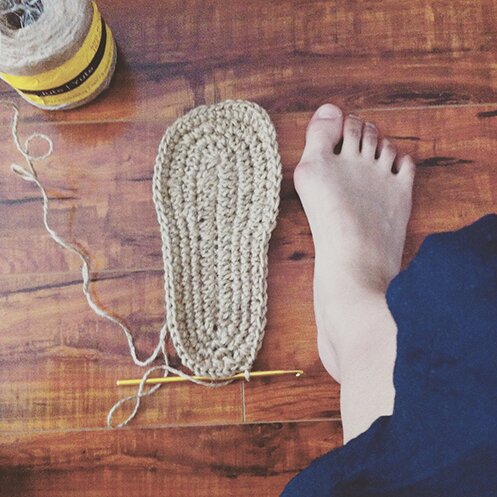
Jute is actually kind of hard to crochet with, and I had to use a larger hook than called for. No wonder the pattern called for hemp. Oh well. I just took lots of breaks in between so my wrists don’t get too sore.
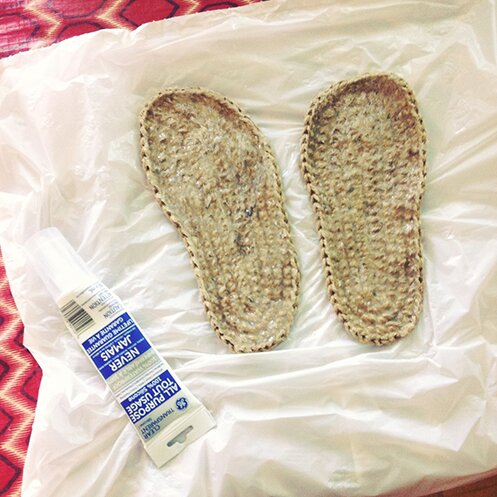
So finally I finished making the two soles. If I make them again I probably will follow the pattern for regular width rather than instruction for wide, since I had to use a larger hook. I think wide was too wide. But it’s still ok! There I am waterproofing the soles by lathering them in silicon caulk. The fume was stronger than I thought. Ventilation is imperative.
Slowly working on the straps, trying them on as I go so the strap placements feel right :D I made the insoles with Bernat Maker Home Decor, which feels kind of like a t‑shirt yarn.
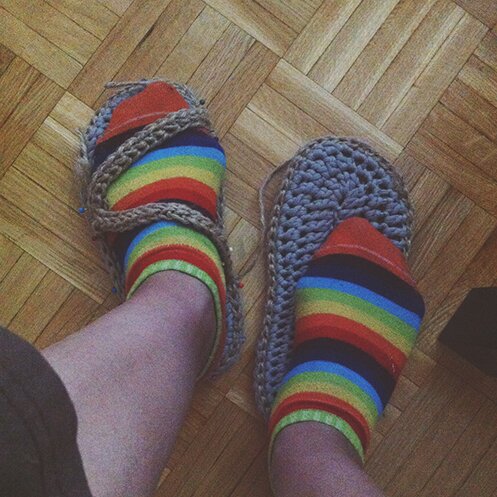
And here they’re, finished :D
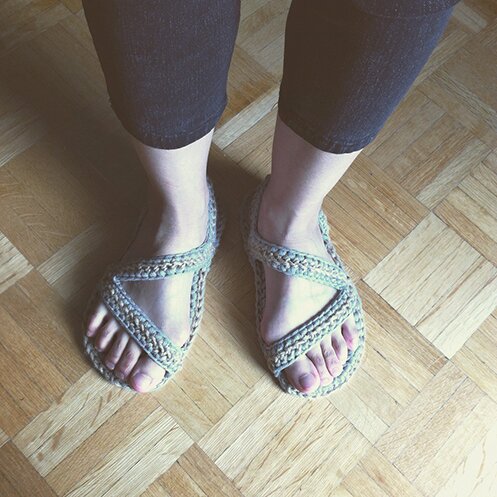
They’re actually really quite comfortable! I think I made the straps on the right shoe too tight though, they keep pushing my foot forward out of the sandals. But maybe as I keep wearing them and the straps stretch the problem will correct itself.
Side view…
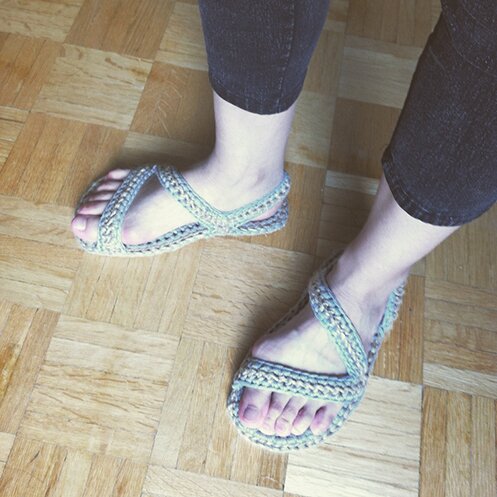
I’m quite happy with them! Will find an opportunity to test them out outside sometimes!
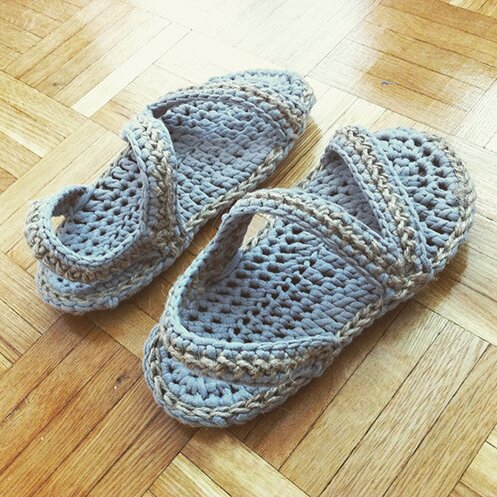
It’s really an excellent pattern, highly recommend it! :D
Hope everyone have a happy rest of the week!