Update Nov. 30/2020: I’ve received quite a few comments and questions regarding this pattern since it’s been published. It is not a beginner’s pattern. A few folks are fine with the written pattern and few photos, and some folks requested more clarifications. I apologize that I’m not a professional pattern designer, my patterns have not been tested by others (though this one was repeatedly tested by me), I don’t have the time or know-how to make videos, I write pattern and instruction to the best of my ability in the clearest way in my understanding and offer them for free. I do acknowledge that the photos in this particular pattern is admittedly lacking. I’m sorry about this, and if I do make another hat this winter, I will retake/replace the photos. Working and studying full-time currently means that at this point I don’t have the time nor capacity to respond extensively to inquiries about how to make this hat. And a lot of times I cannot decipher what is going wrong in the ways that people describe them without seeing the pieces and showing people what to do in person. So it means that at times it is simply impossible for me to help people out. Going forward I will support and clarify to the best of my ability, but my responses may be delayed. I contemplated taking this pattern down altogether because it sounds like it’s been causing a lot of frustration for people. But I thought I’d still leave it up for folks who find it useful. Thank you for visiting. Â
I’ve made quite a few of these hats with crochet slip stitch. I like that they’re made slowly.Â
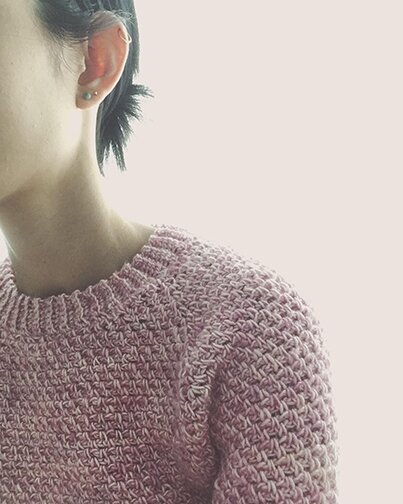
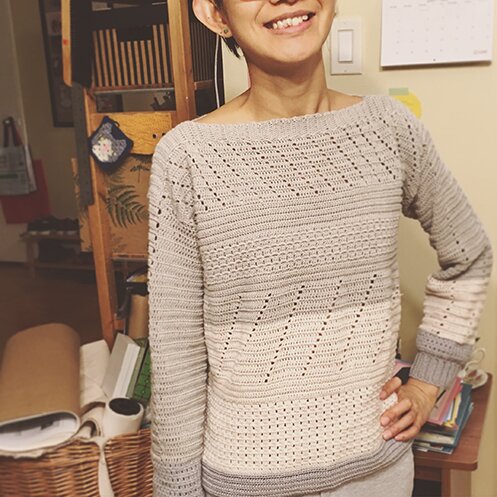
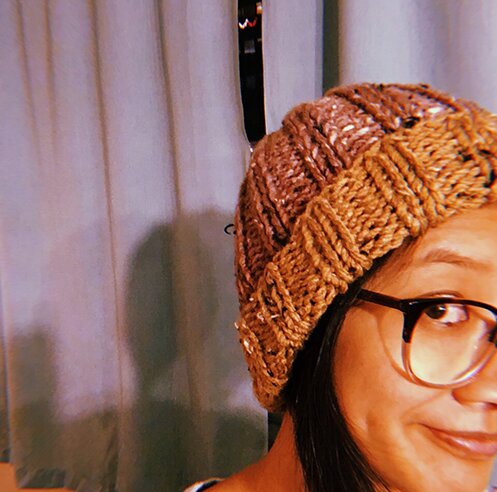
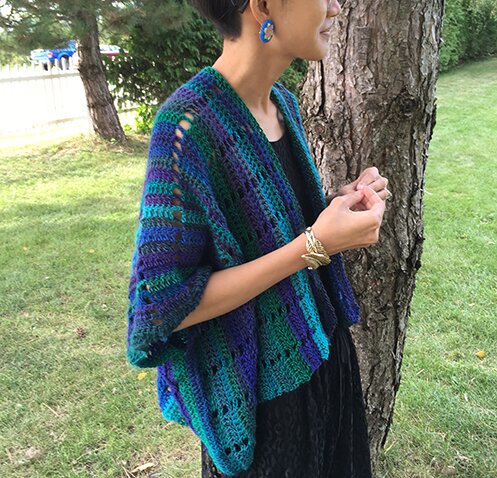
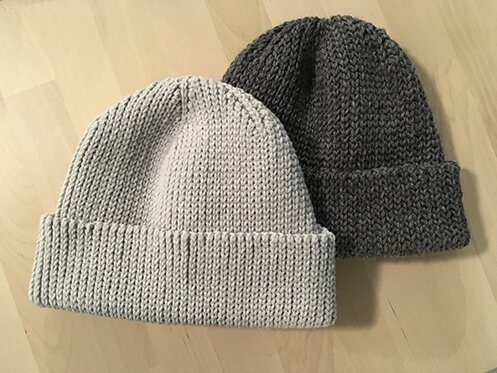
I’m going to attempt to write the pattern for 3 different yarn weights, so it’s versatile for whatever yarn you have on hand. They all make a hat that is 19″ around and 11″ in length (with brim unfolded). The stitch is quit stretchy so it will fit most I think. Here’s the worsted weight version on me.

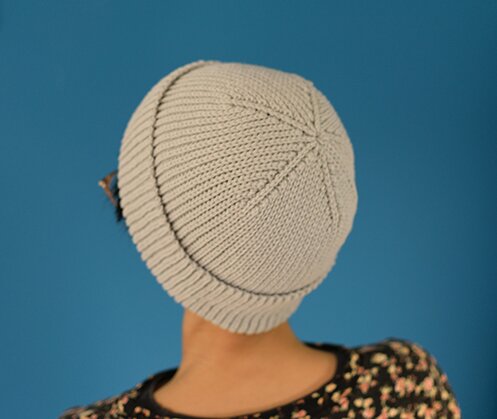
And the worsted weight version on Mike (I have a smaller head than he does).

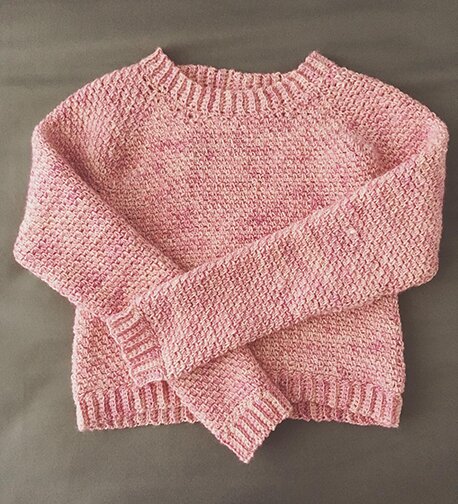
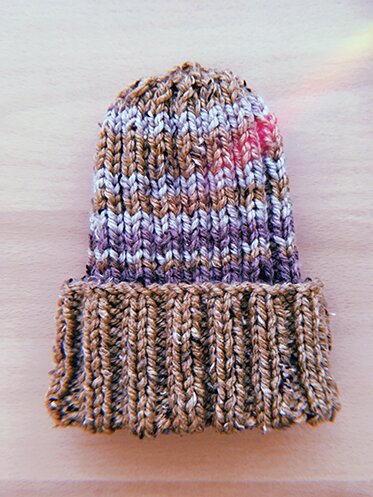
This is the sport weight version.

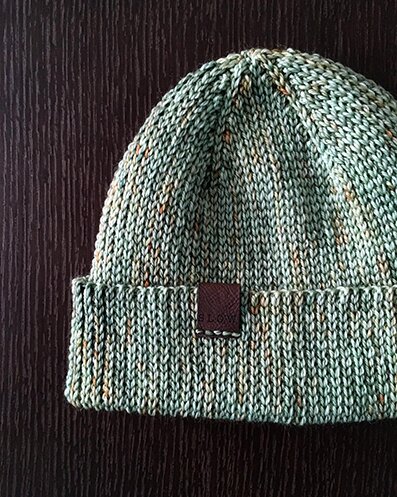
After testing the sport weight version with a leftover skein of acrylic yarn, I treated myself to a skein of merino hand-dyed by Toronto Yarn Hop co-organizer Emily Gillies. She has a range of beautiful colours, and one skein of merino sport is perfect for making one hat.Â
I made the hat in blue spruce (pictured here, in first photo, and in process photos below). The wonderful custom vegan tag is by Millie Marty Co. in Belleville, ON.
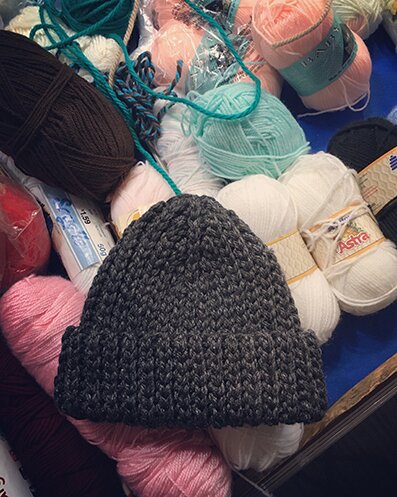
The hat can also be made more quickly in bulky yarn. I tested it while attending the Warming Toronto event (an afternoon of hanging out with great folks at a local pub while making hats, scarfs and mittens for distribution at emergency shelters in the winter). And this hat took about 3.5 hours to make.
Dimension of all three versions (sport, worsted, bulky): 19″ around, 11″ in length with brim unfolded.Â
Suggested yarn:
Sport — Merino Sport by Emily Gillies, 1 skein, 282 yards
Worsted — Patons Classic Wool Worsted, 2 skeins, 210 yards each
Bulky — Patons Shetland Chunky, 2 skeins, 148 yards each
Pattern:
Instructions are for sport weight (worsted and bulky in parenthesis).
The turning ch does not count as a stitch.
The hats are made with slip stitch in black loop only (BLO), made sideways with short rows for crown shaping, then seamed at the back with slip stitch (or sewing).
Crochet loosely, otherwise it can be difficult to get the hook into the slip stitches.
The hat can be made wider with one or two additional short rows, and longer with additional stitches in the beginning chain (makes for a wider brim).
Hooks:Â
Sport — 5.5 mm
Worsted — 6.5 mm
Bulky — 10 mm
Row 1 (setup row): ch 55 (40, 33), sl st in second ch from hook, sl st in each ch to end.
First set of short rows:
Row 2: ch 1, sl st in each st until there is one st left, skip remaining st, turn.
Row 3: ch 1, skip first st, sl st in each st to end.Â
Repeat rows 2 and 3 six (four, three) more times.
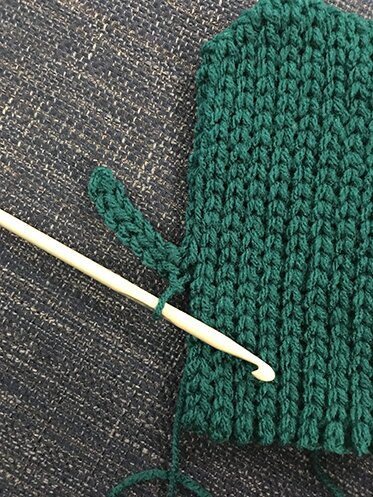
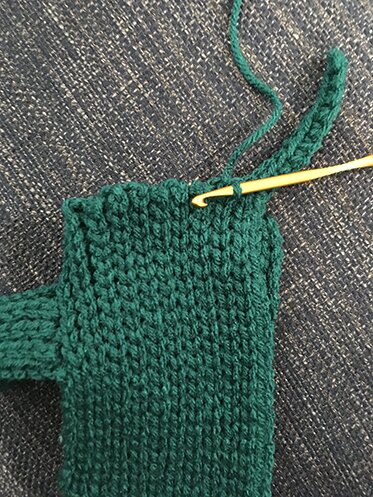
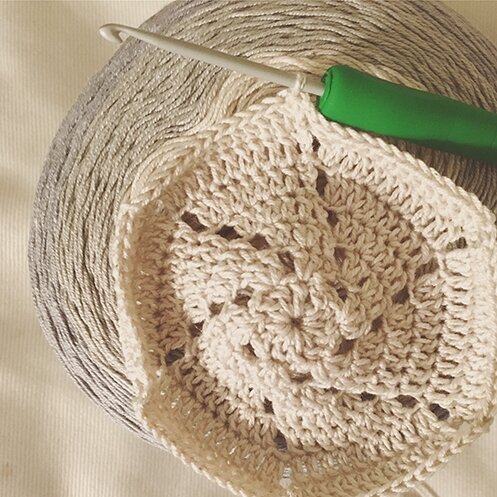
Next row: ch 1, sl st in each st. At this point the piece will look like this.
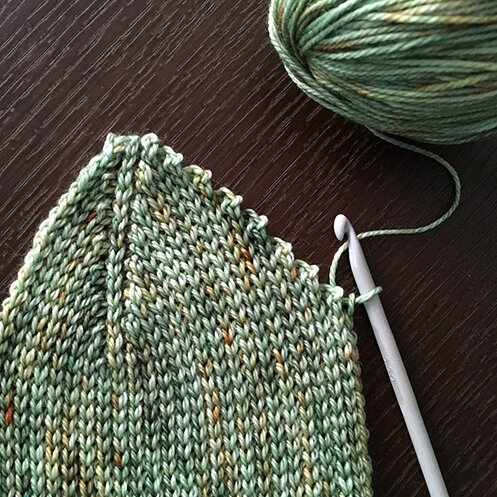
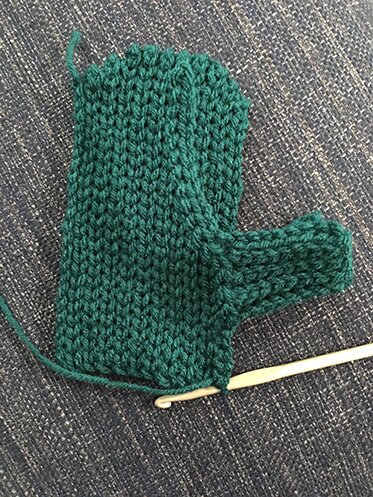
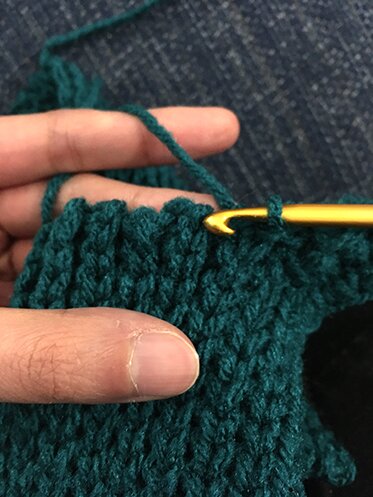
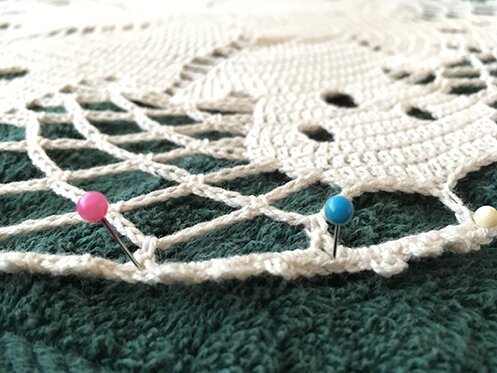
Continue on and sl st into each end of the short row and the space in between each row — 14 (10, 8) stitches across the short rows, then sl st in the remaining last stitch from row 2. The piece will now look like this.

Next row*: ch 1, sl st in each st to end.
Second set of short rows:
Row 1: ch 1, sl st in each st until there are 14 (10, 8) stitches left in the row, turn.
Row 2: ch 1, sl st in every st to end.
Row 3: ch 1, sl st in every st, then sl st in the next two st in the row marked with * (the row made before row 1 of the second set of short rows), turn.
Repeat rows 2 and 3 six (four, three) more times.
Next row: ch 1, sl st in every st to end.
Repeat first and second sets of short rows four more times. Don’t fasten off.
Crochet seam together right side out. Turn inside out. Weave yarn through each stitch in crown opening, cinch and tied off. Weave in ends. Turn right side out. Fold up brim. Â
Happy crocheting!
Â
Note: No incentive or commission was received for this post. Simply thought it was neat that I could find local artisans for both the yarn and custom tags, and want to support indie businesses :)
Â
Â