Shrink plastic!! :D
I’ve been wanting to make these shrink plastic flowers ever since I saw the tutorial on Just Something I Made some weeks ago. I have one sheet of that plastic left from a long time ago… I think an auntie bought that for me from Honk Kong when I was in elementary school. I really liked working with it when I was a kid. I found it quite magical how it works, and not a lot of fume (that I could tell) during the baking process, unlike Fimo. Anyhoo, I’ve only ever made things that are flat, and I thought it would be quite an adventure to make three-dimensional shapes, like flowers!
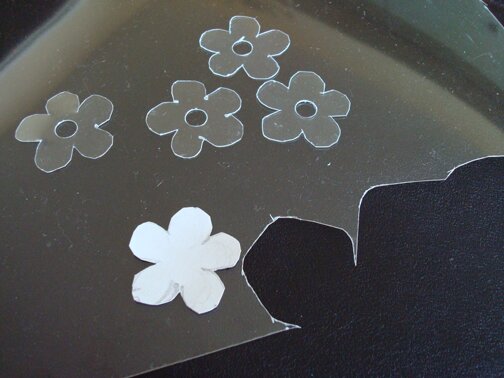
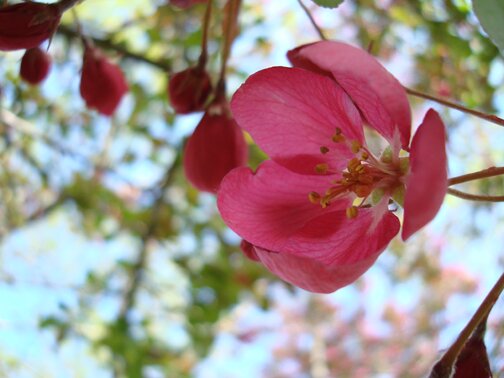
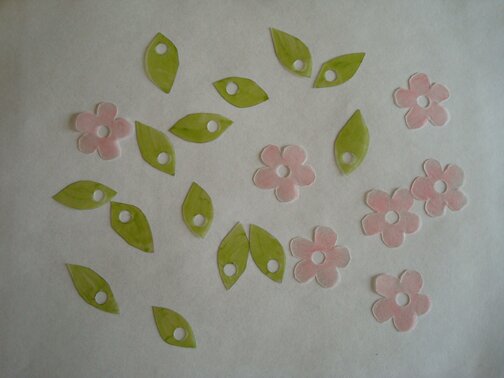
The tutorial mentioned using a flower shape punch, but I didn’t have one, so I just drew a template by hand. I figure it wouldn’t matter if the shape is wonky anyway, since it’s going to shrink and be reshaped. I wanted the flowers to look like the pink ones on those blooming trees. Not sure what they’re called but this is what it looks like…
Pretty huh. Also like a cherry blossom, except more pink.
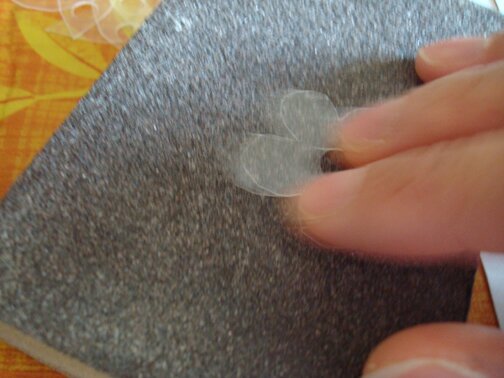
So, anyways. I didn’t have a pink marker, so I sanded one side of each flower and coloured them with a pink pencil crayon, which I have plenty of.
I do have a broad-tip green markers, so that went on the leaves. Now they’re all coloured — ready to bake! :D It only said on the package to bake it at 130°C, didn’t mention for how long… so I just sat in front of the oven to watch them shrink, which was kind of a cool process to watch, and didn’t take very long, about 2 min each time.
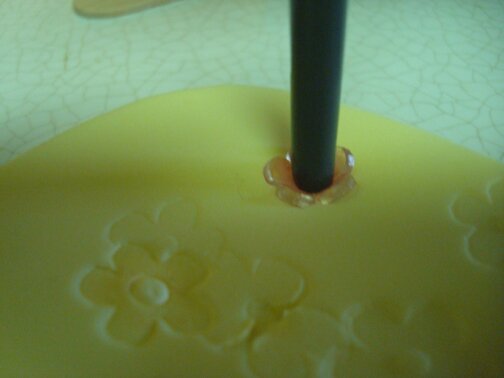
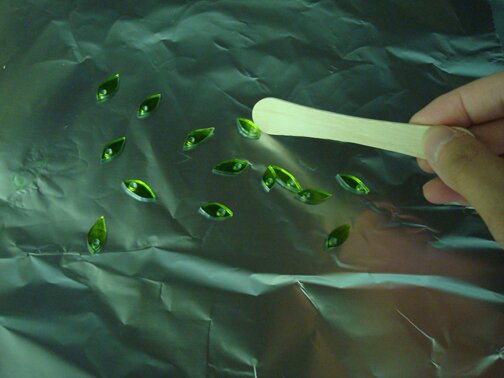
The flowers needed to be baked individually, and then immediately pressed with the end of a paintbrush on a stack of craft foam once it’s out of the oven. The first flower cracked when I pressed it :( because I was too slow getting it out and it had already cooled. But the rest worked out brilliantly. And what really helped was the popsicle stick I mentioned in my last post! It’s a perfect shape to scoop the flowers directly from inside the oven. I didn’t get pictures of that in action because I needed to move quickly, but here’s me using the popsicle stick to scrape the leaves off the baking sheet…
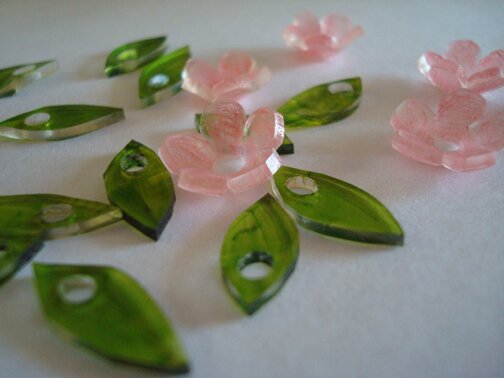
I liked how the leaves turned out, coloured with markers. Very lush-looking. The pencil crayon flowers, on the other hand, looked like they were coloured with a pencil crayon. Oh well. Can’t see that from far away and I do like how it looked kind of frosty.
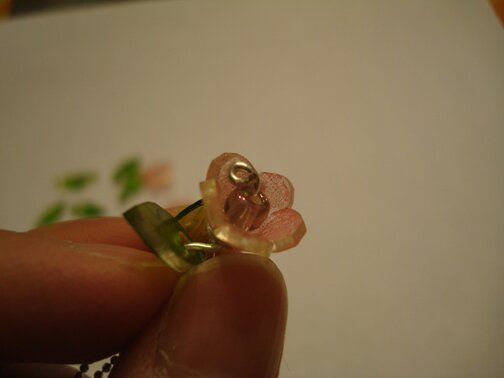
I also didn’t have headpins, to attach a bead in the centre of the flower. But I do have jewelery wire, so I made my own headpins. Sort of.
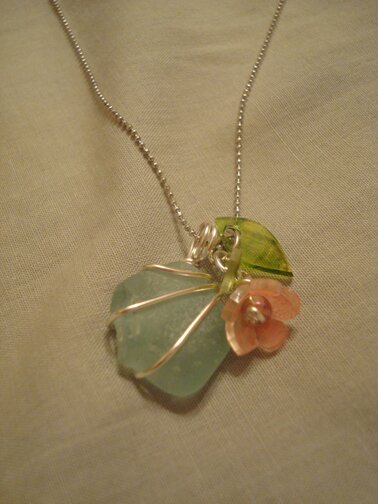
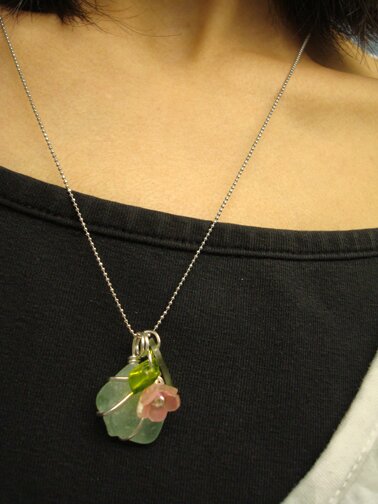
And part of the reason why I was so excited about making these flowers, is because I thought it would go so well with the blue beach glass necklace I made last summer.
See? I knew the colours would look so pretty together.
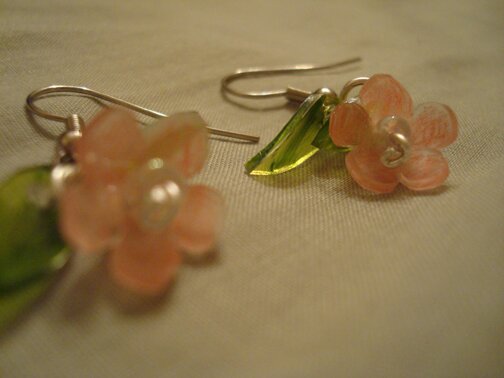
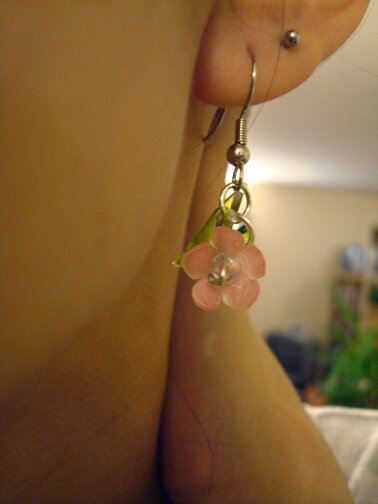
And then I also made earrings to match my pink shoes, which I’m planning to wear to a wedding in a couple of weeks :D
I still have 3 flowers and many leaves left, can’t decide what I’m going to do with them yet… I might save them to make Christmas presents with, or make a brooch with them. The tutorial has a picture of a bouquet pendant, also very pretty, so I might end up making that.
But anyways, it was really fun. Now I might need to find a store where I can get more shrink plastic… I came across Klutz’s Shrink Art Jewelry book some years ago and there are tons of lovely ideas as well.
Have a great weekend! :D
Can you even imagine how exciting it is for me to see this incredible jewelry that you made from the basics of my tutorial?! You totally stepped it up a notch into something really amazing. Thank you so much for sharing it. ‑Cathe
Thank you, Cathe! Your tutorial was really inspiring, I so appreciate it! I had so much fun :D
You are crazy talented. I still have everything you ever made me. :) Do you take orders for jewelry?
thank you Wendy! yes I certainly take orders for jewelry!
I love your sea glass pendant with these tiny little flowers. What kind of wire did you use to wrap the sea glass?
thanks for visiting Connie! for the sea glass I used a 20 gauge craft wire.