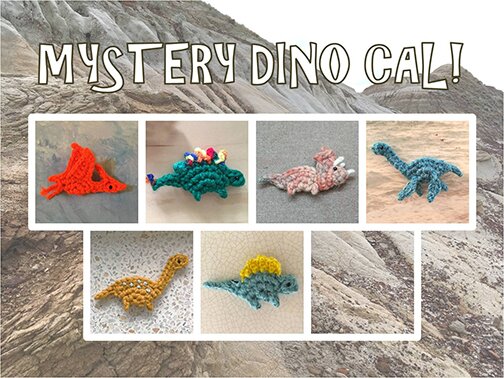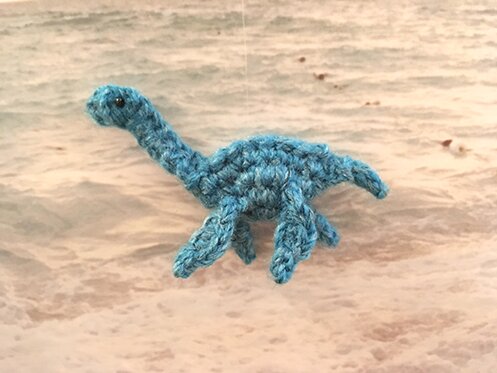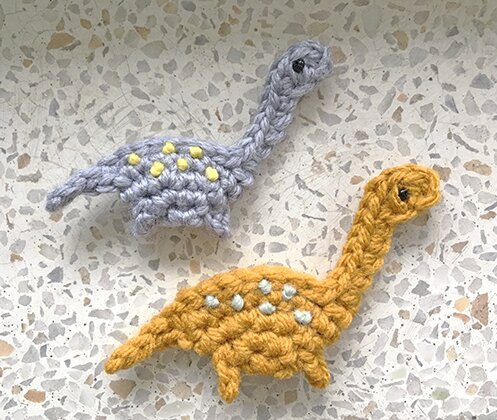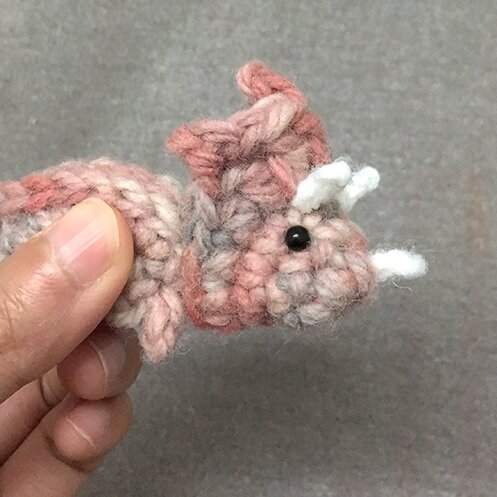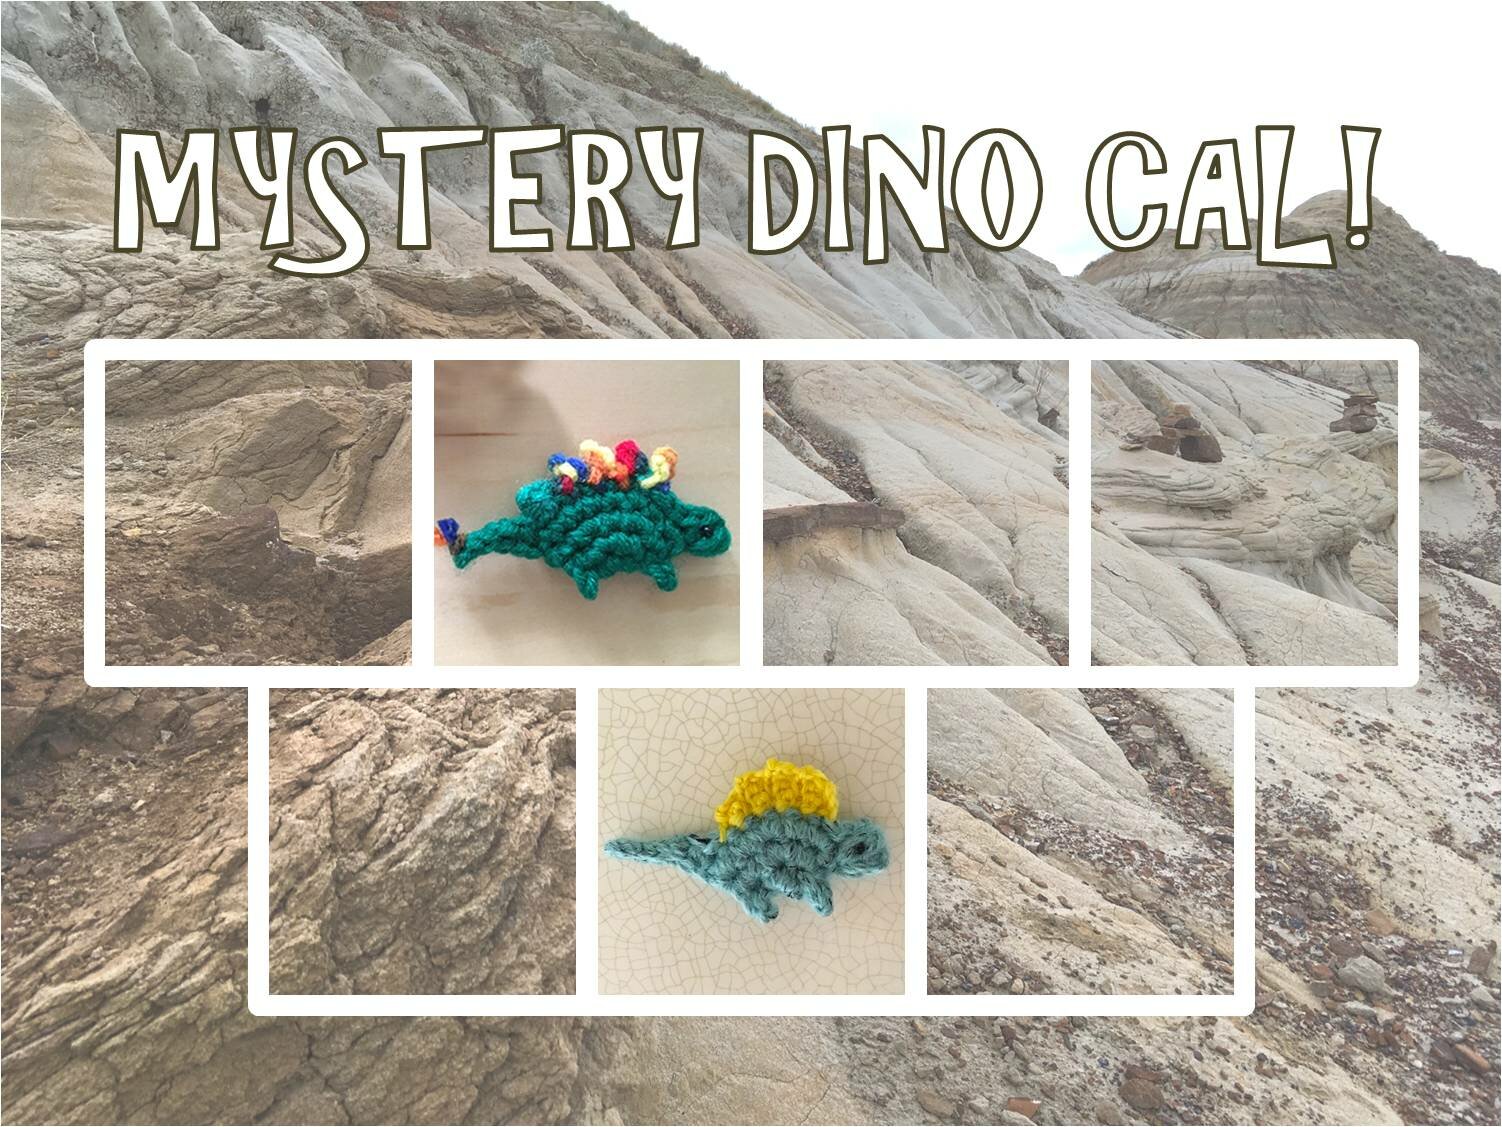
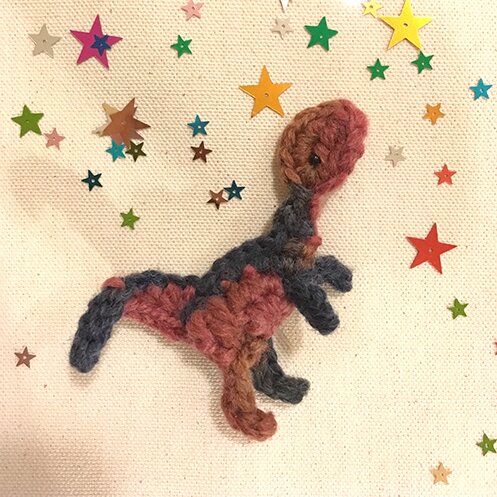
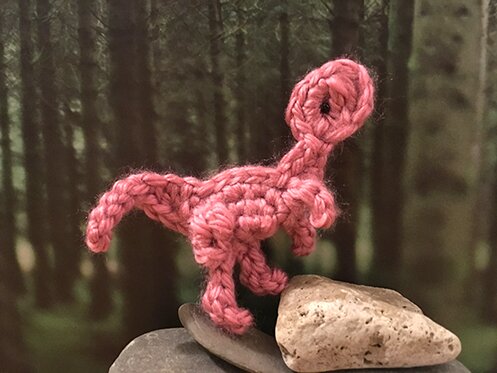
*Drum roll* the final dinosaur to be unearthed is Alberto the albertosaurus!
This calls for a dinosaur dance :D
The name Albertosaurus honours Alberta, the Canadian province in which the first fossils of this dinosaur was found the same year that the province was established, in 1905! (source) This whole series of mystery tiny dinosaurs is also inspired by our trip to Drumheller, Alberta, so I thought it’d be fitting to wrap up the series with the Albertosaurus.
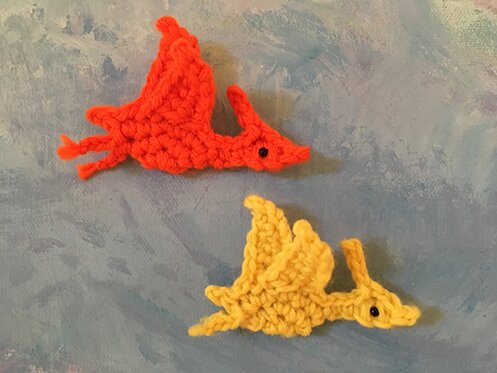
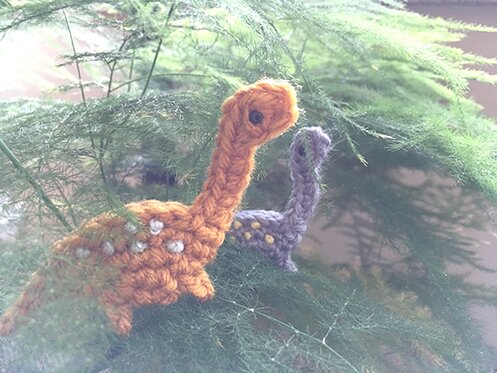
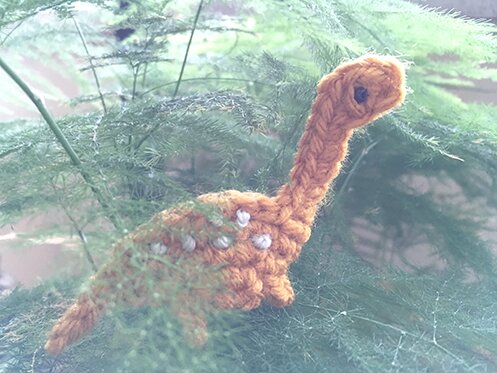
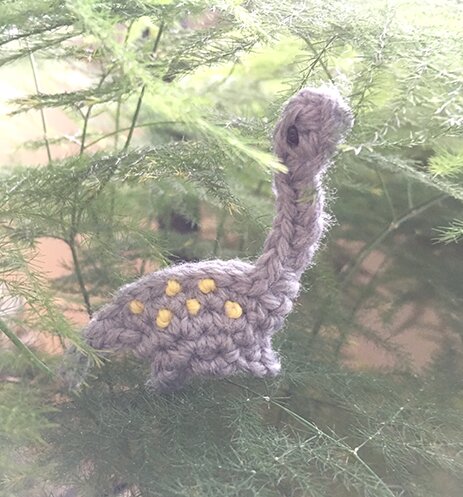
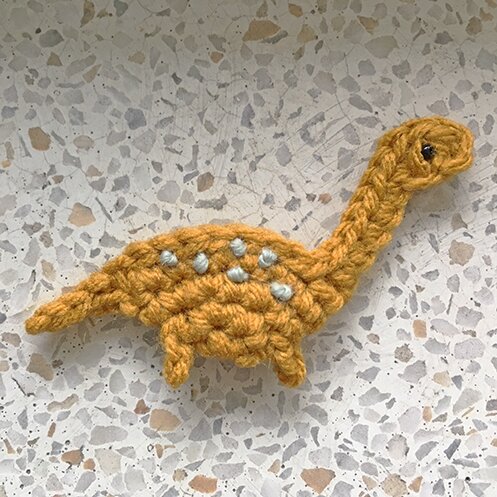
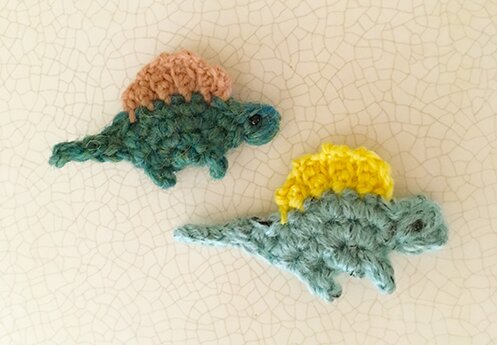
I made them with bulky yarn and 4 mm hook. I have this variegated yarn that I thought would be perfect, and then thought it would also look rad in bright pink :D
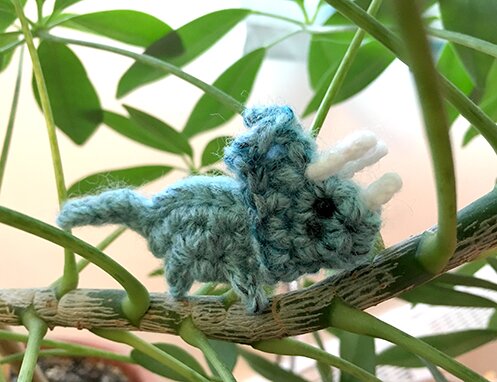
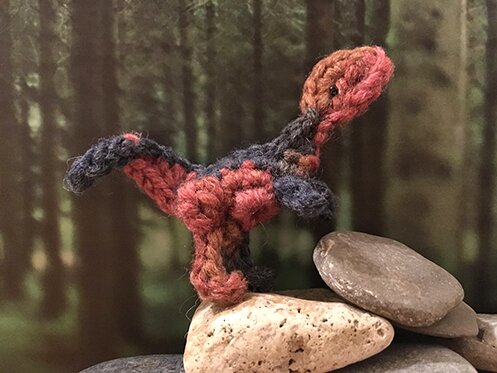
While the Albertosaurus looks very much like Tyrannosaurus Rex, it is about half the size of T‑Rex. Nevertheless, it was a fearsome dinosaur that hunted in packs. (source)

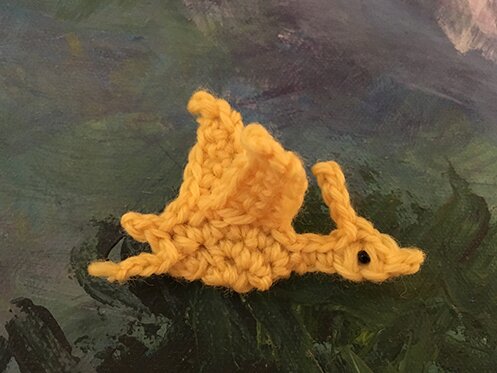
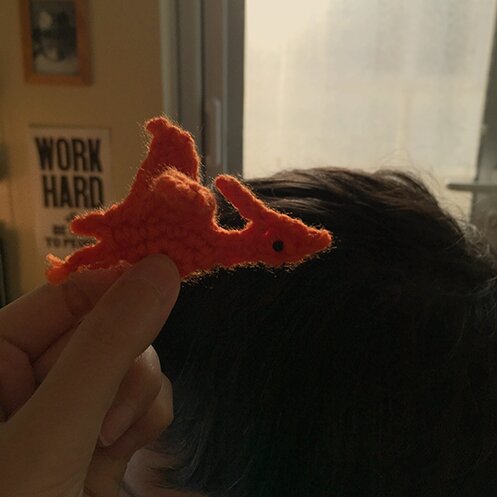
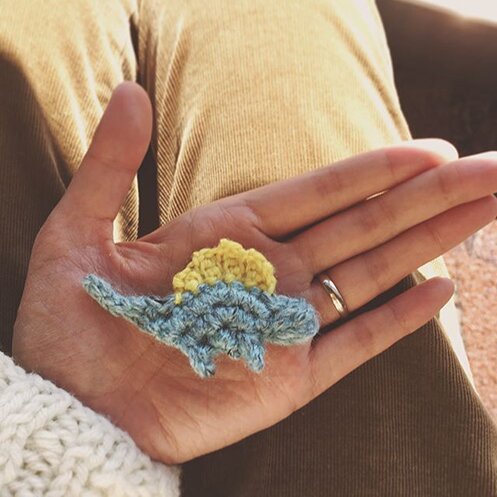
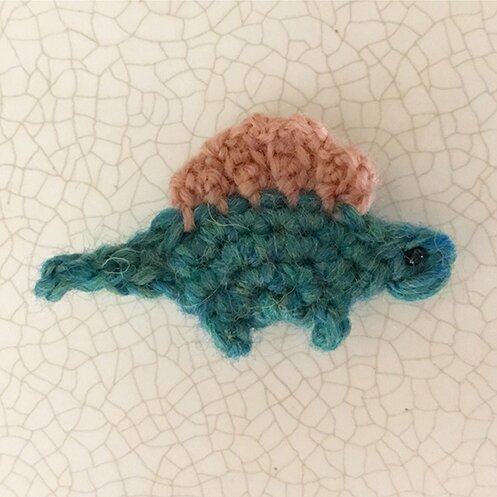
Unlike other dinosaurs in the series, which have the same features on both sides, Alberto is a one-sided dinosaur, because of the way the legs are made, so it won’t look quite right on the back side, but it would make a nice brooch or ornament.
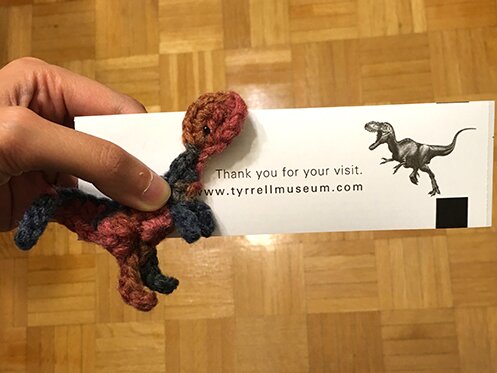
The design is based on the Albertosaurus on the back of the ticket for Tyrrell Museum :D
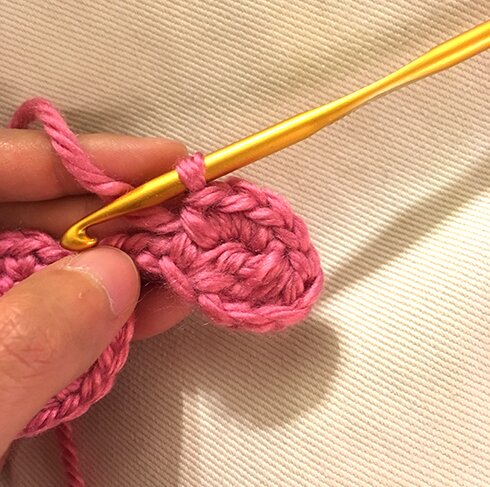
This dinosaur is probably the most complicated of all in the series because of the legs. But there are lots of process photos so I hope that helps! If you need any clarifications please feel free to leave a comment!
You’ll need:
- Small amount of Bulky weight yarn
- 4 mm hook
- Tapestry needle
- Black seed bead, black sewing thread and sewing needle
(You can also use worsted weight yarn and 3.5 mm hook for a smaller dinosaur)
Pattern:
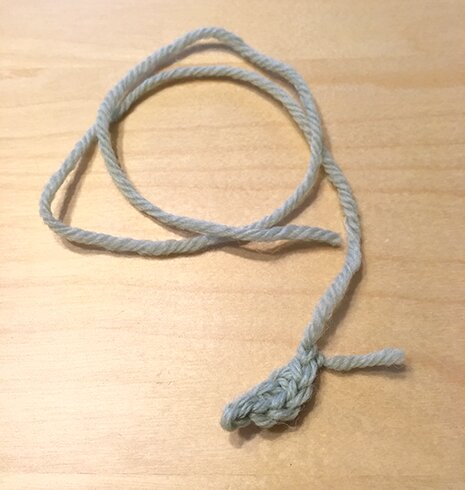
The body begins as a circle.
Round 1: ch 2, 6 sc in 2nd sc from hook, don’t join in round.
Round 2: 2 sc in each sc around (12 sc around).
Round 3: [2 sc in next sc, sc in next sc] five times, 2 sc in next sc, sl st in next sc (17 sc and 1 sl st around).
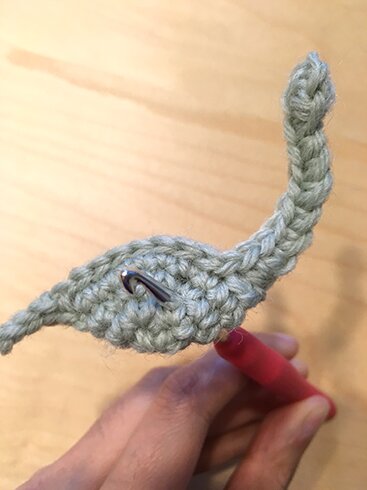
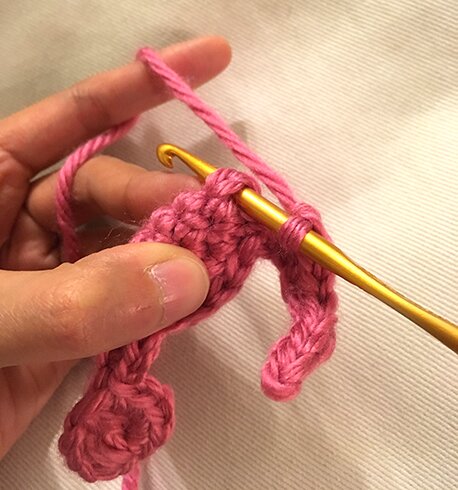
Head/neck:
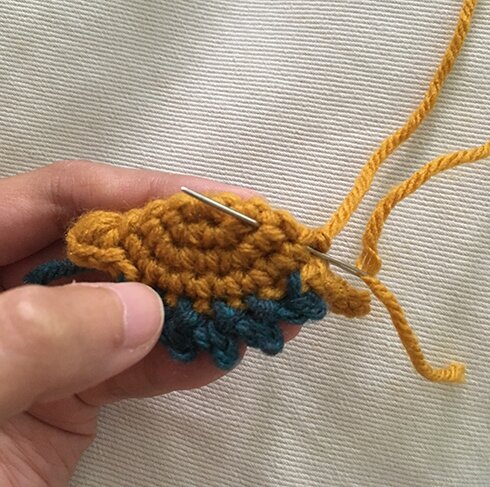
ch 7, [yo twice, pull up a loop] three times in 4th ch from hook, yo and pull through 4 loops on hook, yo and pull through the rest of the loops on hook (4 tr tog completed), ch 1, 4 sc around last tr made, it will look like this…
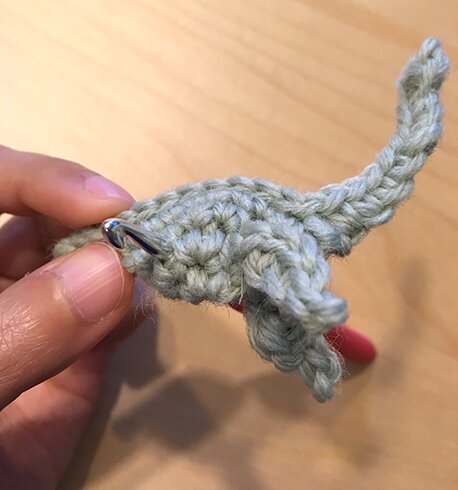
sl st in next ch in neck, sc in next ch, hdc in next ch, hold body in half, sk next sc in body, sl st in next 6 sc in body/back of the dinosaur through both loops and both layers of the body piece, don’t fasten off and continue on to tail.
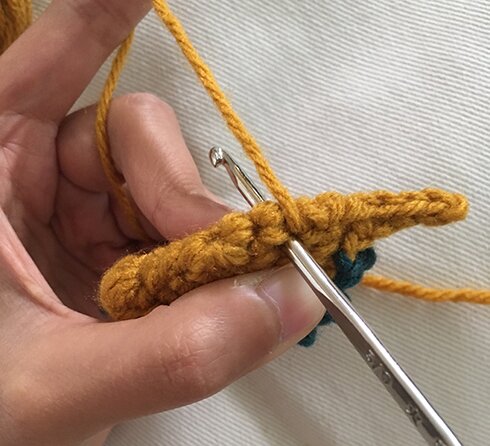
Tail: ch 8, sl st in 2nd ch from hook, sl st in next 2 ch, sc in next 2 ch, hdc in next ch, dc in next ch, sl st in a stitch at the tip of the folded body piece, like so…
Don’t fasten off, continue on to make legs.
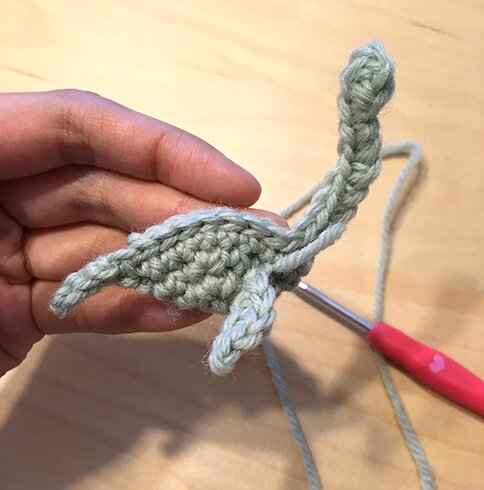
Front leg:
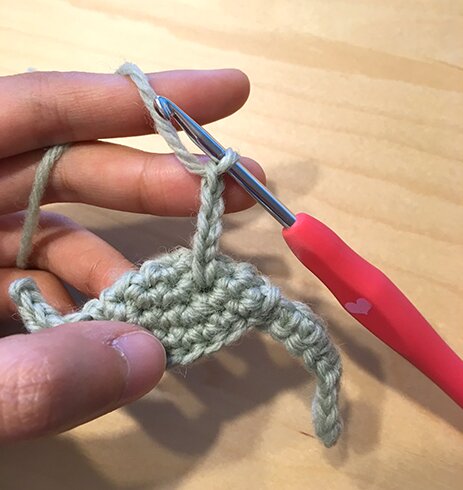
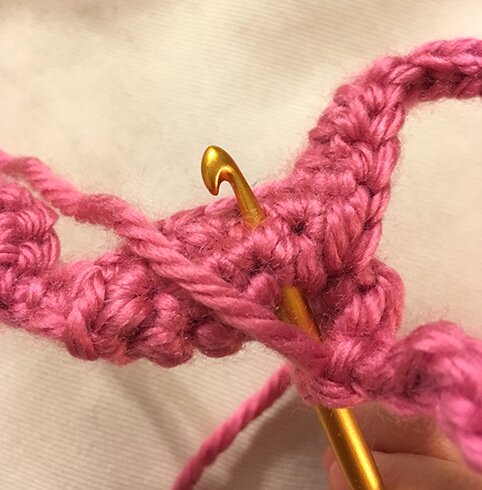
Holding the dinosaur belly side up, insert hook into a stitch in round 2 of body, next to where the last sl st was made, and bring the hook out 2 stitches from where the hook was inserted in round 2 of body, like so…
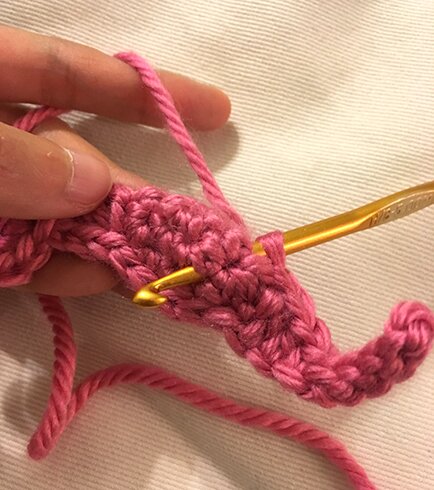
yo and pull through loop on hook. It will look like this.
yo and pull through loop on hook again, so it looks like this…
See there’s a long vertical strand of yarn made, essentially a very elongated sc. Work 2 dc tog around this vertical strand, like so…

This makes the thigh! :D
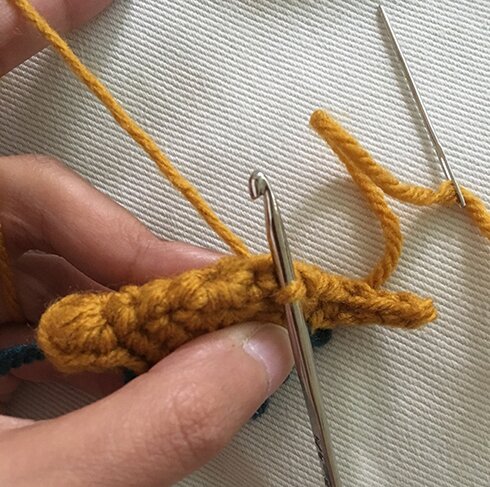
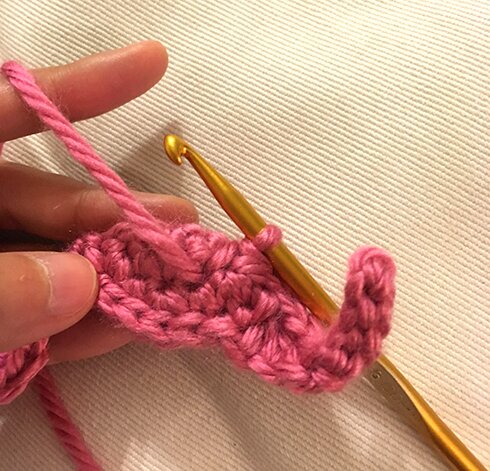
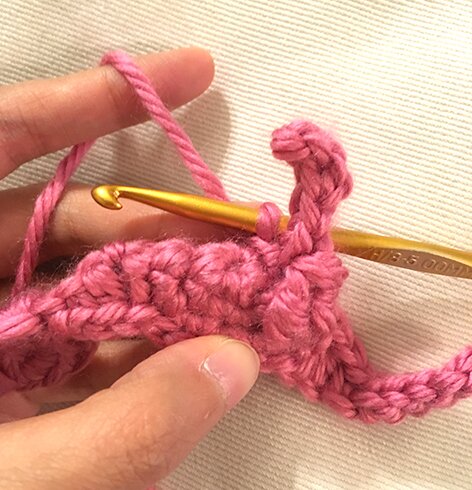
ch 6, sl st in 2nd ch from hook, pull up a loop in next 2 ch, then pull the last loop on hook through the other 2 loops on hook, sl st in next 2 ch, ch 1, don’t fasten off and continue on to back leg.
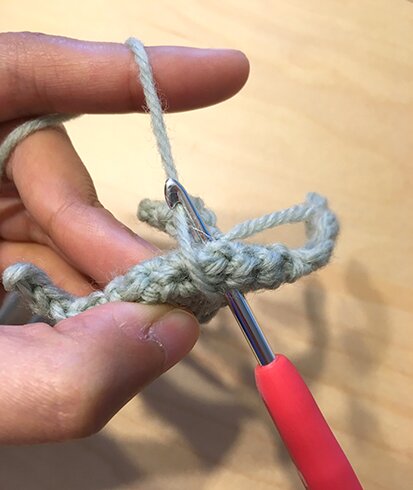
Back leg:
Insert hook from the bottom (a stitch in round 1) of body to a stitch in round 2 of body in the back, like so…
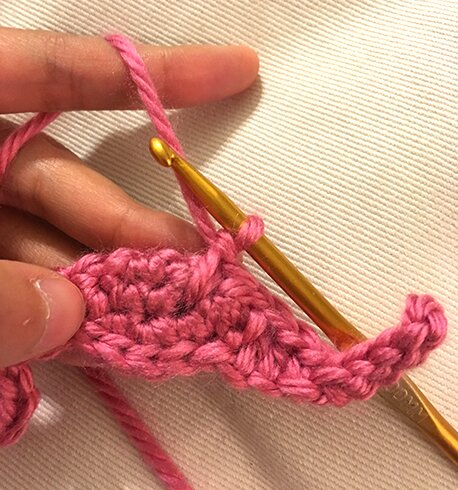
yo and pull through loop on hook. There will be a vertical strand of yarn made like the one in front leg. sl st around the vertical strand in back, then continue to make the leg with the front facing you. It will look like this from the front.
ch 5, sl st in 2nd ch from hook, pull up a loop in next 2 ch, pull last loop on hook through the other 2 loops on hook, sl st in next ch, sl st in the vertical strand…
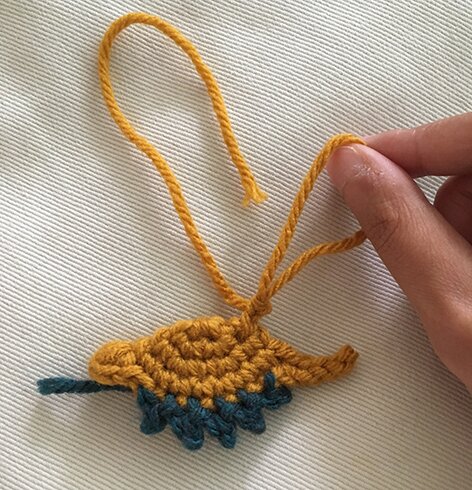
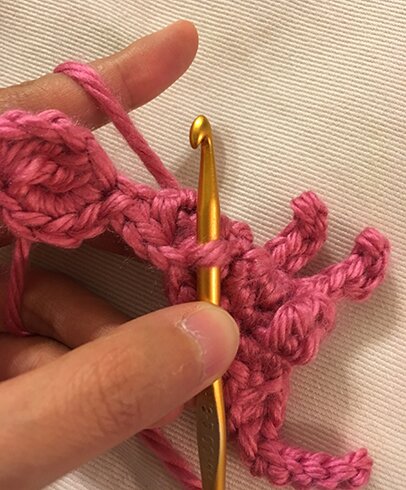
ch 1, pull out a 20″ length of yarn, cut yarn.
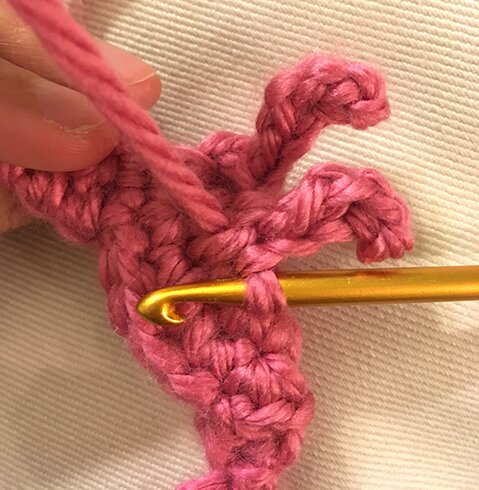
Arms:
Thread yarn tail in tapestry needle, insert needle in the underside of body, and out in the front of body where the arm would be, like so…
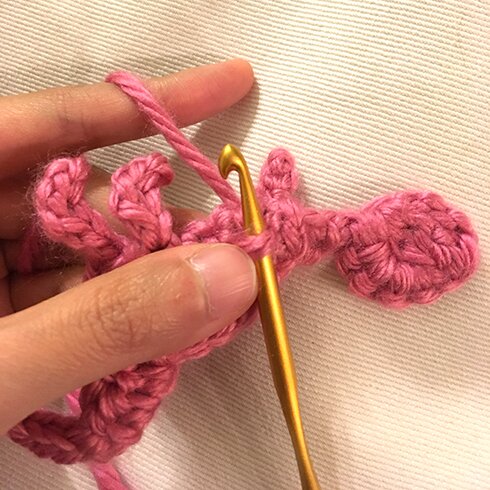
Remove the needle. From the front of the body, insert hook where the yarn tail came out and draw up a loop. It will look like this.
ch 4, sl st in 2nd ch from hook, sc in next ch, sl st in next ch, remove hook and pull out the yarn tail.
Using the hook, pull the yarn tail to the back of body where the other yarn would be, insert hook where the yarn tail came out, draw up a loop, like so…
ch 4, sl st in 2nd ch, pull up a loop in next 2 ch, pull last loop on hook through the 2 other loops on hook, remove hook and pull out yarn tail.
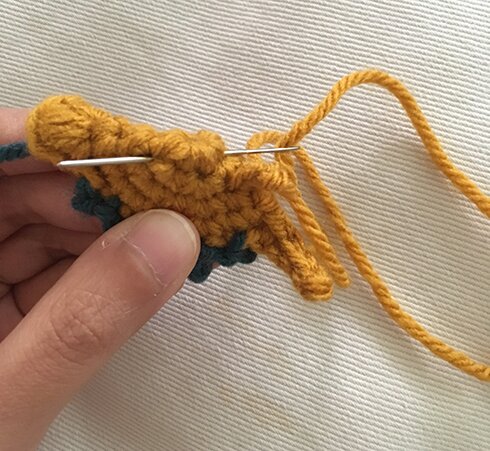
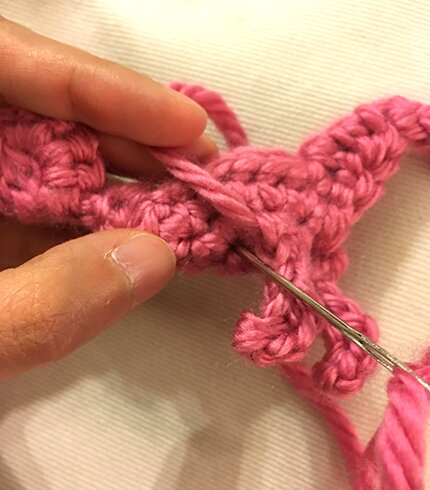
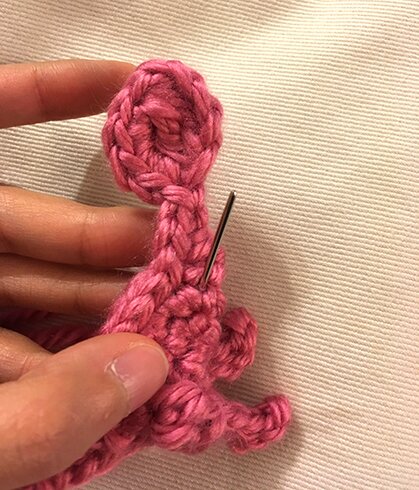
Thread yarn tail through tapestry needle, insert needle at the beginning of the back arm and come out through a stitch at the top in the back, fasten off, weave in end. Sew on eye. Rawr.
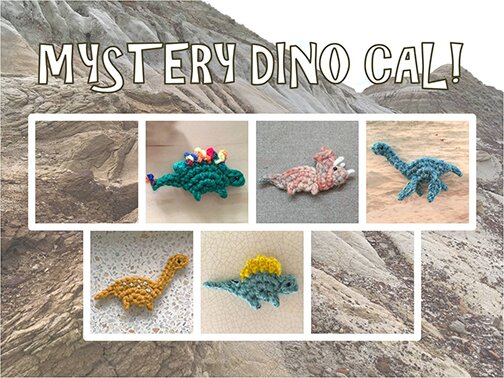
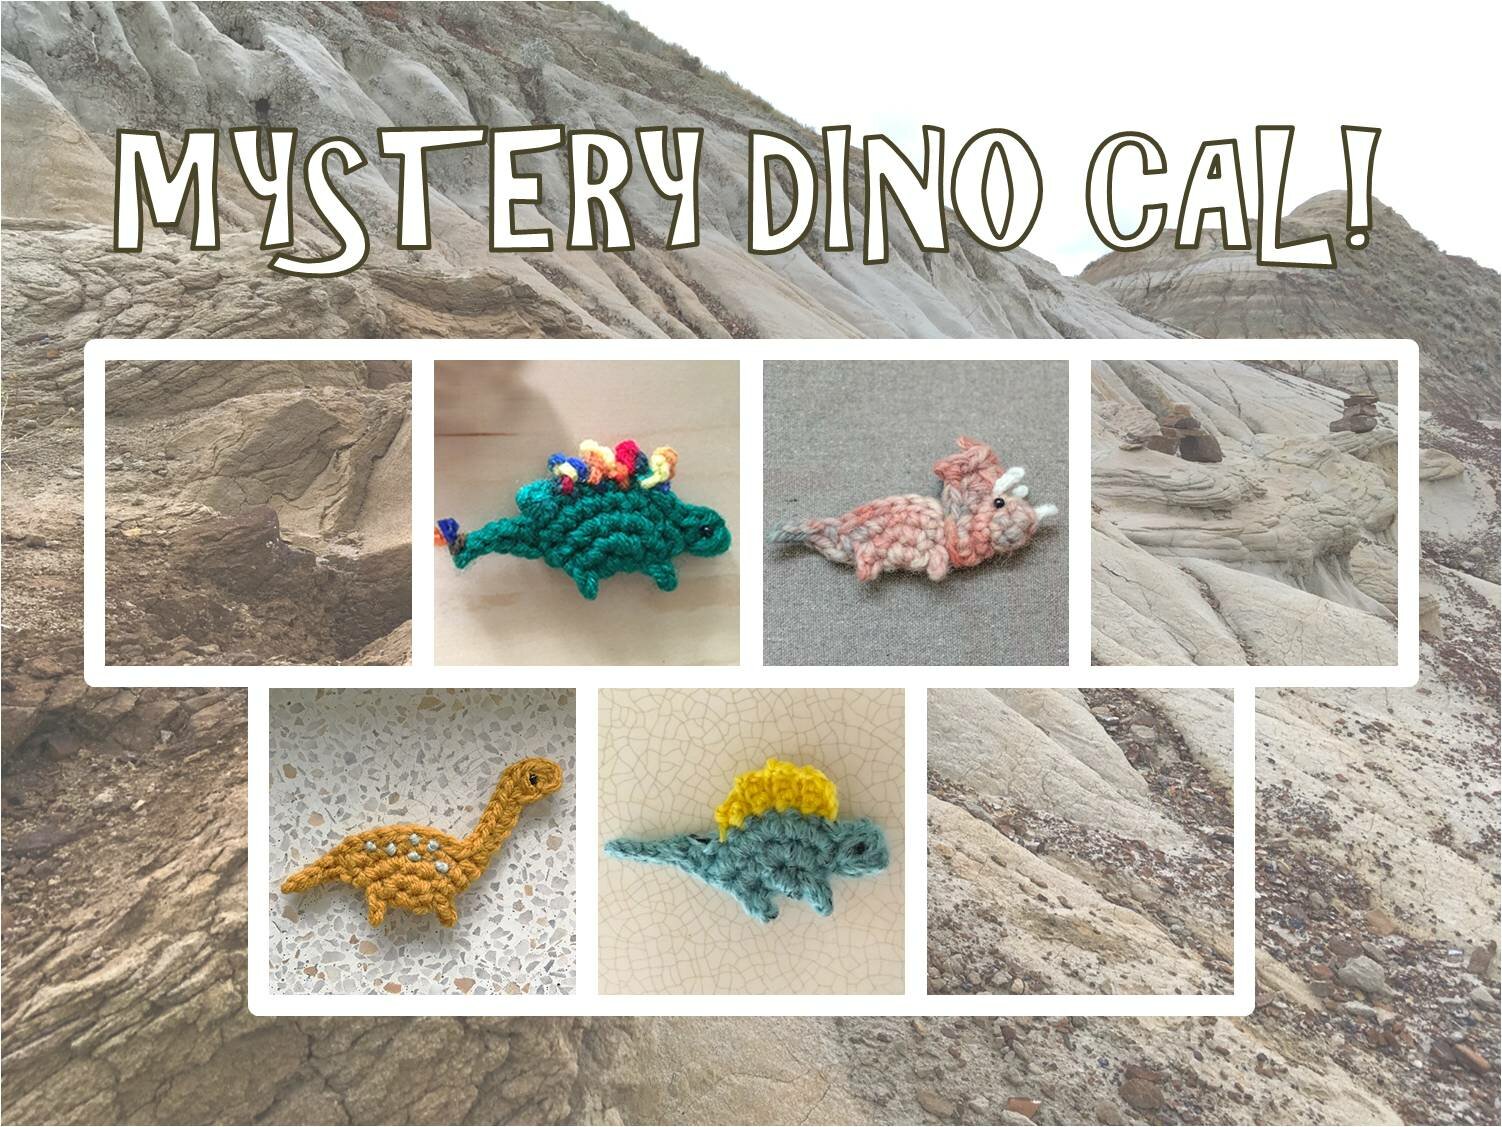
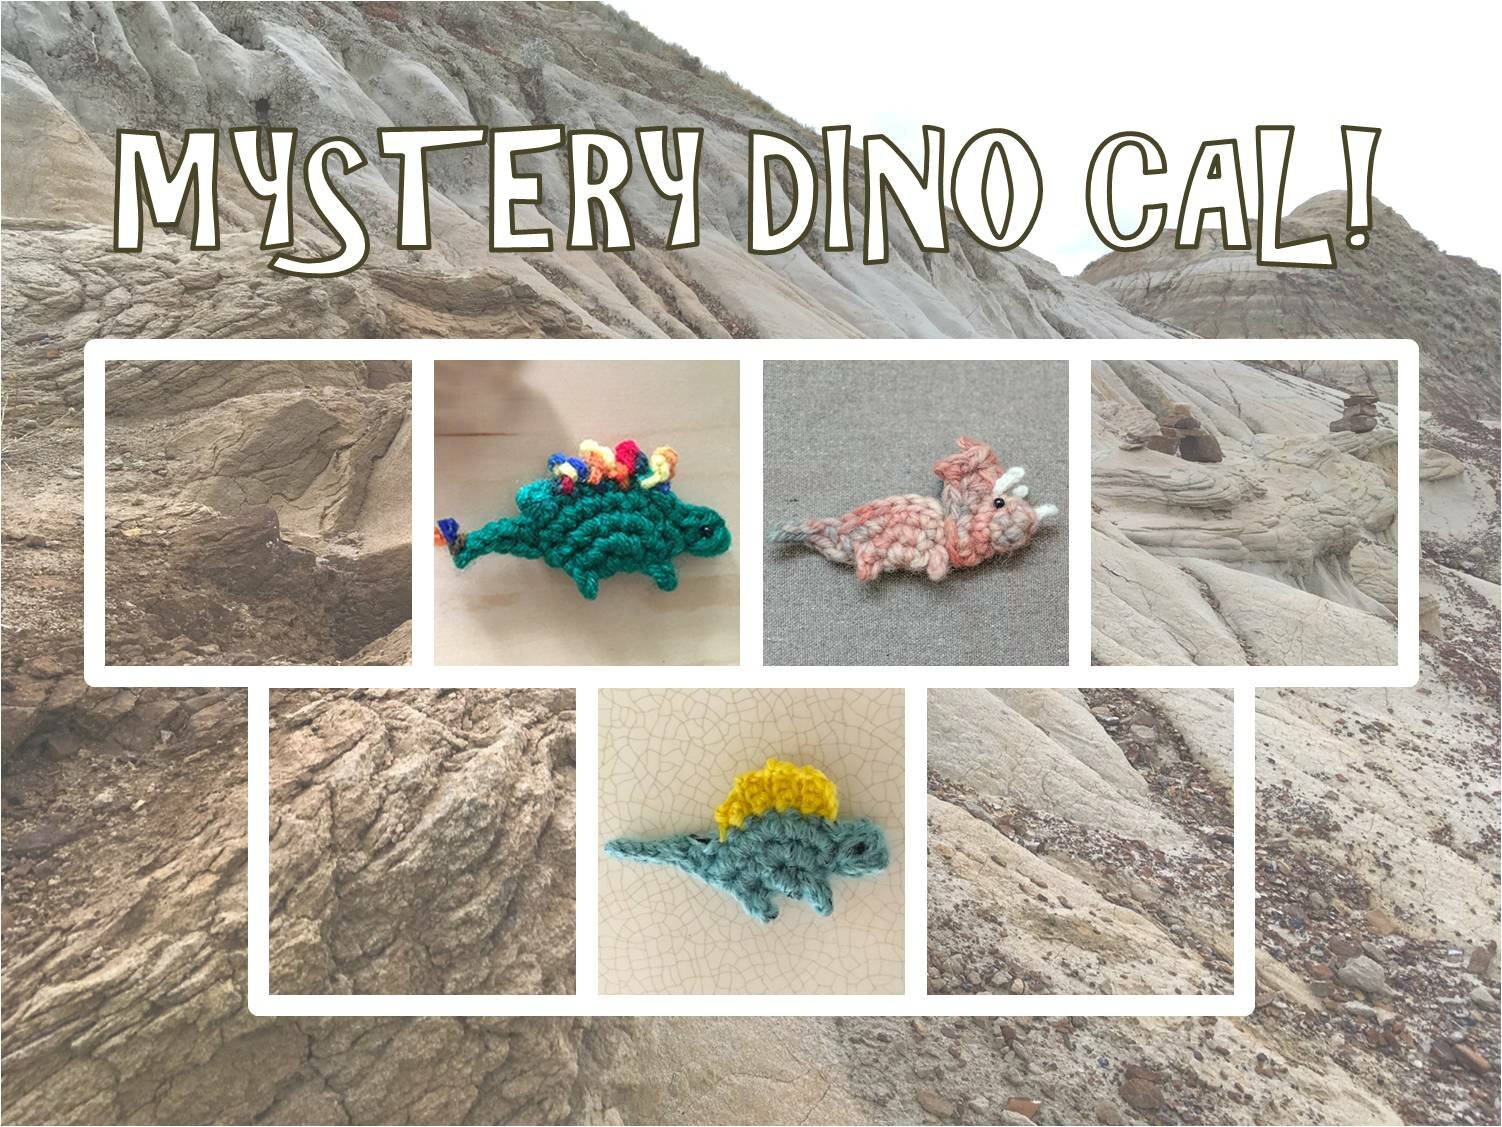
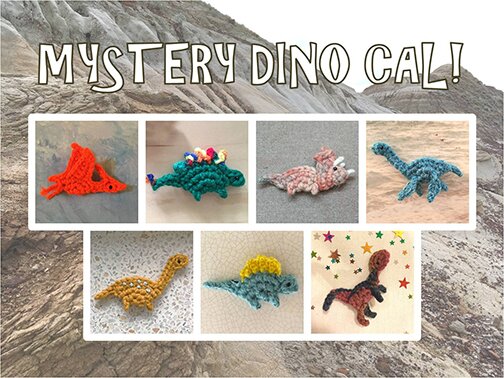
I hope you enjoyed this series! Don’t forget to share your dino pics by:
- Bloggers: leaving a comment on any of the Mystery Dino CAL posts with a link to your blog post with the picture.
- Instagrammers: tag me @genuinemudpie and use the hashtag #mysterydinocal
- Ravellers: joining the Ravelry group and posting your FOs to my Ravelry dino project pages!
There will be a virtual dino party with all your pictures in the near future, stay tuned! :D
You can find all the other mystery dino CAL posts here:
Have a rawring week, everyone! :D