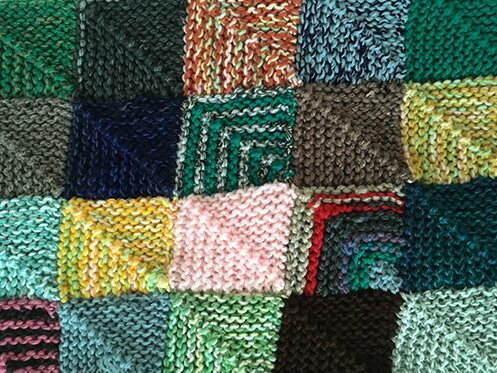
I’ve been looking for a good yarn scrap project because I love the patchwork look and my yarn collection is growing at an uncontrollable rate.
I came across a mitered square baby jacket one day so I followed the link to the free pattern, but it involves sewing all the squares together… doable maybe for a baby jacket but I wasn’t into sewing hundreds of squares together to make up a blanket. So I tried looking for visual tutorials for a join-as-you-go version but didn’t come across any. After making the Ten-Stitch Blanket I was pretty sure it’s possible to join as you go, so I tinkered around a bit and figured out a system!
Interested in knitting along? :D I figure if we start now, and knit one or two squares a day, we’ll have a blanket by Christmas to give away as gift! (or keep for yourself!) You can also use the idea of temperature blanket, mood blanket, or sky blanket. They’re really great ideas to be mindful of our surroundings or our feelings so we don’t take them for granted or be unaware of how things affect us.
Each square doesn’t take very long to make, only 23 stitches at its widest part, and it keeps decreasing as you go so it feels like it’s knitting up even faster. There WILL be a million ends to weave in, but I weave them in as I complete each square so I don’t leave them all till the end.
So! In this post we’ll show you the materials I used, and how I made the first square. In the next few posts I will share:
How to join the subsequent squares in the first row
How to join the first square in every row
How to join all the other squares
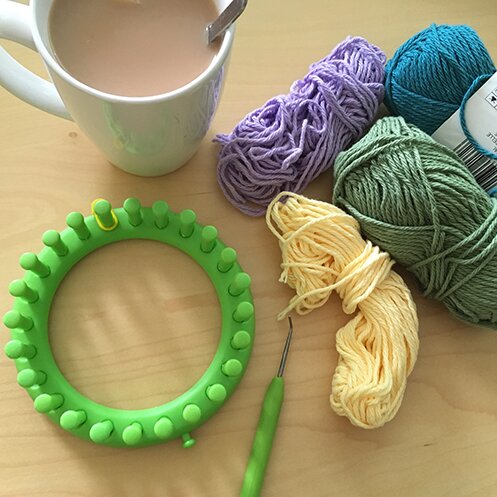
First, we need:
24-peg loom (I got mine from this kit, it’s the smallest in the kit)
Loom pick
Bulky weight yarn or two strands of worsted held together
Stitch marker
Tea! (optional but highly recommended)
(For the demonstration I’m going to make a hand towel with some worsted weight cotton, and for clarity purpose, I’m just going to use a single strand. But for the blanket, if you’re using worsted weight, it’s best to use 2 strands held together for the gauge of this loom.)
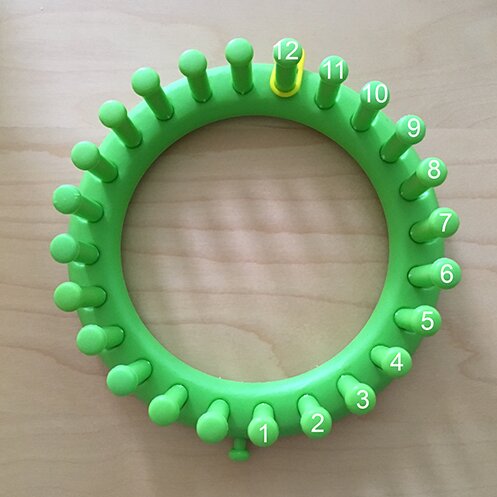
Before knitting we need to mark the middle stitch. Counting from the first peg, which is the first peg to the right of the side knob, put the stitch marker on the 12th peg on the loom, like so…
Then we’re ready to cast on!
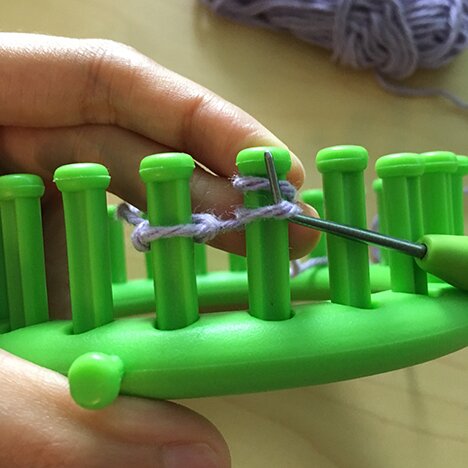
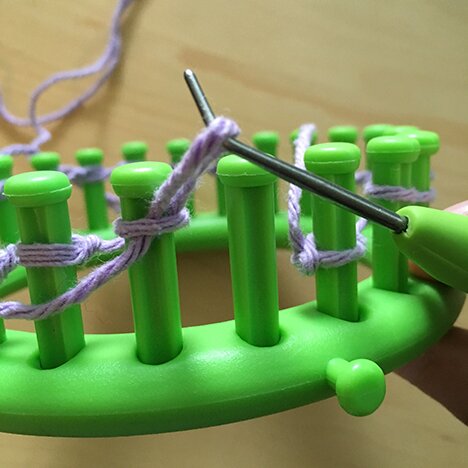
Cast on row: Make a slip knot with the yarn, adjust it to the first peg. E wrap (wrap the working yarn around the peg from right to left) the first peg and knit off. Cast on the next 22 pegs by e‑wrapping each peg twice and knit the bottom loop over the top loop. Beware not to cast on too tightly.
Row 1: Purl (here’s a video of purling) to the marked peg, e‑wrap knit the marked peg, purl to end. (Note in the picture that the last peg of the loom is empty — we only use 23 pegs of the loom.) Beware not to make the stitches too tight.
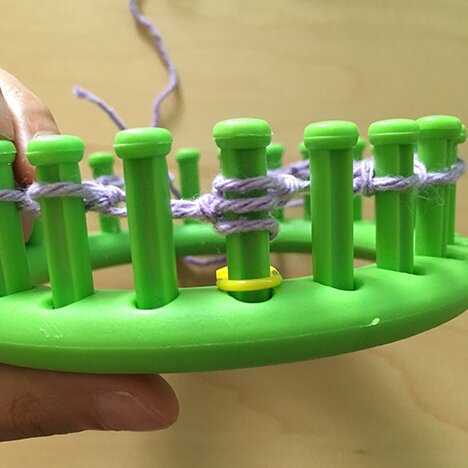
Row 2: Move the loop on the peg to the left of the marked peg onto the marked peg. Move the loop on the peg to the right of the marked peg onto the marked peg. Now the marked peg has 3 loops on it.
(Always move the loop on the left first, then the one on the right, so it looks consistent.)
Move the loop on the peg to the left of the now empty peg onto the empty peg. Keep moving each loop to the empty peg to the right until you reach the beginning of the row.
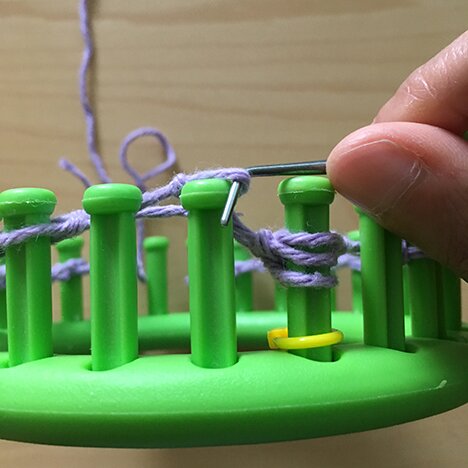
E‑wrap and knit off each peg until you reach the marked peg. E‑wrap the marked peg, knit off all three bottom loops on the peg (I prefer knitting them off one at a time, it’s easier).
You will now have an empty peg to the right of the marked peg. Move the loop on the peg to the right of the empty peg onto the empty peg, e‑wrap the peg and knit off. Then keep moving each loop to the empty peg to the left and e‑wrap and knit off until you reach the end of row. I find it easier to do this with the loom sitting flat on a surface.
And that’s it! Just repeat rows 1 and 2 until you have 3 pegs left with loops on them. (moving the stitches is kind of tedious, apparently there are looms with moving inserts to help with this…? But I don’t have one of those looms, so this is why we only make one or two squares a day! It’s not so bad.)
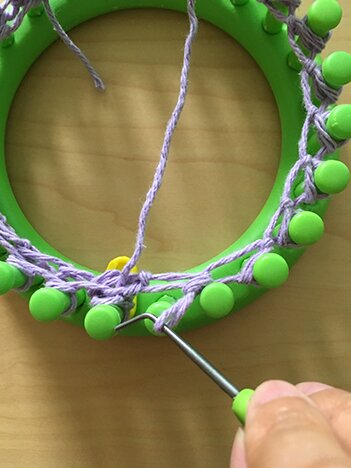
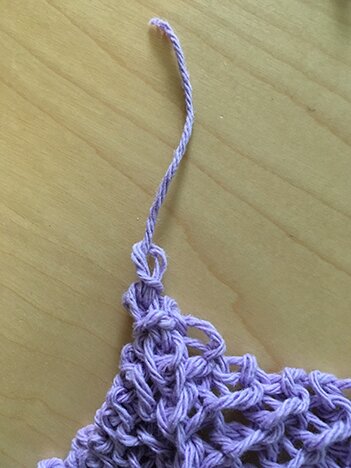
Purl the last 3 loops, then move the loops to the left and right of the marked peg to the marked peg. E‑wrap and knit off the bottom 3 loops. Take the last loop off the peg, cut yarn, and tie off by bringing the yarn tail around the loop to the front, then through the loop from back to front, as pictured.
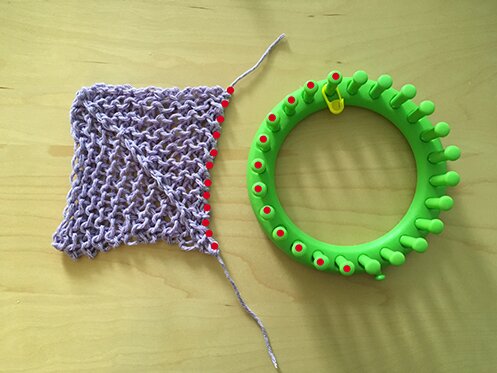
And here we have our first square! Now by always e‑wrap knitting the marked/middle peg, you’ll get a raised line of knit stitches or braid running diagonally through the square. For my blanket I just purl all the pegs on the purl rows, because I can’t trust my attention to always knit that one stitch on purl row and not make mistakes. But it’s up to you!
Here’s a sneak peek of how we will join the next square, so you can see the finished square. (and see? I already make a mistake by purling the marked stitch on a purl row!)
Happy knitting! I’ll be back in a few days with the next episode of join-as-you-go mitered square blanket! :D
Posts in this series:
How to join the subsequent squares in the first row
How to join the first square in every row
How to join all the other squares
This looks great! Perfect idea for all those scraps for sure. And thanks for the mention :)
Thank you so much for visiting Amanda, your blog is beautiful and love the detailed descriptions of your mood blanket!