Hello! We’re back with the last step in loom knitting the mitered square blanket, which is to join all the other squares in the blanket after the first row and after the first square of any row. This is how the majority of the squares will be joined!
As always, we orient the loom to the blanket (or in the case of this demonstration, a dish cloth). The square we joined in the last post is the blue square.
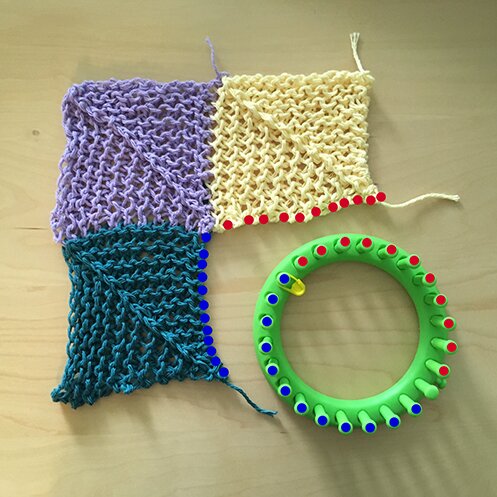
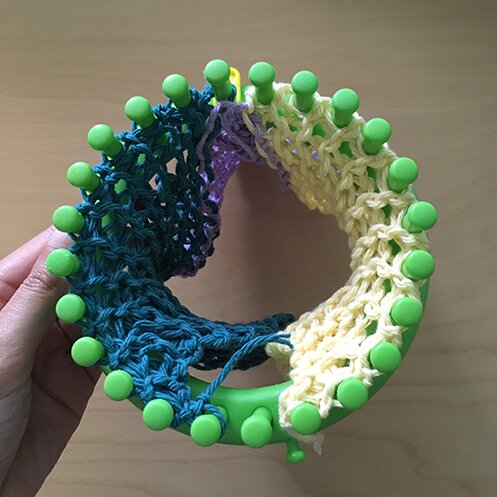
The loops marked with the blue dots on the blue square will go on the pegs parked with the blue dots, and the loops marked with the red dots on the yellow square will go on the pegs with the red dots.
We would begin with placing the loops on the yellow square on the pegs, starting from the edge towards the centre, and starting the first peg that is right beside the side knob. We place the last loop on the yellow square on the peg before the marked centre peg, then place the first loop of the blue square on the marked peg, and the rest of the loops of the blue square onto the pegs until the second last peg of the loom — 23 stitches altogether.
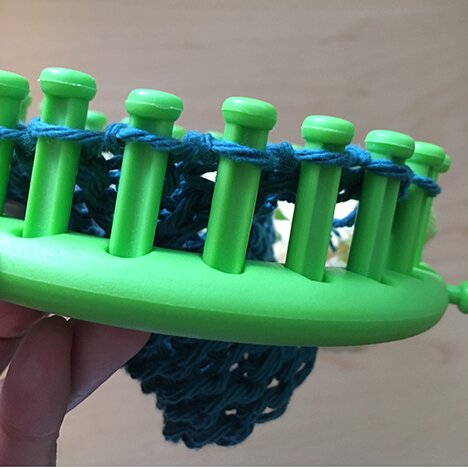
Here’s a closer look at the loops that are placed on the pegs. Note that the loops that are picked up are the horizontal strands in between purl bumps.
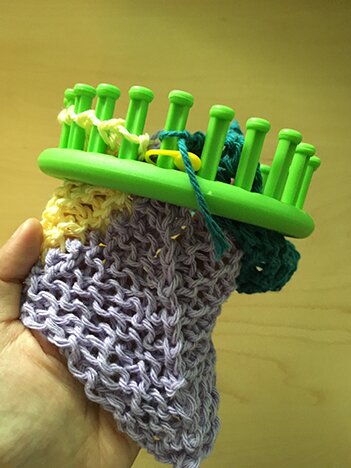
And here’s how it looks on the loom when both yellow and blue squares are attached, with the right side of the square touching the inside of the loom.
When you’re actually knitting with the blanket on your lap, it would be oriented like this. I would start putting on the loops from the black/grey/beige square, which is the square from the previous row, and then put on the loops from the purple/mixed colour square, which is the square made just before the current one.

Now we’re ready to knit the new square as we usually do. We start with adjusting a slip knot on the first peg (the one right beside the side knob), knit off the loop below, then e‑wrap and knit off each stitch.
Instruction for the rest of the square is pasted below, but if you need more help there are photos in the first post.
Row 1: Purl (here’s a video of purling) to the marked peg, e‑wrap knit the marked peg, purl to end. (Note in the picture that the last peg of the loom is empty — we only use 23 pegs of the loom.) Beware not to make the stitches too tight.
Row 2: Move the loop on the peg to the left of the marked peg onto the marked peg. Move the loop on the peg to the right of the marked peg onto the marked peg. Now the marked peg has 3 loops on it. (Always move the loop on the left first, then the one on the right, so it looks consistent.)
Move the loop on the peg to the left of the now empty peg onto the empty peg. Keep moving each loop to the empty peg to the right until you reach the beginning of the row.
E‑wrap and knit off each peg until you reach the marked peg. E‑wrap the marked peg, knit off all three bottom loops on the peg (I prefer knitting them off one at a time, it’s easier).
You will now have an empty peg to the right of the marked peg. Move the loop on the peg to the right of the empty peg onto the empty peg, e‑wrap the peg and knit off. Then keep moving each loop to the empty peg to the left and e‑wrap and knit off until you reach the end of row. I find it easier to do this with the loom sitting flat on a surface.
Repeat rows 1 and 2 until you have 3 stitches left. Purl the 3 stitches. Place the stitch on the left and stitch on the right onto the middle peg, e‑wrap, then knit off all 3 bottom loops. Fasten off.
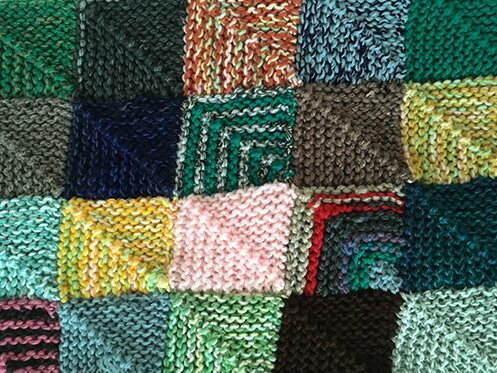
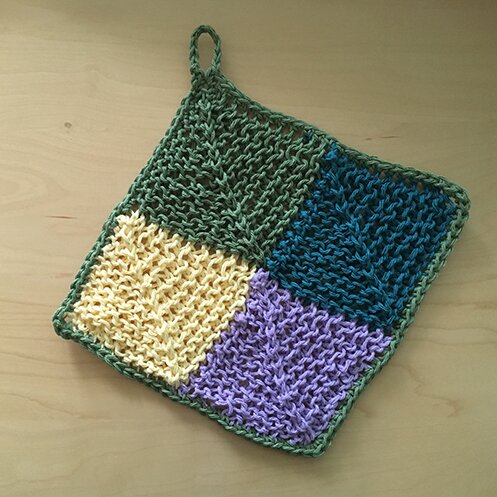
Here’s how my mitered square dish cloth looks like! :D I crocheted a border and loop at the top with a 6.5mm hook, basically 1 single crochet in each stitch around, and 3 sc in each corner.

Next time we’ll have our last post of the series on how to make striped squares, or essentially how I change colours to use up every last bit of those scraps.
You might ask, isn’t there a million ends to weave in at the end? Yes, so I don’t wait till the end. Usually I weave in the ends after making one or two squares. Leaving ALL the ends to weave in after 10x15 squares would drive me mad :S (I plan on making the blanket 10 squares wide and 15 squares tall)
Till next time, happy knitting!
Posts in this series:
How to join the subsequent squares in the first row
How to join the first square in every row