Now that we’ve gotten the hang of making mitered square, you might get a bit bored of making solid colour squares. You can make striped ones! And use up smaller balls of scraps! Here’s what I do…
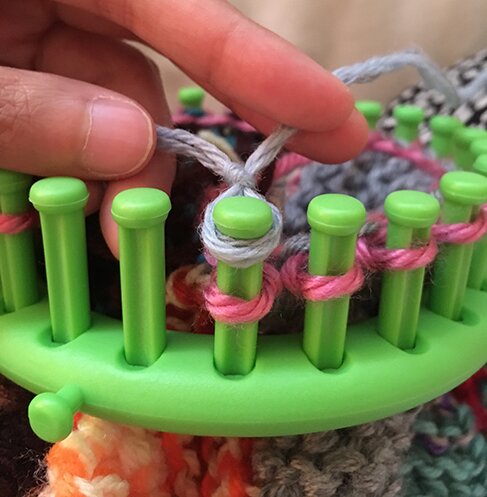
After casting on, purling one row, decreasing one stitch on either side of the centre peg, and moving each stitch over, introduce the new colour by making a slip knot with the new yarn and placing it on the peg with the first stitch of the row.
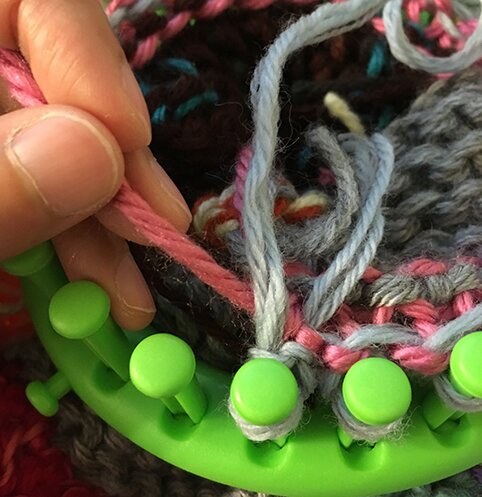
Knit over the old yarn (pink), then continue e‑wrapping with the new yarn (blue). Purl one row with the new yarn. Then switch back to the pink yarn.
Lay the working yarn of the previous row on top of the new yarn before making the first e‑wrap to carry the yarn with you as you go. (in this case we’re bringing back the pink yarn and about to make an e‑wrap on the first peg, notice the blue yarn is on top of the pink so it gets wrapped into the stitch.)
When you have 5 stitches left after a purl row, cut the current yarn, and tie off.
Do the decrease around the centre peg and move the stitches over as usual, and complete the square.
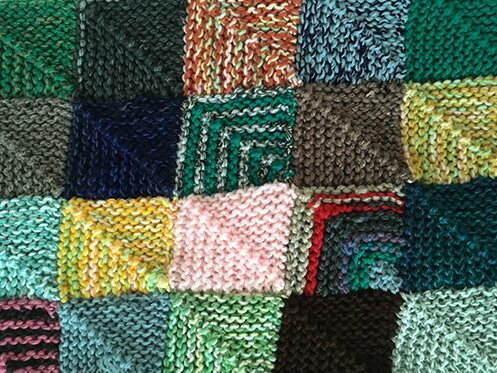
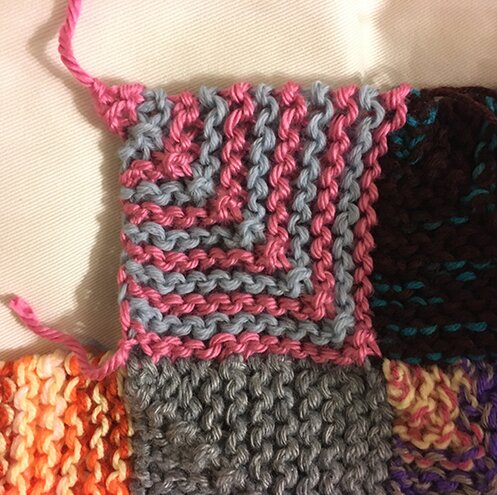
Here’s the stripy square!
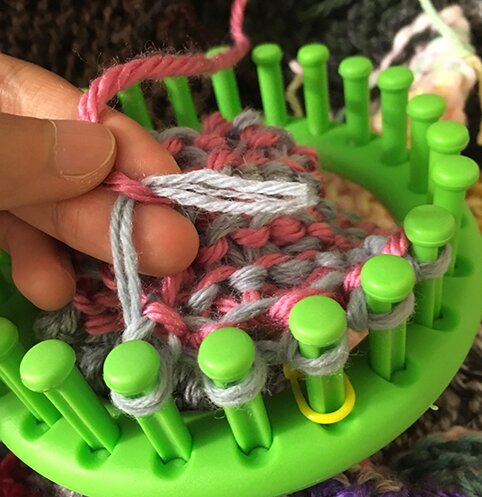
You can also make scrappy squares that use up every last bits of yarn. I knit till I have about 2 inches left, and tie on a new yarn very close to the peg (I learned this from watching videos of loom knitting plush toys by the Loom Muse — more on that in another post!)
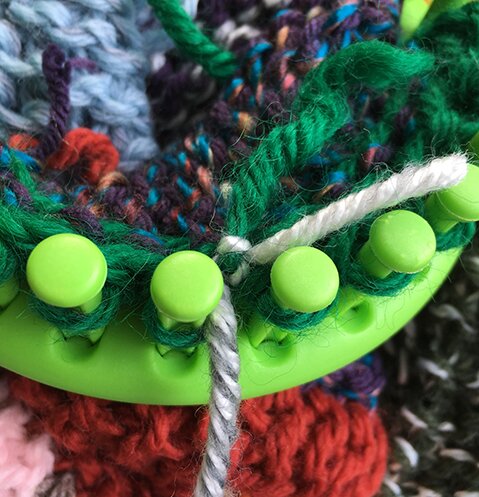
In the photo below the new yarn is the grey one and the one that ran out is green.
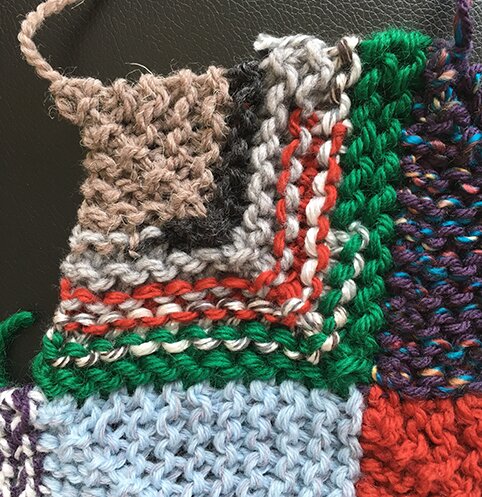
The resulting scrappy square looks like this :)
Yes, lots of ends to weave in on these squares but I like the look of them :)
I hope you’ve enjoyed this series of how-to for making a mitered square blanket! Happy knitting!
Posts in this series:
How to join the subsequent squares in the first row
How to join the first square in every row
How to join all the other squares
Love this! Thank you so much :)
You’re welcome!