A while ago I showed you a project I did in school, the altered book project, where I turned a botanical foreign book into a kaleidoscope. I thought I would share the process here, but with a challenge for myself — everything I use must come from the recycling bin!
It even has turnable, interchangeable lenses, like my altered book project :D
I’ve made kaleidoscopes with groups of kids in the past (6–12 years old), and they seemed to have lots of fun and quite proud of what they made. For the younger kids I cut some of the parts for them ahead of time, like the clear plastic, and the hole in the middle of the eye piece (because it’s easiest to cut with a utility knife). For the older kids I just made copies of templates and had them cut out the shapes themselves (except the hole in the eye piece — I still cut that ahead of time).
Older kids (8+ years old) can probably handle a lot of the steps themselves, but help from an adult would be necessary for this project, especially for stuff involving the utility knife and hot glue gun.
There are lots of instructions for homemade kaleidoscope, like this one. But I’ll show all the steps here, makes it easier if anyone’s going to try this.
So! From the recycling bin, I pulled:
- Two cardboard tubes. One is slightly larger than the other in diameter, i.e. a loo roll (aka TP tube) is usually larger in diameter than paper towel tube.
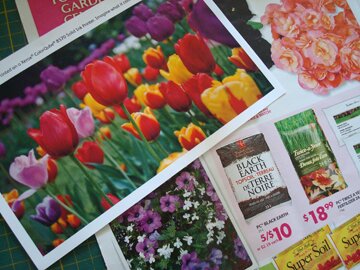
- Flyers with pictures of flowers, i.e. the gardening section.
- Bit of cardboard from a granola bar box.
- A stiff sheet of clear plastic from the packaging of a swiss roll. A sheet of clear plastic that’s large enough for this project may be hard to come across, so if you can’t find any, overhead transparencies or project covers work perfectly.
Then I used these tools:
- Clear packing tape
- Hot glue
- White glue
- Utility knife
- Scissors
- Ruler
- A bowl
To make the kaleidoscope:
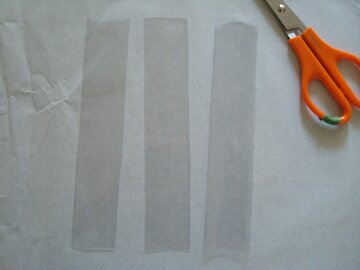
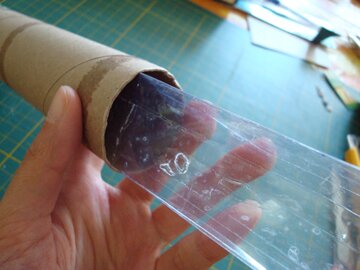
First, make the prism by cutting out three pieces of clear plastic. It needs to fit snugly inside the smaller paper towel tube. To determine the length of the short side of each piece, I Googled “parameter of a triangle inscribed inside a circle”. I found this formula that someone really smart came up with and followed it.
The formula is: 3 x square root of 3 x radius.
The radius of the smaller paper towel tube is 2 cm. So following the formula I got 3.46.
I measured 3.4 cm on for each short side. It doesn’t really matter how long the long side is, as long as the three pieces are identical in measurement. I just harvested as much plastic from the packaging as possible.
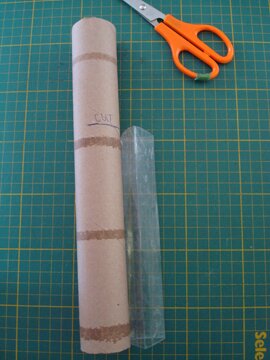
Then I taped them together along the long sides with some packing tape, forming a prism.
Now for the kaleidoscope tube, I took the smaller cardboard tube and cut it to the same length as the prism.
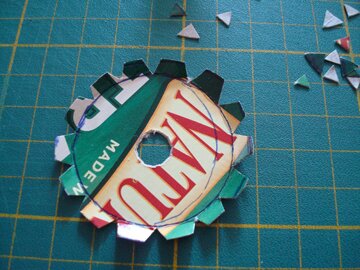
To make the eye piece (i.e. the end where one looks in), I traced the end of the smaller cardboard tube on a piece of cardboard, print side up. I then drew a larger circle around it and cut it out. Then I cut out small triangles all around, and folded the notches up. Finally, I cut a small circle in the center with a utility knife.
This piece is then taped to one of the ends of the smaller cardboard tube with packing tape, like so (probably looks nicer if you glue the notches down with some white glue, but tape is quicker).
One could probably wrap/decorate the tube with some nice papers at this point, but I didn’t have anything in the recycling bin that I liked, and plus I like how it has the “recycling bin look” with the bare cardboard, so I just left it.
Then I took the prism and put some white glue all along the edge of one end…
Then I slid the prism inside the tube with the eye piece, with the glue side going in first.
I let it stood, eye piece down, to dry for a while…
Which made it a good time to make the interchangeable lenses, from these flyers!
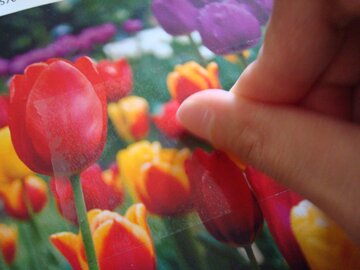
I put a short length of packing tape on a picture of the flowers.
Then I scraped it with my thumbnail to get rid of any air bubbles, so the tape is in complete contact with the paper.
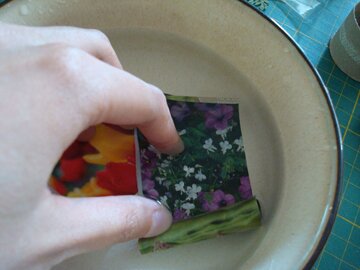
I cut out the taped areas of the pictures and immersed them in a bowl of water, letting them soak for a few minutes.
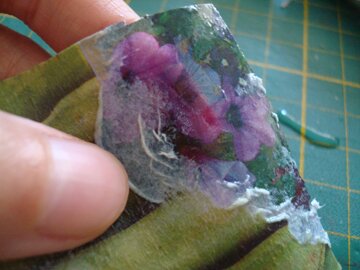
Then I took it out and started rubbing off the paper fiber on the back of the image (the side that’s not taped).
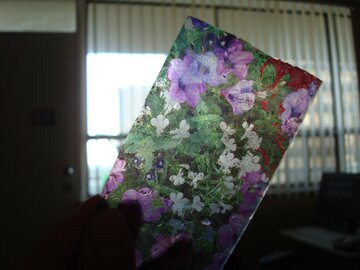
Remove as much fiber as possible, and you’ll get a transparent image! Pretty neat, huh?
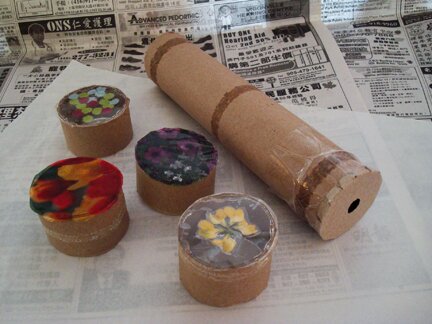
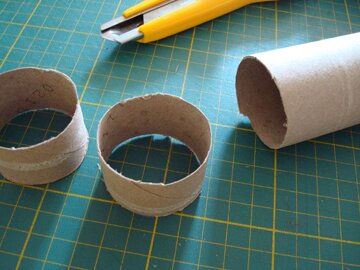
While I let these dry completely, I took the larger cardboard tube and cut them into rings that are about 1 inch tall.
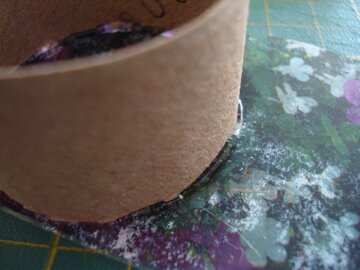
To attach the ring to the image, I put hot glue all around one end of the ring, and placed it on top of the image, tape side down (this is a bit tricky, an adult should do it). After the glue cooled down I trimmed the image around the ring.
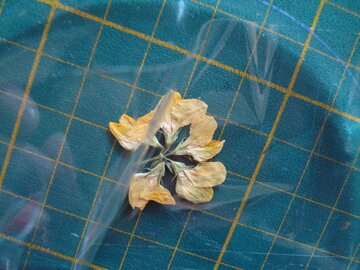
While I was at it, I tried making lenses with a pressed flower by taping it on a piece of clear plastic. (the flowers didn’t come from the recycling bin… but I just wanted to see how it looks in the kaleidoscope :D)
And some some tissue paper dots made with a hole punch, also sandwiched between clear plastic and packing tape.
I attached both to cardboard rings the way I did with the flyer images.
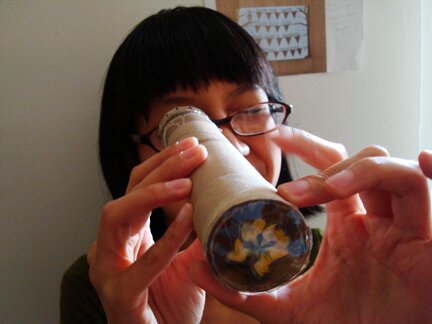
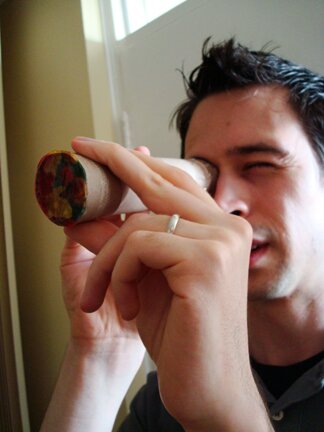
So it’s done! Let’s put the lenses on the tube and test it out…
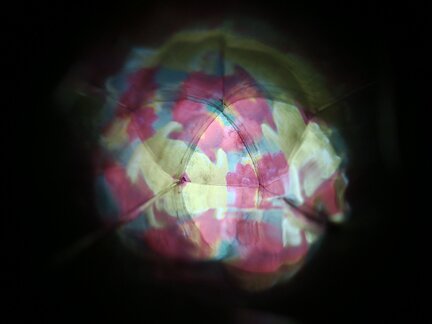
Mike found that the flyer image of the tulip worked the best, and I agreed with him.
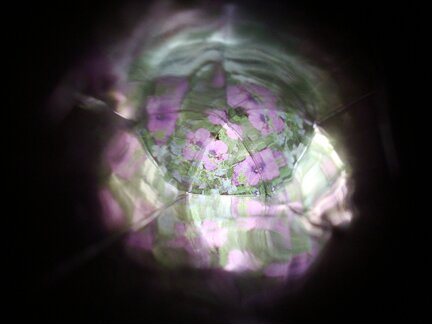
The one with purple flower is also pretty.
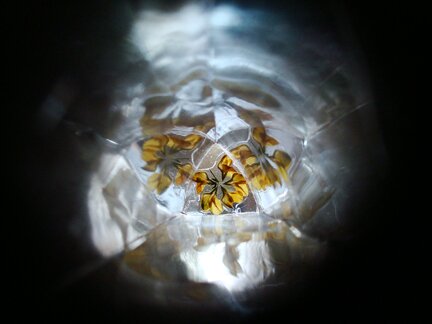
The pressed flower was too centered to make any interesting illusions, I think.
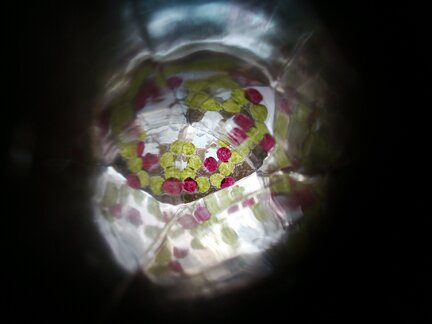
And the tissue paper dots looked alright, but the shapes weren’t as interesting as the tulips.
I think pressed flowers would make cool illusions, just need to perhaps use more flowers so they cover the whole lens. I’ll be on the lookout for flowers to press this summer! :D
Kind of an odd project, but I’d love to see it if you do give this a go!
Have a great start to the week!
