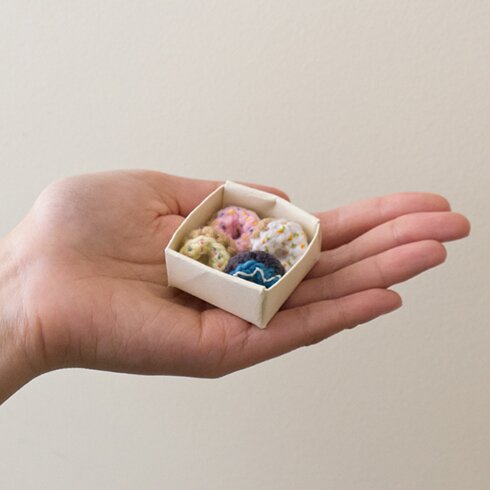
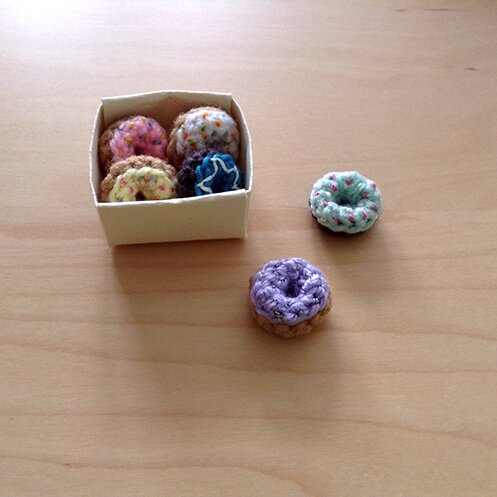
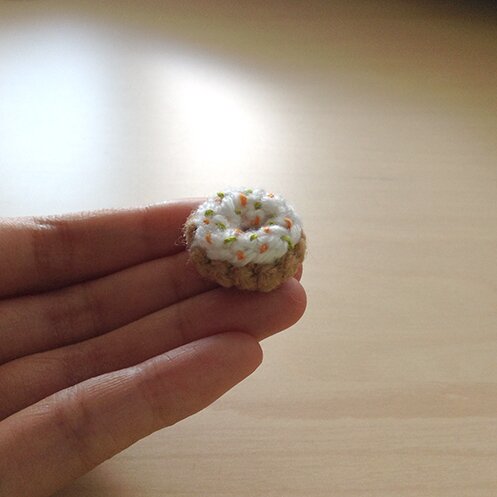
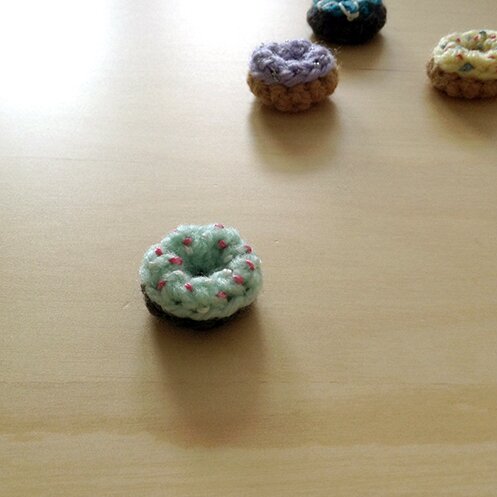
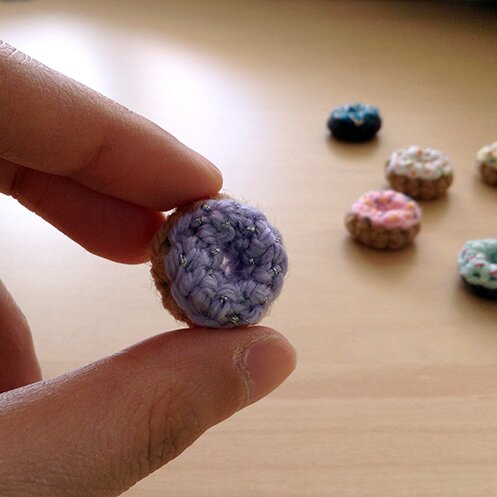
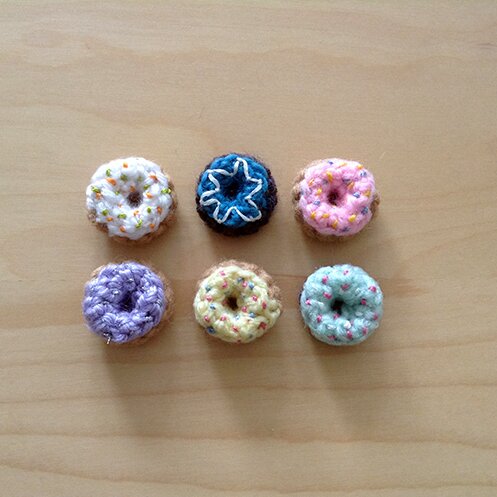
And the tiny donut party continues! *throws glitter*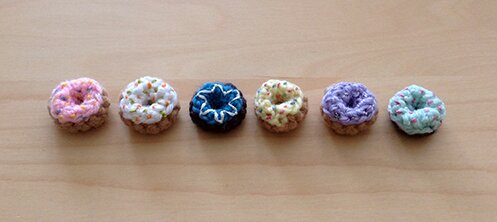
Before digging our hands into yarn and making more donuts, we need to pick a winner for the giveaway!I used this simple random name-picker tool. And the winner is…
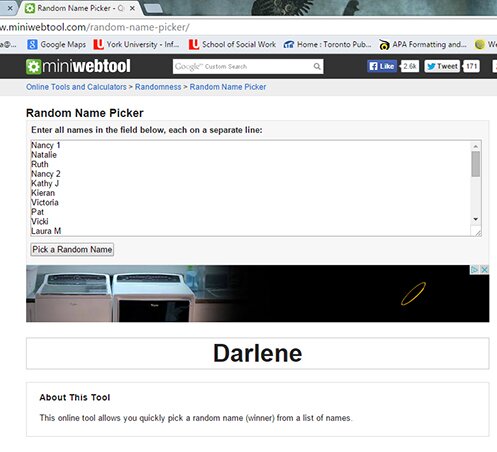
DARLENE!!! Congratulations!!! :D *throws more glitter*
(Now we all gotta imagine ourselves all glittery from head to toe, ’tis how a virtual party works, except we’re not really covered in glitter and we don’t have to spend hours washing it out of our hair only to find more glitter on us weeks later — ’tis the beauty of virtual party :D and if you’re receiving this post by email you might want to click on to the actual blog so you can get more of the glitter experience ;) anyway, I digress)
Darlene please send me an email at genuinemudpie(at)gmail(dot)com, letting me know which 3 donuts you want and your mailing address :)
Thank you everyone for participating, and leaving all the wonderful comments about this blog (and donuts!)! It means the world to me that you’re enjoying reading about my crafty adventures! I look forward to sharing more craftiness with you! :D
And now, we make more tiny donuts! :D
This is actually more like a recipe than a pattern. My donut turns out to be just shy of an inch across. You can make it smaller or larger by using a lighter (fingering, embroider thread?) or heavier (worsted) yarn, and changing hook size accordingly (2mm for finer yarn and 3.5mm for worsted, for example). You can also make a larger donut by increasing the number of beginning ch by multiples of 2, and repeating row 3 a couple of times (more about that in the recipe below). I wouldn’t start with fewer stitches than what the “recipe” calls for though, it can be really tricky to manage such small number of stitches.
I initially developed this recipe to make donut earrings for my shop. It took a few attempts to get the size right and the icing looking the way I wanted. I think I’ve perfected the recipe now :) AND!! The entire donut is only made of 5 rows! You can make an army of them in an evening :D
I used:
Small amount of sport weight yarn in donut and icing colours (tan, brown, pink, yellow, white, etc.)
Embroidery thread in sprinkle colours
3mm hook, 2.5mm hook or smaller (for pulling in ends)
Needles for sewing and embroidering
Recipe:
Round 1: With donut colour (i.e. tan), ch 8, join with first ch to form ring.
NOTE: The side that is facing you (i.e. the front of the work) is the INSIDE of the donut. For the first 3 rounds you’re working with the inside of the donut facing you. So the back of the work is the outside of the donut.
Here I have finished the first 3 rounds of the donut, crocheting with the inside facing me.
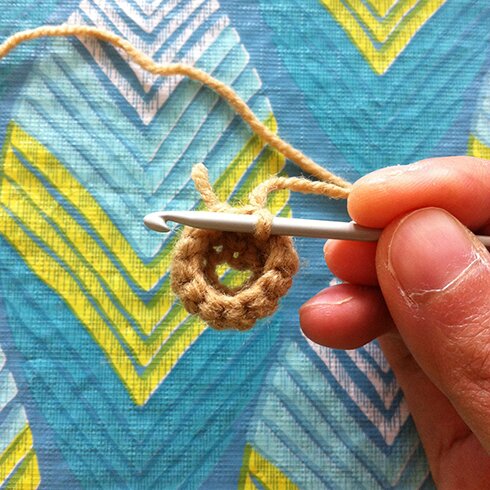
Here is what the outside of the donut looks like after the first 3 rounds.
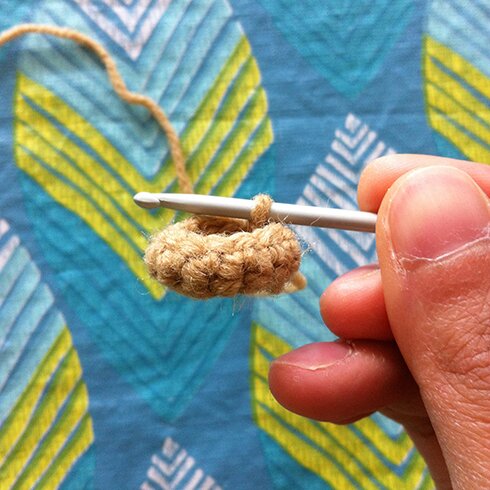
Round 2: ch 1 (does not count as a stitch), sc in first ch, 2 sc in next ch, [sc in next ch, 2 sc in next ch] around, sl st in first sc to join (12 sc).
Round 3: ch 1, sc in each sc around, sl st in first sc to join (12 sc).
NOTE: If you’remaking a larger donut and started with a few more beginning ch’s, you can repeat round 3 one or two more times.
Round 4: Attach icing colour, fasten off donut colour. TURN (now you’re working with the outside of the donut facing you), ch 1, sl st in each sc around in the front loop only, sl st in first sl st to join (12 sl st). (Be careful not to pull too tight while making the sl st in this round, otherwise the next row would be difficult.)
Here I’m working on found 4, inserting my hook in the front loop of a stitch.
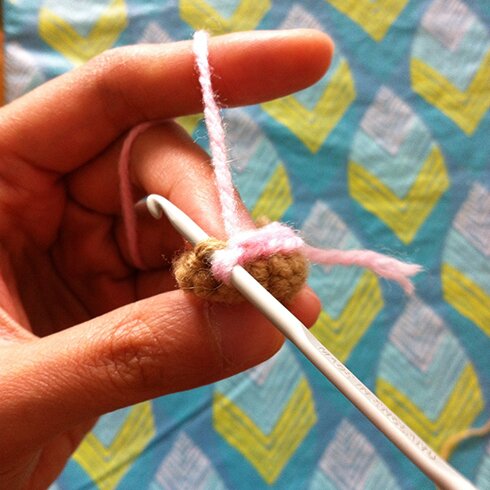
NOTE: If you’remaking a larger donut and started with more beginning ch’s, you can repeat round 3 one or two more times with icing colour before starting round 5.
Round 5: ch 1, TURN (now you’re working with the inside of the donut facing you again), working in the front loop only, sc in first st, 2 sc tog over next 2 st, [sc in next st, 2 sc tog over next 2 st] around, sl st in first sc to join (8 sc), leaving a long tail for sewing, fasten off.
Sew the final icing round to the first donut round using whip stitch, matching the stitches.
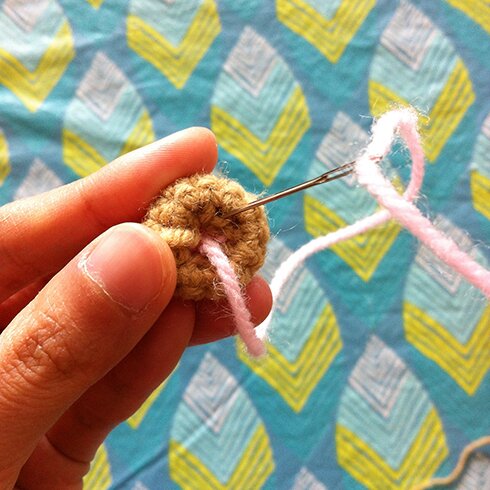
I find it really difficult to sew the donut together with stuffing inside, and because the donut is so tiny I don’t feel it needs stuffing. I just pull all the yarn ends into the donut with a crochet hook after it’s sewn together.
Embroider sprinkles to your heart’s content :)
Pull all yarn ends and thread ends into the inside of the donut with a small crochet hook.
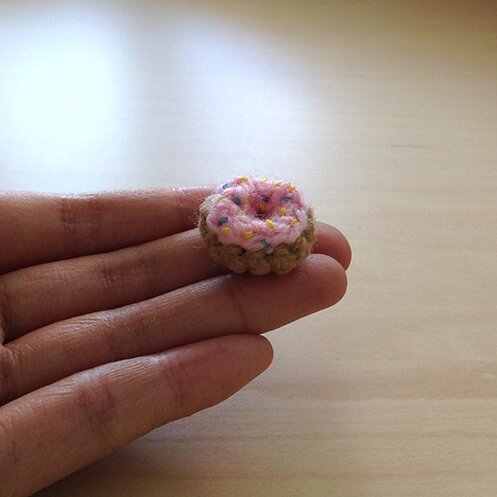
And here we have it, a tiny donut! :D
If you’re making these donuts, let me know what flavours you’re making, I’d love to see them! :D
Hope you have a wonderfully sparkling weekend! :D *throws glitter*
