Favourite-things Friday

Shrink plas­tic!! :D

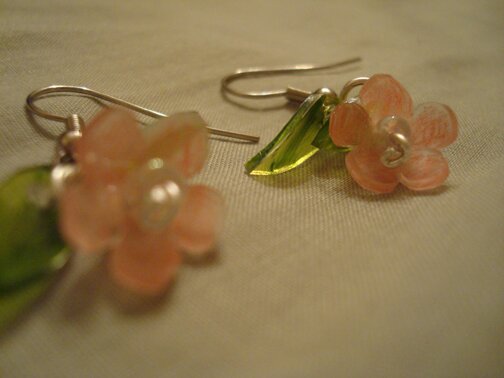
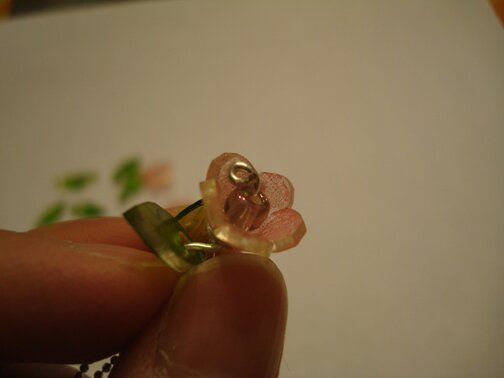
I’ve been want­i­ng to make these shrink plas­tic flow­ers ever since I saw the tuto­r­i­al on Just Some­thing I Made some weeks ago. I have one sheet of that plas­tic left from a long time ago… I think an aun­tie bought that for me from Honk Kong when I was in ele­men­tary school. I real­ly liked work­ing with it when I was a kid. I found it quite mag­i­cal how it works, and not a lot of fume (that I could tell) dur­ing the bak­ing process, unlike Fimo. Any­hoo, I’ve only ever made things that are flat, and I thought it would be quite an adven­ture to make three-dimen­sion­al shapes, like flowers!

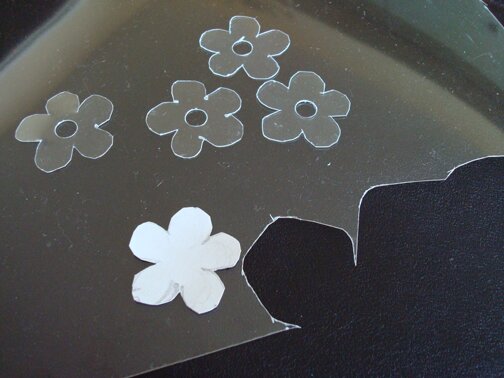
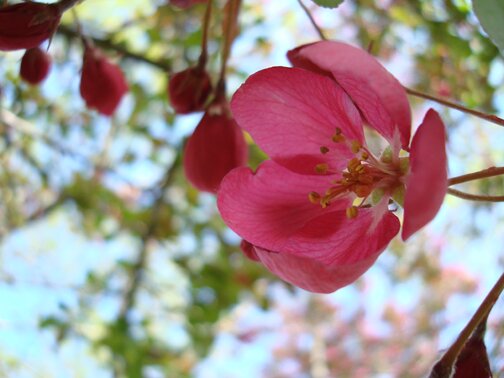
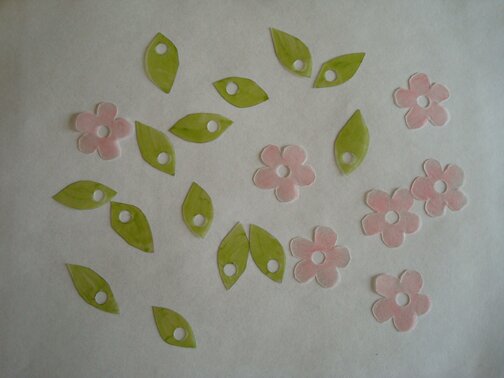
The tuto­r­i­al men­tioned using a flower shape punch, but I did­n’t have one, so I just drew a tem­plate by hand. I fig­ure it would­n’t mat­ter if the shape is wonky any­way, since it’s going to shrink and be reshaped. I want­ed the flow­ers to look like the pink ones on those bloom­ing trees. Not sure what they’re called but this is what it looks like…

Pret­ty huh. Also like a cher­ry blos­som, except more pink.

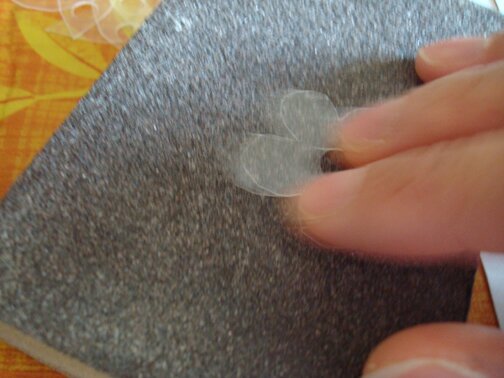
So, any­ways. I did­n’t have a pink mark­er, so I sand­ed one side of each flower and coloured them with a pink pen­cil cray­on, which I have plen­ty of.

I do have a broad-tip green mark­ers, so that went on the leaves. Now they’re all coloured — ready to bake! :D It only said on the pack­age to bake it at 130°C, did­n’t men­tion for how long… so I just sat in front of the oven to watch them shrink, which was kind of a cool process to watch, and did­n’t take very long, about 2 min each time.

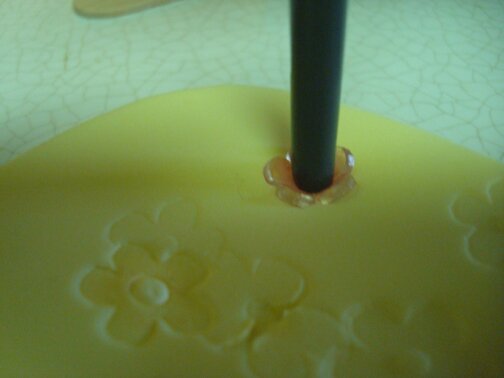
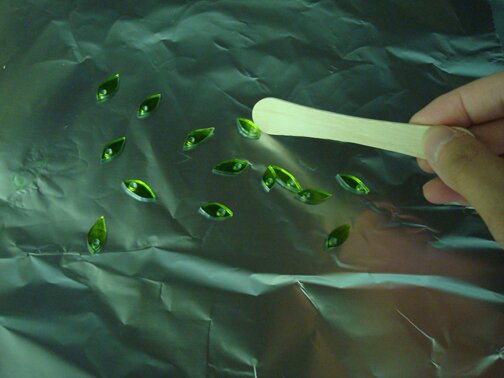
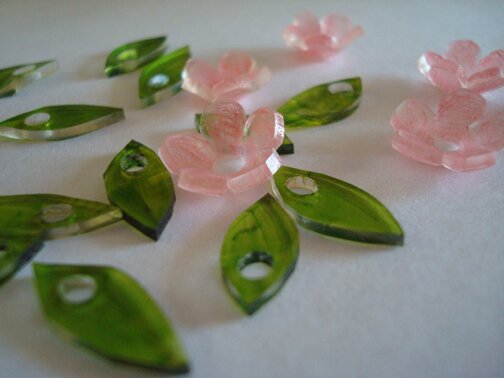
The flow­ers need­ed to be baked indi­vid­u­al­ly, and then imme­di­ate­ly pressed with the end of a paint­brush on a stack of craft foam once it’s out of the oven. The first flower cracked when I pressed it :( because I was too slow get­ting it out and it had already cooled. But the rest worked out bril­liant­ly. And what real­ly helped was the pop­si­cle stick I men­tioned in my last post! It’s a per­fect shape to scoop the flow­ers direct­ly from inside the oven. I did­n’t get pic­tures of that in action because I need­ed to move quick­ly, but here’s me using the pop­si­cle stick to scrape the leaves off the bak­ing sheet…

I liked how the leaves turned out, coloured with mark­ers. Very lush-look­ing. The pen­cil cray­on flow­ers, on the oth­er hand, looked like they were coloured with a pen­cil cray­on. Oh well. Can’t see that from far away and I do like how it looked kind of frosty.

I also did­n’t have head­pins, to attach a bead in the cen­tre of the flower. But I do have jew­el­ery wire, so I made my own head­pins. Sort of.

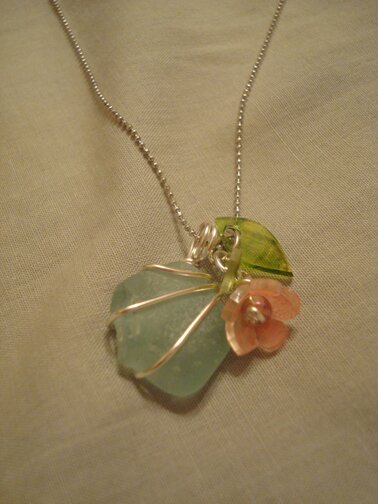
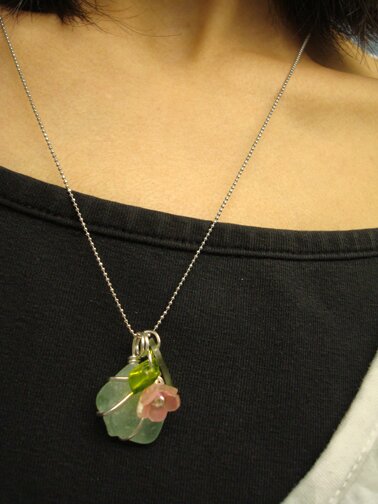
And part of the rea­son why I was so excit­ed about mak­ing these flow­ers, is because I thought it would go so well with the blue beach glass neck­lace I made last summer.

See? I knew the colours would look so pret­ty together.

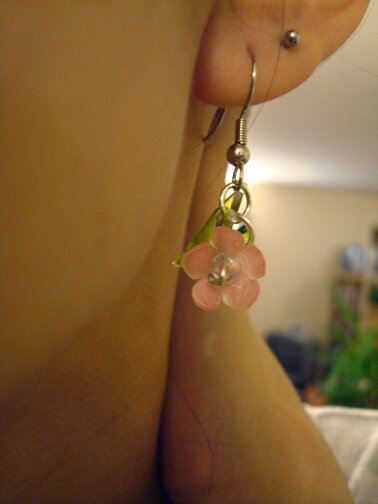
And then I also made ear­rings to match my pink shoes, which I’m plan­ning to wear to a wed­ding in a cou­ple of weeks :D

I still have 3 flow­ers and many leaves left, can’t decide what I’m going to do with them yet… I might save them to make Christ­mas presents with, or make a brooch with them. The tuto­r­i­al has a pic­ture of a bou­quet pen­dant, also very pret­ty, so I might end up mak­ing that.

But any­ways, it was real­ly fun. Now I might need to find a store where I can get more shrink plas­tic… I came across Klutz’s Shrink Art Jew­el­ry book some years ago and there are tons of love­ly ideas as well.

Have a great week­end! :D
Being resourceful

Often I find myself think­ing of ways to make things that I want to buy. It’s not so much about the mon­ey, I don’t think, because I can usu­al­ly buy books and yarn with­out much hes­i­ta­tion. But for cer­tain things I think it’s the grat­i­fi­ca­tion of com­ing up with a solu­tion and enjoy­ing the result of it that moti­vates me to think rather than just going out and buy. It’s not just about being fru­gal nei­ther, although fru­gal­i­ty has a lot to do with it. I think my par­ents taught me well. But I don’t think my par­ents are just being fru­gal. I like to call it being resource­ful. And I think cre­ativ­i­ty and resource­ful­ness can bring joy to life.

I vis­it­ed them last week­end, and saw inter­est­ing and delight­ful things around their house.

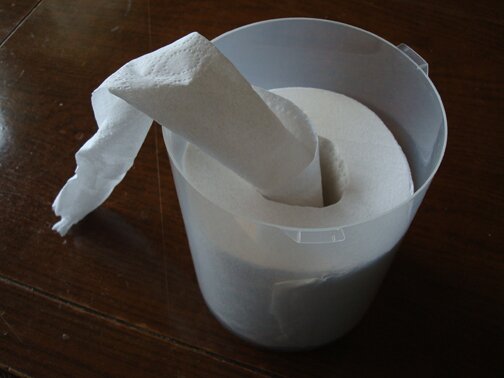
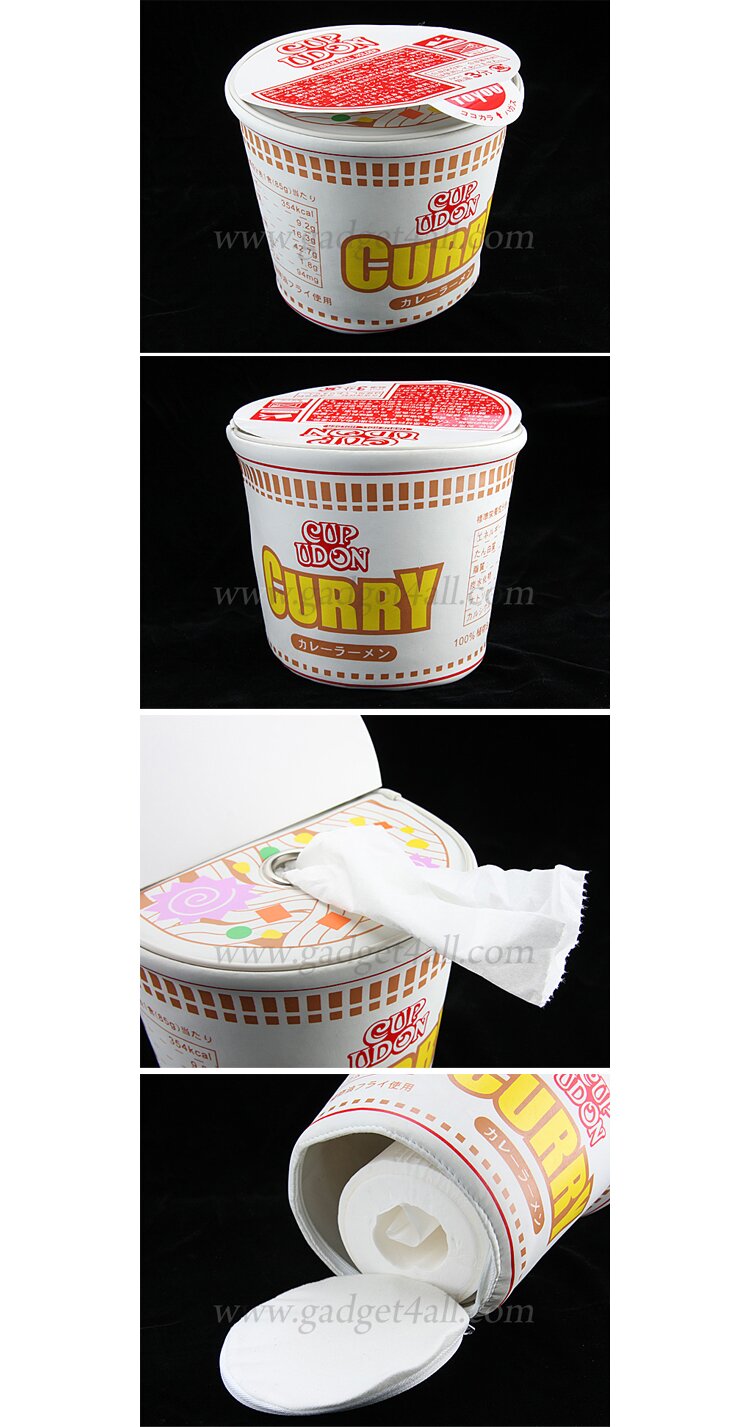
Yes, it is a roll of toi­let paper. In a CD can­is­ter. Hav­ing a box of Kleenex is of course much more pre­sentable than hav­ing a roll of toi­let paper on the cof­fee table, but for the every­day snif­fles toi­let paper would do just fine, and it’s much cheap­er than facial tis­sues in styl­ish box­es. This may seem strange to North Amer­i­cans but grow­ing up in Hong Kong that’s what most house­holds would have in place of box­es of Kleenex. They even make all kinds of dis­pensers for toi­let paper rolls. For exam­ple, here’s one that looks like cup noo­dles.

And you dis­pense the toi­let paper by tak­ing out the card­board tube in the cen­tre (squash­ing it on its sides a few times helps). Any­ways, I nev­er thought of using a CD can­is­ter and it actu­al­ly fits per­fect­ly :D Per­haps one could even make the CD can­is­ter look like a cup noo­dle. Now that’s an idea for a new project.

And then in anoth­er cor­ner of the house I dis­cov­ered this…

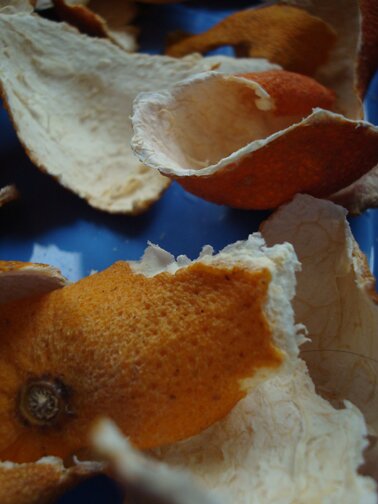
Dried man­darin peel! My mom uses it main­ly in soup. It’s sup­posed to be good for you in some ways, espe­cial­ly if you have a cough, and phlegm. One can def­i­nite­ly buy this at the gro­cery store (espe­cial­ly the Chi­nese ones), but it’s actu­al­ly not that hard to make. Peel man­darin orange. Eat man­darin orange. Save man­darin peel. Lay on plate/tray to dry. It takes patience though, because I think it needs to dry for months before it can be used. But def­i­nite­ly not dif­fi­cult. I actu­al­ly took the pic­ture main­ly because the orange peel looks rather strik­ing on the blue tray.

And final­ly, I found a pop­si­cle in the freezer.

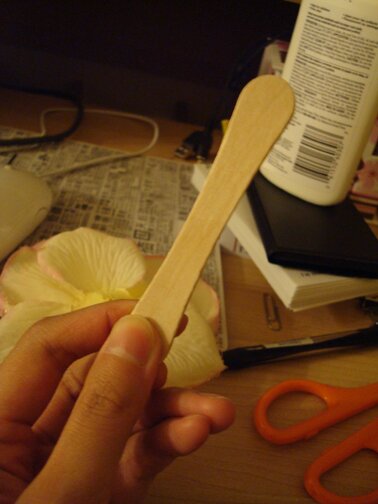
It has noth­ing to do with resource­ful­ness, I just thought the colours were pret­ty. It’s cot­ton can­dy flavoured. Did­n’t taste as good as it looked (it basi­cal­ly tast­ed like frozen sug­ar water), but the pop­si­cle stick has a nice shape.

Two nights ago I was look­ing at this stick at my messy desk and was won­der­ing what I can make with it. I thought of mak­ing a cot­ton can­dy fairy so I took apart a fake fab­ric rose for it. But then I left my glue gun at work and PVA glue is just use­less for porous mate­ri­als, and I was­n’t too thrilled about the cot­ton can­dy fairy any­ways. So I set it aside and thought per­haps I will come across oth­er things that I can use the stick for… and I did! And you will see that project in the next post, tomor­row! :D

And just look­ing at the pic­ture of it now I think it would make a good bur­nish­ing tool, or bone fold­er. Will have to try that out.

Cheers!

Point & Shoot Wednesday

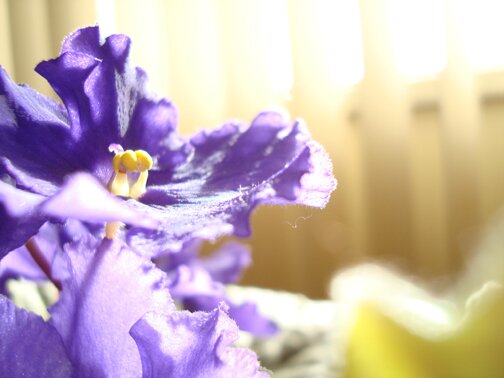
I have this African vio­let that blooms all year long. Well, almost all year long. It rest­ed between Decem­ber and Feb­ru­ary this year, I think, then began bloom­ing again when the day became grad­u­al­ly longer in March. I don’t real­ly know what makes it keep bloom­ing; I don’t even give it fer­til­iz­er. This plant is just love­ly and is such a gift. I put it beside my desk where I spend hours upon hours tap­ping on my com­put­er writ­ing reports and papers and all those mind-numb­ing stuff.

Any­ways, here are some pic­tures I took of the new flow­ers in March.

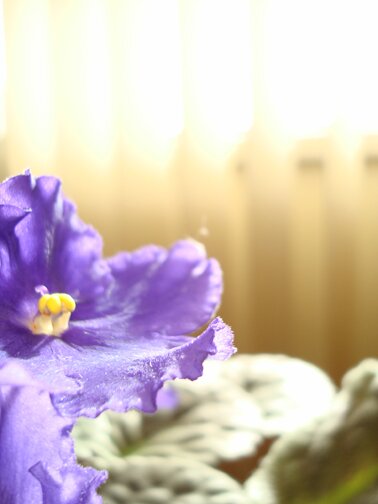
You see, I tried to be cre­ative with my point & shoot. Main­ly by increas­ing the expo­sure. I love the bright sun­light stream­ing in through the win­dow and through the translu­cent, ruffly petals.

These are ones I took recent­ly, they’re in full bloom now.

Have a love­ly Wednesday!

Magnolia

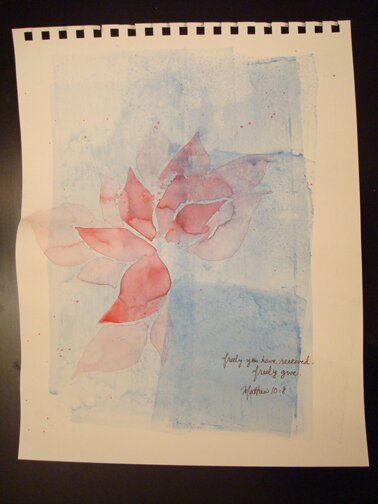
One day, I thought, mag­no­lias are so gen­er­ous. They bloom, and bloom, and bloom, until they’re all spent. Freely they receive from nature, freely they give — lav­ish­ing street cor­ners and front yards and parks with mag­nif­i­cent blos­soms, and then the fall­en petals give life to plant life yet to come.

I paint­ed this while lis­ten­ing to Gon­za­les’ solo piano.

May your day be filled with kindness.

A great start with coddled eggs

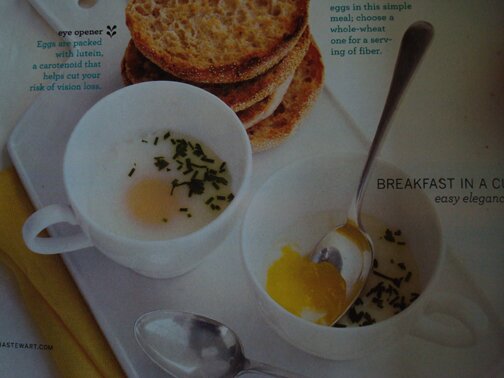
Was read­ing a recent issue of Martha Stew­art Liv­ing and saw a recipe that I could actu­al­ly pic­ture myself mak­ing — cod­dled eggs in teacups! Don’t they look cute?

(I was look­ing for the recipe to link on the Martha web­site, but could­n’t find one with these pic­tures of the cute teacups, so I had to take a pho­to of the magazine.)

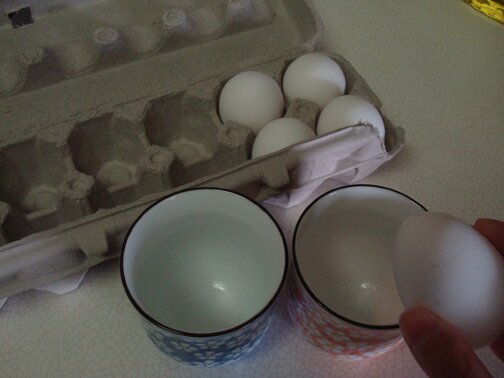
So I decid­ed to give it a try on Sat­ur­day. I was sur­prised to real­ize that, giv­en the amount of tea we drink, we actu­al­ly don’t have those typ­i­cal short teacups with han­dles. But I guess at the same time I should­n’t be sur­prised, because giv­en the amount of tea we drink, we usu­al­ly pre­fer tea mugs. Any­ways, we don’t have those teacups pic­tured, but we do have those Japan­ese teacups. So, fol­low­ing the recipe, I but­tered the inside of the teacups real­ly well so the eggs won’t stick, and cracked an egg into each.

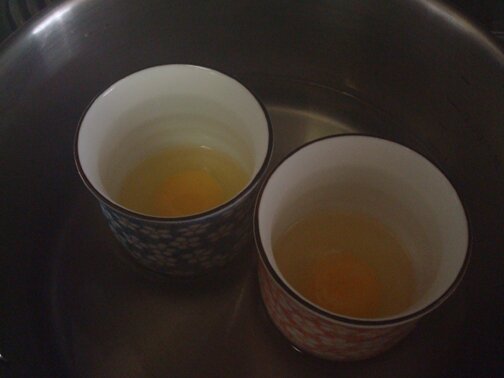
Then Martha said heat one inch of water in a pot to a “gen­tle boil” and then immerse the teacups into the water…

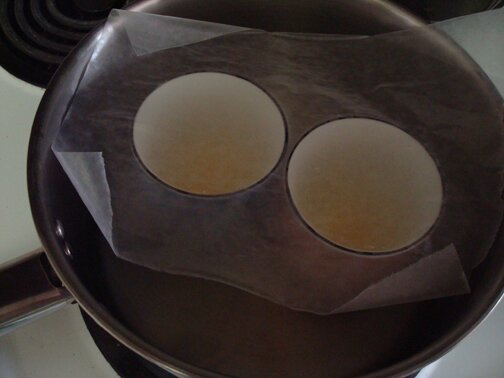
… and cov­er the teacups with a piece of parch­ment paper before putting on the lid.

Martha also said let it heat for 8–10min, so I fig­ure I’d set the microwave timer to 9min.

… tick, tick, tick, tick, tick…

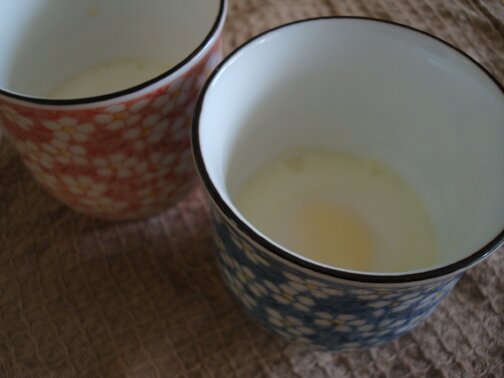
TA-DA!

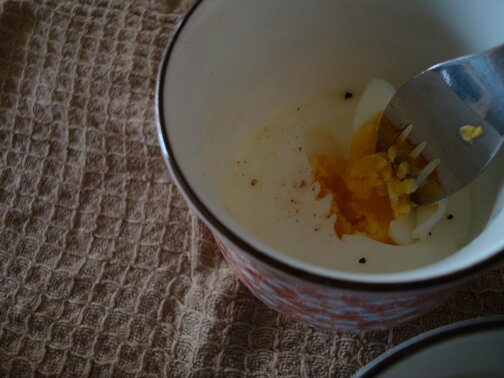
Turned out per­fect­ly! :D It was more cooked than Martha’s pic­ture but Mike does­n’t like his eggs run­ny so I think it was great, and it was real­ly easy and real­ly quick! I did­n’t have those fresh herbs pic­tured in Martha’s mag­a­zine so I put some salt and pep­per on it. I think I will make this often!

Mike: you know, Martha did­n’t actu­al­ly write those recipes…

Me: what?! She does­n’t? You mean she does­n’t actu­al­ly make this at home?! Then why would she say it’s a “good thing” if she has­n’t tried it her­self? How would she know?

Mike: Sigh…

Have a great start of the week everyone!

Favourite-things Friday

Win­dowsills.

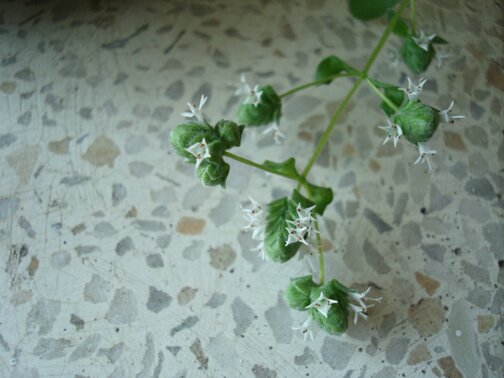
Two years ago we plant­ed some mar­jo­ram, among oth­er herbs, and it thrived on the win­dowsill. I think I might plant more this year.

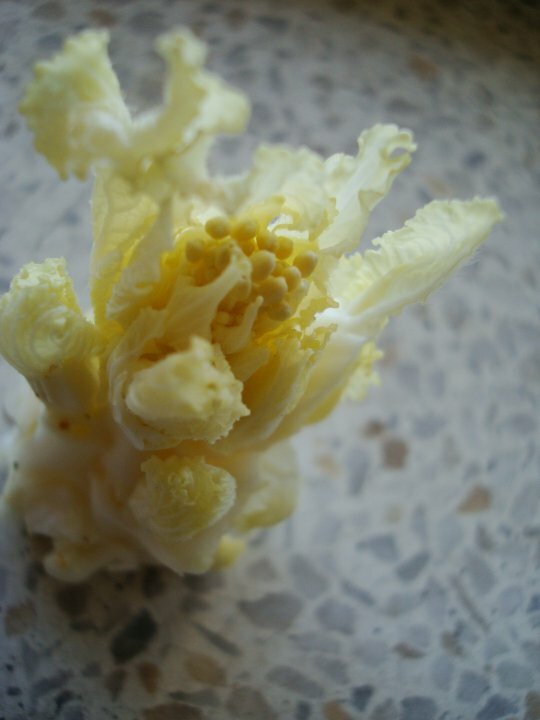
Napa cab­bage is a sta­ple in our home. I was fin­ish­ing one up one day and was fas­ci­nat­ed by what I found at the core of the cab­bage. I thought it looked like some kind of deep-sea crea­ture. And I thought it would make a nice pic­ture with the fil­tered sun­light on the windowsill.

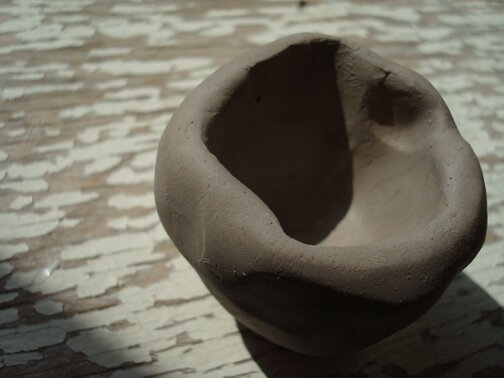
And yes­ter­day, I was feel­ing rather thank­ful for the earth beneath my feet. As I formed the earth in my hand it turned into a con­tain­er. And I con­tem­plat­ed the idea of the earth as a con­tain­er. I thought about all the crea­tures and the things it has been con­tain­ing through the ages. I won­dered what sto­ries it would tell of these things and crea­tures, if it could tell sto­ries. I won­dered how it feels about all these things and crea­tures, if it had feel­ings. And then I took a pic­ture of it bask­ing in the sun on the win­dowsill, with the peel­ing paint.

I like windowsills.

Go Marshie!! :D

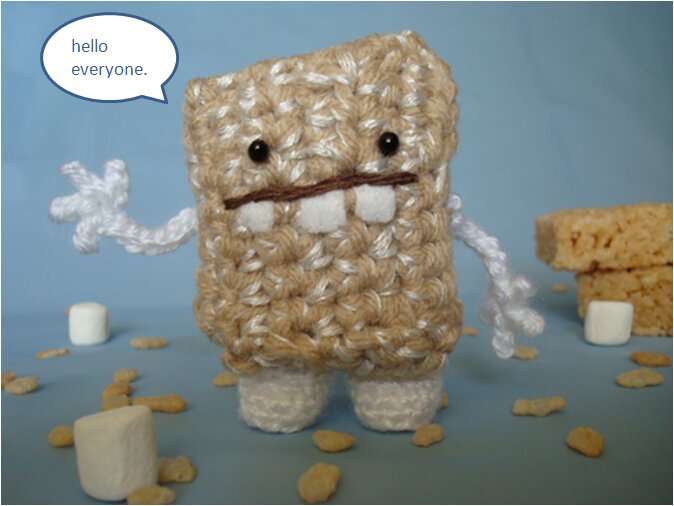
The Instructa­bles Robot told me today that Marshie is also fea­tured in the cro­chet sec­tion!!! :D

*tears*

I had a par­tic­u­lar­ly stress­ful, emo­tion­al­ly drain­ing day, so I’m real­ly thank­ful for this encour­ag­ing news. I don’t know what I’d do with myself if I don’t know how to cro­chet. I’m espe­cial­ly thank­ful for my mom who taught me this life skill when I was 8. (I made a coin purse. I think I lost it.)

Any­ways, hap­py Thurs­day everyone!

Point & Shoot Wednesday

Final­ly! Pic­tures from last Sat­ur­day’s cher­ry blos­som festival!

There isn’t real­ly an offi­cial fes­ti­val in the city, I don’t think, thought I might be wrong… either way, I just like to call it a fes­ti­val, because it’s such a great cel­e­bra­tion of spring! Even though it was a rather cold day there were still quite a few peo­ple at the park. Lots of cheer­ful­ness and excite­ment despite the grey sky and raindrops!

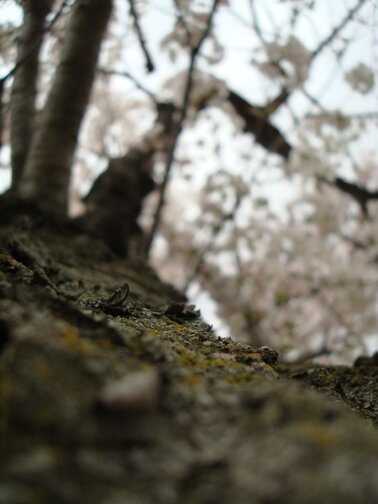
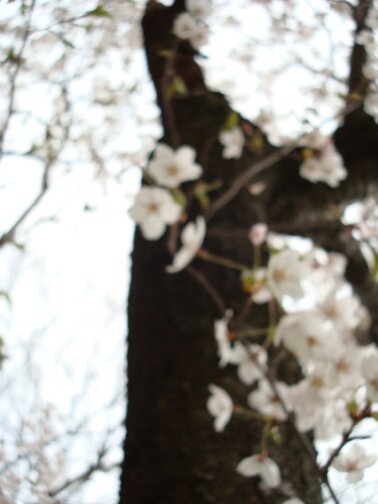
Tree hugs!

This is what I would see with­out my glass­es… makes an inter­est­ing pic­ture actu­al­ly. I’ve been tak­ing more of these blur­ry pic­tures late­ly. Patch­es of light and colour, soft edges blend­ing into one another.

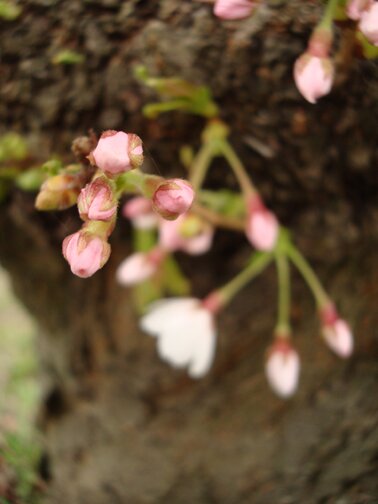
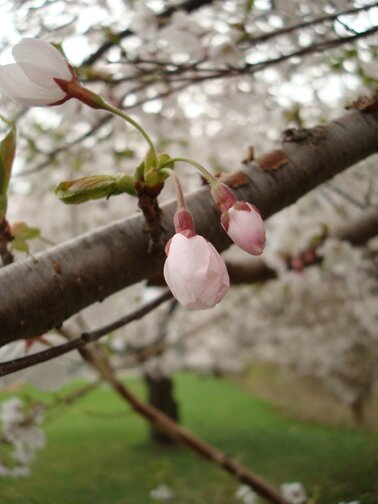
I think the flower buds look like saku­ra mochi :D

The tra­di­tion of hana­mi (cher­ry blos­som view­ing) involves eat­ing sushi and drink­ing sake under the cher­ry trees. I thought about pack­ing a pic­nic as well, but it was too cold so we vis­it­ed the cafe in the park instead. I did bring along a cro­cheted saku­ra mochi though :D

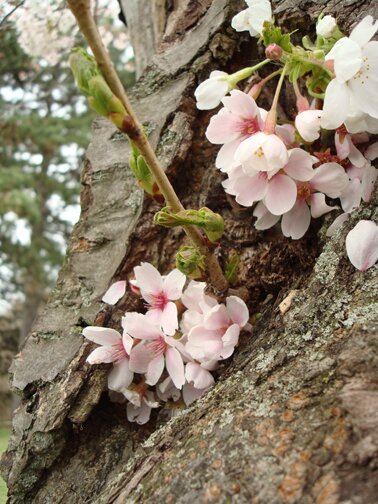
I was amazed to see blos­soms grow­ing out of the tree trunk.

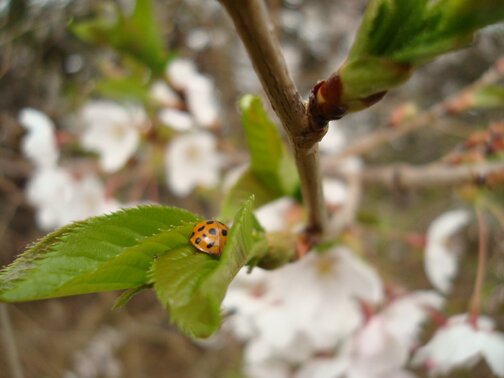
Hel­lo friend! :D

Uh… hel­lo, friend.

It was such a mag­i­cal time; I was sad to leave at the end… but I’m sure we’ll be back next year though!

Enjoy the spring flow­ers in your neighbourhood!

Mudpie breaking out of the bubble!!!

GAAAAHHHH!!!!! I’m FEATURED!!! :D :D :D
My slideshow and crit­ter con­test entry “Hap­py Togeth­er” is fea­tured on Instructa­bles!!! :D I’m so hap­py I might burst!!!
I was­n’t going to post about Hap­py Togeth­er because… well, it’s a secret. But I real­ize I need to post this now before they rotate my slideshow out of their list of fea­tured items!

So if you vis­it in the next few days you can see Hap­py Togeth­er in the front page (!!!), the Liv­ing sec­tion, and the Cro­chet sec­tion :D

Hap­py Togeth­er deserves its own post, and I will write a more detailed post when it’s safe to do so…

So hap­py… sniff… tears…

The crit­ter con­test is one of my attempts to try to par­tic­i­pate more in the craft­ing com­mu­ni­ty. I start­ed to read lots of craft blogs recent­ly and real­ized that I’m miss­ing out on so much fun and real­ly lack­ing moti­va­tion when I just make stuff in my own bub­ble. It is a bit of a risk, because what if peo­ple see the stuff I make and think they’re sil­ly or ugly or some­thing? But the encour­age­ment from friends and fam­i­ly cer­tain­ly helped me take that step, and so far I’ve met quite a few nice and encour­ag­ing peo­ple on the web and it’s been so much fun!

Any­ways, anoth­er thing I par­tic­i­pat­ed in was Leethal’s Sat­ur­day Make-Along. You can see the Sat­ur­day Make-along results on her blog post (look for gen­uine mud­pie!). It’s real­ly cool to see what every­one made and I’m so thank­ful for all the work the host has done to put the whole event together!

I’ve also post­ed the pat­tern for Saku­ra Mochi on Rav­el­ry — my first time writ­ing a pat­tern! It’s a real­ly sim­ple and straight­for­ward test-run, but it’s a rather mag­i­cal feel­ing when I see some­one makes the pat­tern and post a pic­ture of it… it’s like Saku­ra Mochi is able to spread the joy of cro­chet­ing somehow…

And I’m always thank­ful for your visits :)

The making of a Sakura Mochi

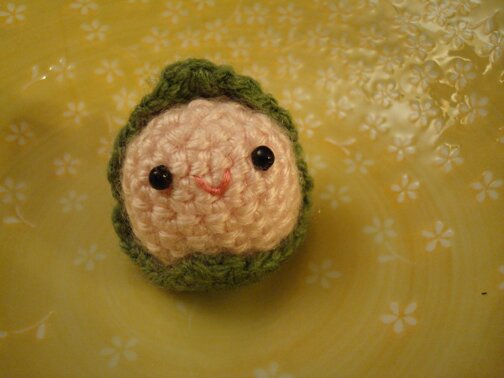
Ear­li­er this week I men­tioned that I was writ­ing up a pat­tern (for the first time!) for saku­ra mochi — a Japan­ese dessert made with pink, cher­ry-scent­ed rice gran­ules, stuffed with red bean paste, and wrapped in a cher­ry leaf. After going to see the cher­ry blos­soms today (pic­tures to come soon!) I fig­ure I bet­ter get the pat­tern done before saku­ra sea­son is over!

I apol­o­gize in advance if this is rid­den with mis­takes — please let me know if you see any. This is the first time I’m writ­ing a pat­tern and I’m not sure if I ‘m doing it right… so any advice/help/comment/feedback/constructive crit­i­cism will be great­ly appreciated!

Yarn: worsted or DK/Sport weight in pink and green

Hook: if using worsted — 3.5mm; DK — 3mm

Note: for the saku­ra mochi pic­tured, I used Bernat Satin (worsted) for the mochi and Mary Max­im Mel­lowspun (DK) for the leaf, because that’s just the colours I have in my stash. So I think if the same weight of yarn is used for both the mochi and the leaf, the leaf might look rel­a­tive­ly big­ger, but not sig­nif­i­cant­ly, I don’t think. In fact I would like my leaf to be big­ger, so it would stand out more and look more like a saku­ra mochi.

You will also need: 2 round black beads for eyes (I used 4mm), pink embroi­dery thread, stuff­ing, tapes­try nee­dle, sewing needle.

Here’s the pattern:

Mochi:

6 sc into mag­ic ring, don’t sl st to join (6 sc), pull ring closed.

Row 1: 2 sc in each of the 6 sc in ring (12 sc).

Row 2: *2 sc in each of next 2 sc, 1 sc in each of next 4 sc*, repeat from * to * once more (16 sc).

Row 3–6: 1 sc in each sc (16 sc).

Row 7: *2 sc tog twice, 1 sc in each of next 4 sc*, repeat from * to * once more (12 sc).

Stuff mochi.

Row 8: 2 sc tog six times. Leave a 5 inch tail and fas­ten off.

With tapes­try nee­dle, weave tail through the top of the remain­ing 6 sc, pull top of mochi closed and fas­ten off.

Note: I end­ed up using the bot­tom of my mochi (i.e. the mag­ic ring side) as the top, because it looked bet­ter and I could hide the loose ends in the leaf.

Cher­ry leaf:

Row 1: ch 4, 3 dc in 4th ch from hook, turn.

Row 2: ch 3, dc in first dc, 2 dc in each of next 2 dc, 2 dc in top of turn­ing ch, turn.

Row 3: ch 3, 2 dc in next dc, 1 dc in each of next 4 dc, 2 dc in next dc, dc in top of turn­ing ch, turn.

Row 4–5: ch 3, dc in each dc across, dc in top of turn­ing ch, turn.

Row 6: ch 3, 2 dc tog, dc in each of next 4 dc, 2 dc tog, dc in top of turn­ing ch, turn.

Row 7: ch 3, 2 dc tog three times, dc in top of turn­ing ch, turn.

Row 8: ch 3, 4 dc tog. Fas­ten off, weave in tail.

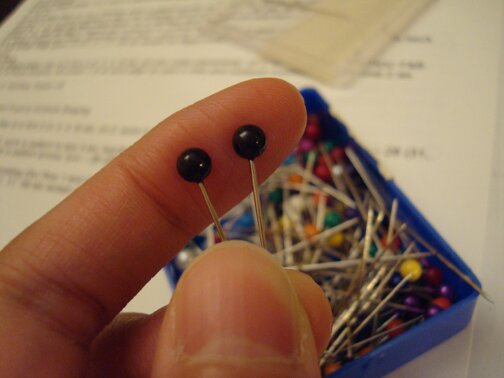
Before attach­ing leaf to mochi, sew on beady eyes and embroi­der cute smile with pink embroi­dery thread. If you like you can also do this before stuff­ing the mochi, but I find that I usu­al­ly have a bet­ter idea of where to place the eyes and mouth after the amigu­ru­mi is stuffed and shaped. Plus, for this par­tic­u­lar amigu­ru­mi I can hide the thread ends at the back in the leaf. I also like to find place­ment for the eyes with these pins first, as the pin head hap­pens to be sim­i­lar in size to the 4mm beads I use most often.

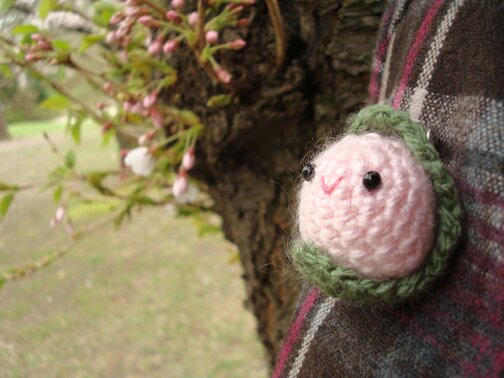
Final­ly, sew the mochi to the leaf with the some green yarn. And here you have it, a saku­ra mochi to cel­e­brate the cher­ry blos­som season!

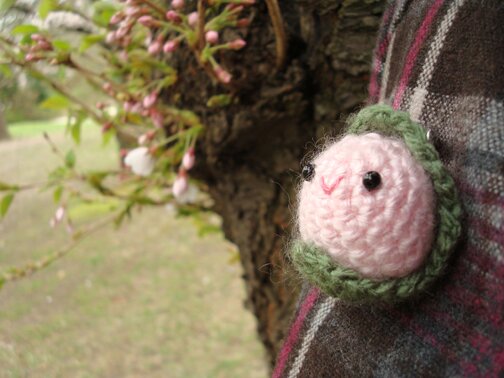
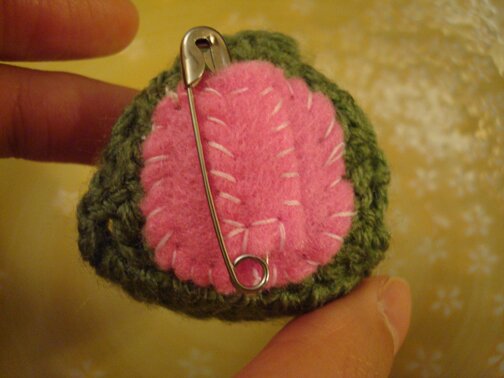
I want­ed to make mine into a pin so that I can wear it to the hana­mi (have I men­tioned that mak­ing spe­cial pins to wear on spe­cial occa­sions is one of my favourite things to do?). I just used a safe­ty pin and attached it with small pieces of felt (I actu­al­ly got this idea from my friend, who makes bril­liant flower pins).

SO! here I am, enjoy­ing the saku­ra with saku­ra mochi~

Don’t want to wear it as a pin? I sup­pose one can also attach a mag­net on the back for a fridge mag­net to keep all those take-out sushi menus in place? Or, if one is adven­tur­ous and has good eyes, one could make it with embroi­dery floss and  per­haps a 2mm or small­er hook and make a cell phone charm? Or zip­per pull for a backpack?

Ayhow, my cro­cheted saku­ra mochi has def­i­nite­ly added a touch of sweet­ness for me on this rather cold, rainy, grey spring day. I hope you enjoy the pattern!