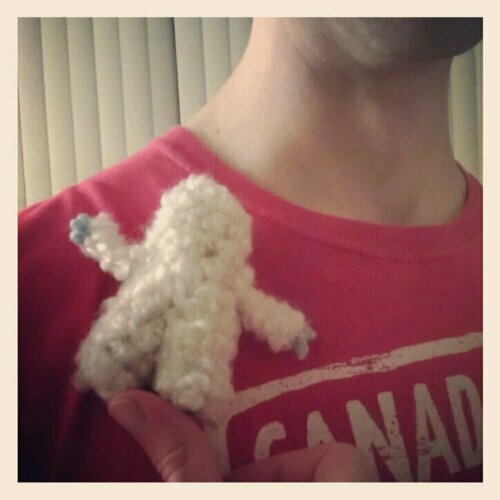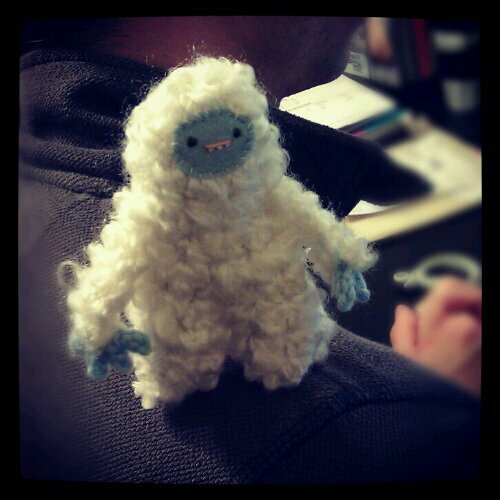
Meet Sherbert, the yeti :D
Sherbert lives on our couch with Filbert the Chococat and Herbert the tiny elephant (Mike found him wandering about at a trade show and invited him home).
Anyhoo, here’s how I made Sherbert the yeti. He’s actually made based on the groundhog pattern, just with a more elongated body and legs, and different arms. And because of the kind of yarn and size of hook used, he turned out quite a bit bigger than groundhog (Sherbert is 4″ tall, while groundhog is 3″), but still tiny, for a yeti.
I used:
A fuzzy kind of yarn in white, like this one.
Worsted weight yarn in light blue
5.5mm and 3mm hook
Sewing needle and white thread
Tapestry needle
Small piece of  felt in light blue
Embroidery thread in brown, pink, and white
Stuffing (I used yarn scraps)
Head and Body:
With white yarn and 5.5mm hook:
Row 1: ch 3, 5 sc in 3rd ch from hook, sl st. in top of beginning 2 ch.
Row 2: ch 2, [2sc in next sc, sc in next sc] 3 times, sc in top of beginning ch.
Row 3 and on: sc around until piece measures 1.5 inches from the beginning,  take hook off loop, don’t fasten off.
Cut an oval out of the light blue felt about 1″ wide and 3/4″ tall. Embroider eyes, mouth, teeth, and other facial features as desired. Sew face to head (the piece you just crocheted) with sewing needle and thread.
Put hook back in loop where you left off. Continue with sc in each sc until piece measures 2.5″ from the beginning. End with last st in centre front (I just eyeballed it, but one could count the stitches to make sure it’s centered if desired), don’t fasten off, continue onto legs.
Legs:
ch 2, bring the ch across the opening of the body and sc in a st in centre back (I just eyeballed it, but one could count the stitches to make sure it’s centered if desired — the groundhog pattern has process photos that explains this step).Â
Then, sc in each sc until the ch 2 in the middle, sc in each ch, then sc in each sc for 3 more rounds, sl st. in each of next 2 sc, fasten off.
For the other leg, attach yarn to the same st in centre front at the base of the other leg, ch 1, sc in next sc, sc in each sc until the st in centre back at the base of the other leg, sc in the st in centre back, sc in each ch of the ch 2 in the middle (one would have to crochet in the back loops of the chain), sc in the beginning ch 1 of this leg, sc in each sc for 2 more rounds, sl st in each of next 2 sc, fasten off.
Now would be a good time to stuff the groundhog through the openings at the bottom of the legs. After stuffing, close the bottom of the legs by weaving through the inner loops of the opening with yarn and tapestry needle. Weave in ends.
Arms (make 2):
ch 5, sl st in 2nd ch from hook, sl st in each of next 2 ch, ch 1, fasten off.
This makes a thick chain with kind of a forked end, like this…

Weave ends into the thick chain.
Hands (make 2):
With light blue yarn and 3mm hook:
ch 4, sl st in 2nd ch from hook, sl st in each of next 2 ch, *ch 2, sl st in 2nd ch from hook, sl st in very first ch*, repeat from * to * once more, ch 4, sl st in 2nd ch from hook, sl st in each of next 2 ch, sl st in very first ch, fasten off.Â
The hand looks like this…

Assembly:
Sandwich the top half of the hand between the forked ends of the arm, hiding the yarn ends of the hand. Sew in place with sewing needle and white thread (the fuzzy yarn is really good with hiding sewing stitches).
Repeat for the other arm and hand.
With sewing needle and white thread, sew arms to body.
The arm and hand look like this…
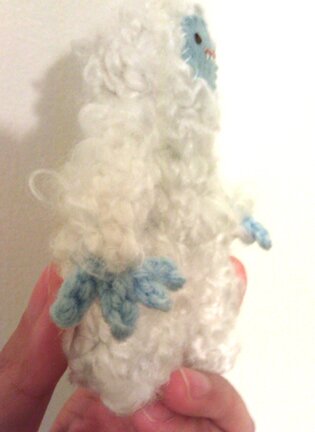
And yeti is ready to take on the world! :D
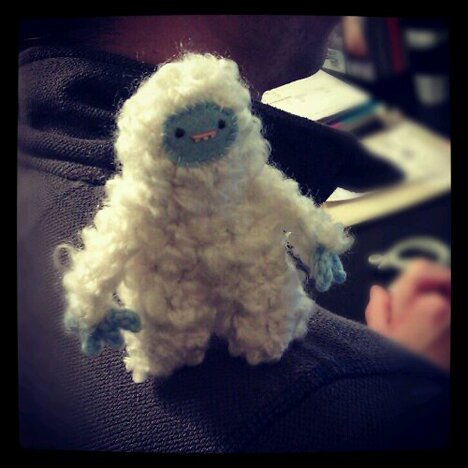
Even challenging the difficult and dangerous mount of yarn, facing the great risk of a yarn avalanche!
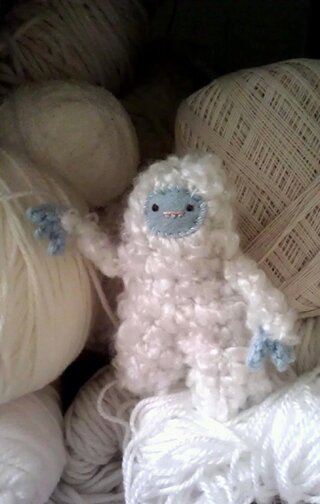
But at the end of an adventurous day, Sherbert the yeti is back on the couch, enjoying a cup of cocoa with his friends, and wishing everyone an awesome week filled with wonderful, exciting things.
P.s. if you spot errors or anything unclear about the pattern feel free to drop me a note!Â
