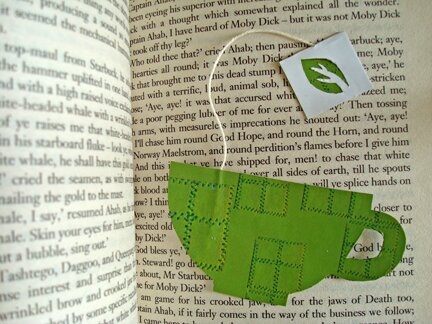
Today I present to you — a teacup bookmark, with a hanging tea tag! :DÂ Possibly a father’s day gift for a tea-drinking, book-loving dad?
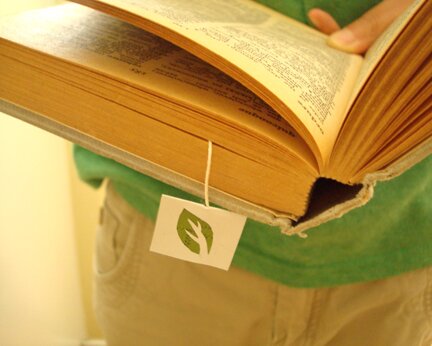
Or for anyone who enjoys a good cup of tea. And a good book. At the same time.
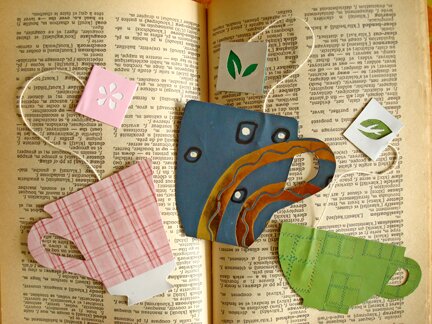
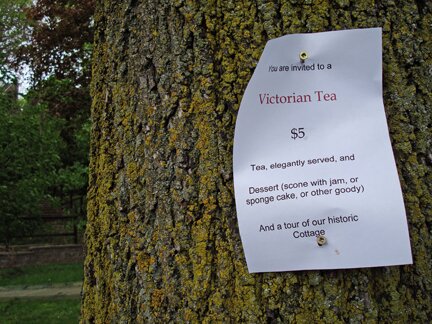
So! Instead of favourite things Friday this week I’m going to share how I made this teacup bookmark, because one can only do so much in a week, and I’ve had this idea in my head for a while now. It was something that Mike has seen somewhere and told me about it, and I was inspired by the Victorian Tea we had at the Tollhouse.
It may look like there are lots of steps, but it’s actually a pretty quick project. It probably took me under an hour to make all three, and that’s with my picture-taking.
So! It’s time to get out the glue and scissors!
… and a bunch of other stuff… here are all the materials and tools I used.
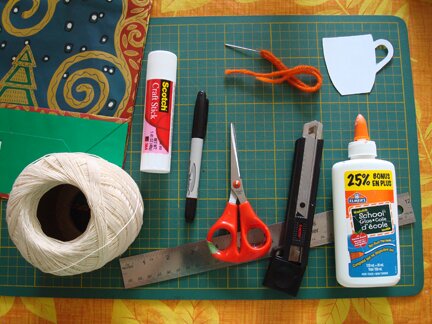
- Used gift bags (one could use other kinds of paper as well, but I thought gift bags would be a good idea because it’s coated, so it’s slightly heavier and more durable than, say, construction paper, and they have nice patterns. And because I save them when people give me gifts and I have tons on hand)
- Cotton thread (I used crochet thread because that’s what I have, but thin yarn or kitchen twine should work too).
- A glue stick
- A marker (or pen)
- Scissors
- A thick tapestry needle
- A utility knife
- White glue
- A ruler (if you want to be precise)
- A cutting mat (or something to cut on, like old magazines)
-
Teacup templates
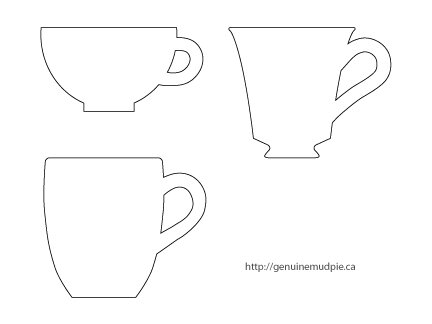
I made up this project partly to learn how to use Illustrator, particularly drawing simple shapes and curves. So I made this set of templates with different teacups and a tea mug. Just click on either the image or the link above it and it will bring up a PDF file. Print it at 100% and you’ll get the same size teacups as the ones I made (each is 3 inches wide).
First, I cut out a template. It might be easier to cut out the part inside the teacup ear with a utility knife. (Or teacup handle? It’s “cup ear” in Chinese and I’ve always called it that…)
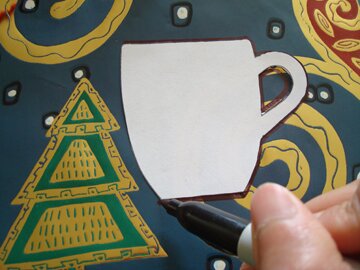
Next, I traced the template on a part of the bag with the pattern that I liked. (I used a Sharpie for this so it’s easier to photograph, but one could use a pen or a pencil)
Then I removed the side of the bag where it’s folded, so it would be easier to cut out the teacup.
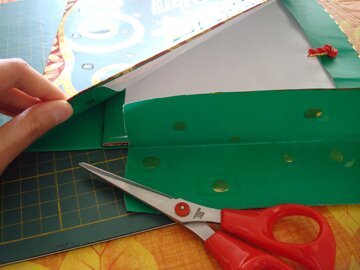
Then I cut along the top edge of the teacup, and the general area around the teacup through BOTH layers of the bag.
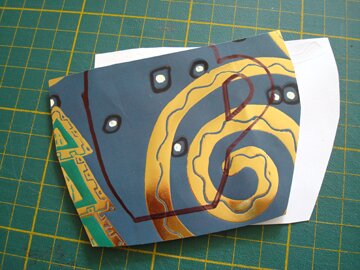
So now we have two pieces, with a straight edge at the top.
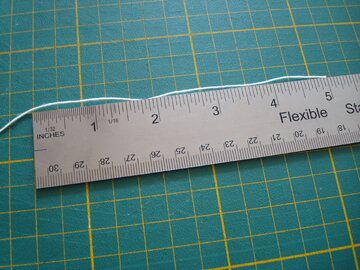
I then cut a piece of cotton thread, about 5 inches in length.
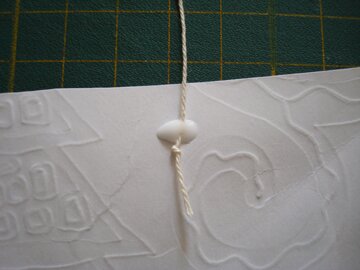
I tied a knot close to one end of the thread. Then I placed a drop of white glue on the back of the piece that doesn’t have the teacup tracing on it, about 3/4 inch from the top edge. I then put the end of the thread into the drop of glue, with the knot just below the glue, like so…
Then I cut out a scrap piece of paper (from the cut-off of the template) about 1/2 inch tall and 1 inch wide. I glued this piece of paper on top of the thread and glue dot, with the knot sticking out, like so…
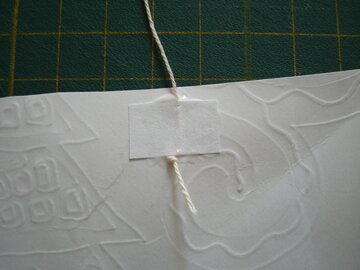
The thread is now locked in and won’t get pulled out easily.
I then slather a generous amount of glue from a glue stick onto the back of the piece with the teacup tracing on it (not white glue, or the paper will buckle), and then pressed it onto the piece with the string, lining up the top straight edges of the two pieces (it’s OK if the other edges don’t line up, as long as the top edges are lined up).
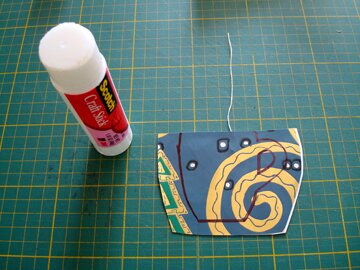
Wait a moment or two for the glue to dry completely, then cut out the teacup shape. Again, it’s probably easier to use the utility knife to cut out the inside part of the mug ear (aka mug handle).
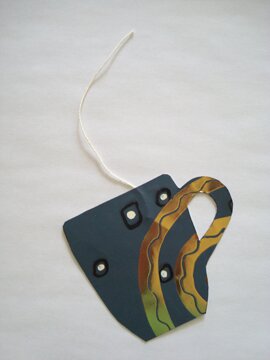
Ta-da! We’re almost done!
Now for the tea tag. One could do lots with it, like write a message (like happy father’s day?), make a monogram (cut out a letter from the magazine?), or just leave it blank. But here’s what I made…
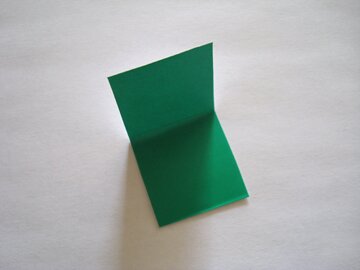
I salvaged the folded side of the bag that I removed earlier, and cut out a 1“x2” rectangle, then folded it in half, with the white side facing out.
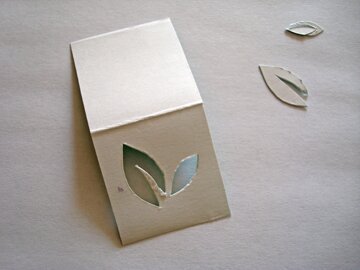
I then cut out some tea leaves on one half with the utility knife (free-hand too! I was pretty proud of myself).
I then used a tapestry needle to poke a hole through the middle of the fold.
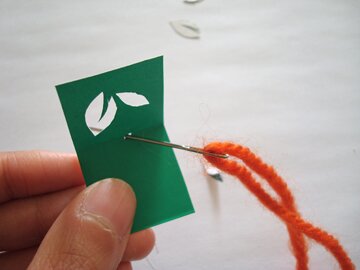
Then I threaded the end of the thread (with the other end already attached to the teacup) through the hole. I then slather a generous amount of glue with the glue stick on the half of the paper with the leaf design. I placed the thread end on middle fold of the paper, so it lied along the fold, then I put a drop of white glue on the thread.
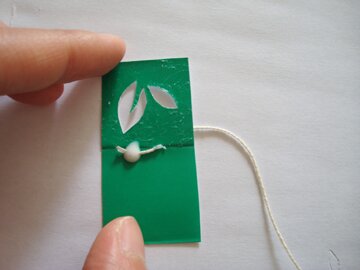
Fold the top down and… ta-da! A one-of-a-kind paper-cut tea tag!
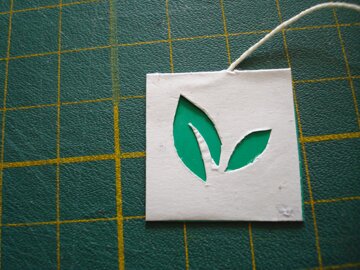
And guess what? The bookmark is ready to mark those pages! :D
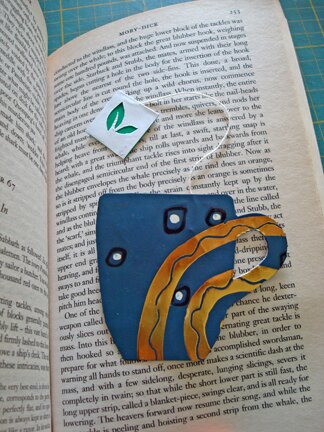
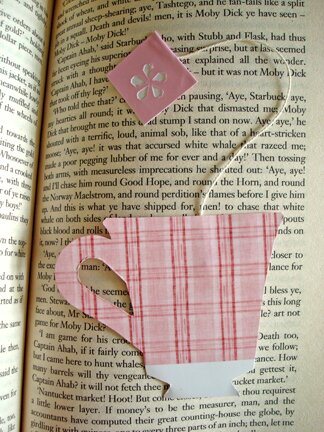
I also made a pink one, with a flower tea tag, for an herbal tea kind of day…
Now I’m going to make myself a nice cup of tea. Thanks for stopping by! Have a great weekend!
