The traveling hat of Raticus

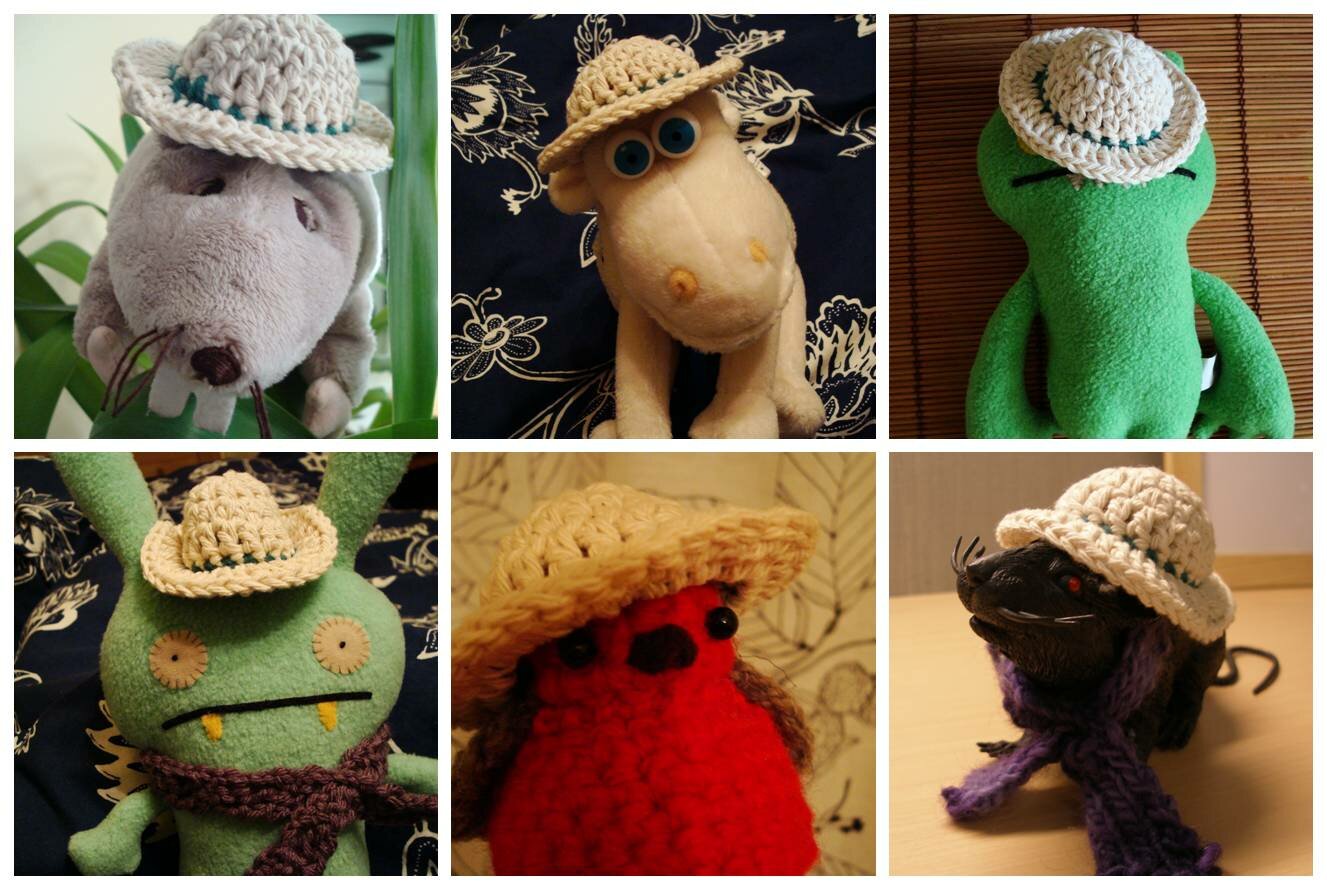
Mike asked me to make a hat as a gift for Rati­cus the rat, who lives in his work­place and is mov­ing office. Before the hat was giv­en to Rati­cus dif­fer­ent ani­mals tried on the hat, because they had nev­er worn a hat before and were won­der­ing how they would look with one.

1st stop, Kennedy the explor­er rat in a yuc­ca jungle.
2nd stop, Ser­ta the British bird-watch­er sheep #99.
3rd stop, Abi­ma the sun-bathing monster.
4th stop, Moxy found her inner cowgirl.
5th stop, Robin the robin ready to go out for some field work.
Final stop! Rati­cus look­ing spiffy in his hat and scarf.

Hap­py trav­el­ling, Raticus!

The making of a cuff / sleeve

When I used to work at a cof­fee shop I was always very appre­cia­tive of peo­ple who brought their own reusable mugs or cup sleeves. We went through a mind-bog­gling amount of those every day and it was so nice to see peo­ple care about reduc­ing waste.

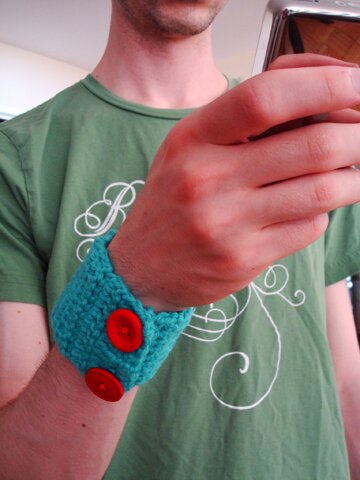
And Mike likes to wear wrist cuffs — he claims that it keeps him warm in his freez­ing office. But it prob­a­bly did­n’t keep him warm enough because he need­ed to peri­od­i­cal­ly head down­stairs for cups of hot tea at the cof­fee shop.

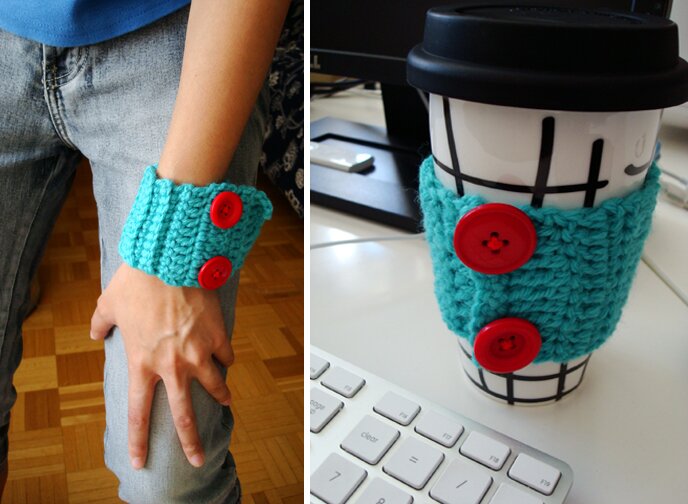
The prob­lem of over air-con­di­tion­ing aside, I thought it would be fun to com­bine wrist cuff and cup sleeves! I also con­ve­nient­ly made this up for a begin­ner’s cro­chet work­shop, so I tried to be as sim­ple and straight­for­ward as pos­si­ble. There’s no but­ton­hole or any­thing com­pli­cat­ed. But if you’re up for more chal­lenge, I saw this reeeeeal­ly nice beer bracelet pat­tern on Cro­chet by Faye — I’d like to try that out myself one day!

I find this web­site help­ful when learn­ing with videos of cro­chet stitches.

Here’s what I did:

Mate­ri­als / tools:
Small amount of worsted weight yarn
2 large but­tons (mine were about 1″ in diameter)
Nee­dle and thread
5mm hook
A cof­fee cup for size-testing

Row 1: I made 9 chains (ch). You can make more or few­er ch if you want your cuff to be wider or narrower.

Row 2: ch 2, sin­gle cro­chet stitch (sc) in the 3rd stitch from hook, sc in each ch across.

Row 3: ch 3, turn (see instruc­tion for turn­ing chain). Skip first sc, dou­ble cro­chet stitch (dc) in each sc across. Place last dc in ch 2 from row below (the ch 2 counts as an sc stitch).

Row 4 and on: Con­tin­ue to make rows of sc or dc or both until cuff is long enough to wrap around wrist.

When cuff is long enough to wrap around wrist: ch 4, turn. Skip first stitch, triple cro­chet stitch­es (tr) across. This row serves as but­ton holes for wrist cuff.

Con­tin­ue to make a cou­ple more rows of sc and dc until the cuff is long enough to wrap around the cup.

When cuff is long enough to wrap around cup: ch 4, turn. Skip first stitch, tr across. This row serves as but­ton holes for cup sleeve.

Next row: ch 1, turn. Skip first tr, sc in each tr across. Fas­ten off.

Note: it’s bet­ter to make it a bit too short than a bit too long, it will stretch over time.

The dia­gram below may give you an idea of the construction…
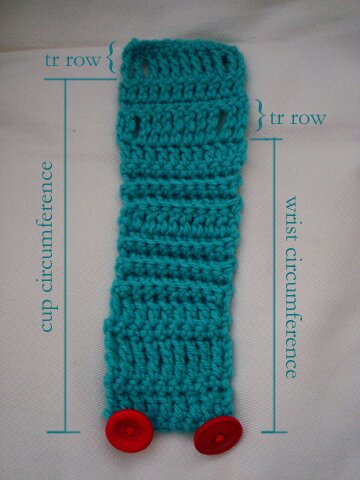
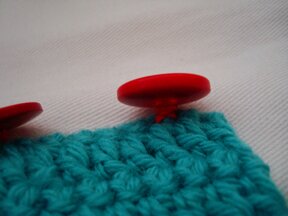
Final­ly, sew but­tons on the first sc row. When sewing but­ton on thick fab­ric (such as some­thing cro­cheted), I find this instruc­tion from Wiki How useful:

For but­tons that get heavy use, try wrap­ping the long thread of the nee­dle tail around the threads that hold the but­ton, at least 4 or 5 times, tight­ly, then force the nee­dle and thread through the tight bunch of threads that you have cre­at­ed. Try push­ing the nee­dle par­al­lel to the the but­ton’s holes, to avoid resis­tance. Use a thim­ble for push­ing the nee­dle. (The rea­son for this is sim­ple: thread wear will cause the but­ton to fall off soon­er, unless you wrap the exposed threads with a pro­tec­tive wrap.) Once you have forced the nee­dle through, push it back into the cloth, and tie it off with the long tail that you left at the start­ing knot. 

This is how the sewn but­tons would look:

Depend­ing on who you’re mak­ing this cuff for, the tr row for the wrist may not be nec­es­sary. You see, appar­ent­ly Mike’s wrist is the same size as the cof­fee cup…

I hap­pen to have ridicu­lous­ly small wrists due to Asian genes, so I need­ed the cuff to be adjustable. Any­way. I hope this is not too con­fus­ing. If you have any ques­tion, feed­back or com­ment please feel free to drop me a note! And I hope you enjoy the cool­er evening and hot drinks as our hemi­sphere wel­comes the arrival of fall!
Tourist for a couple of hours

Need­ed to buy cro­chet hooks for work­shop tomor­row. Was ridicu­lous­ly hap­py after I found cro­chet hooks for $1 each, and the weath­er was just bliss­ful, so I decid­ed to wan­der about on the streets for a bit.

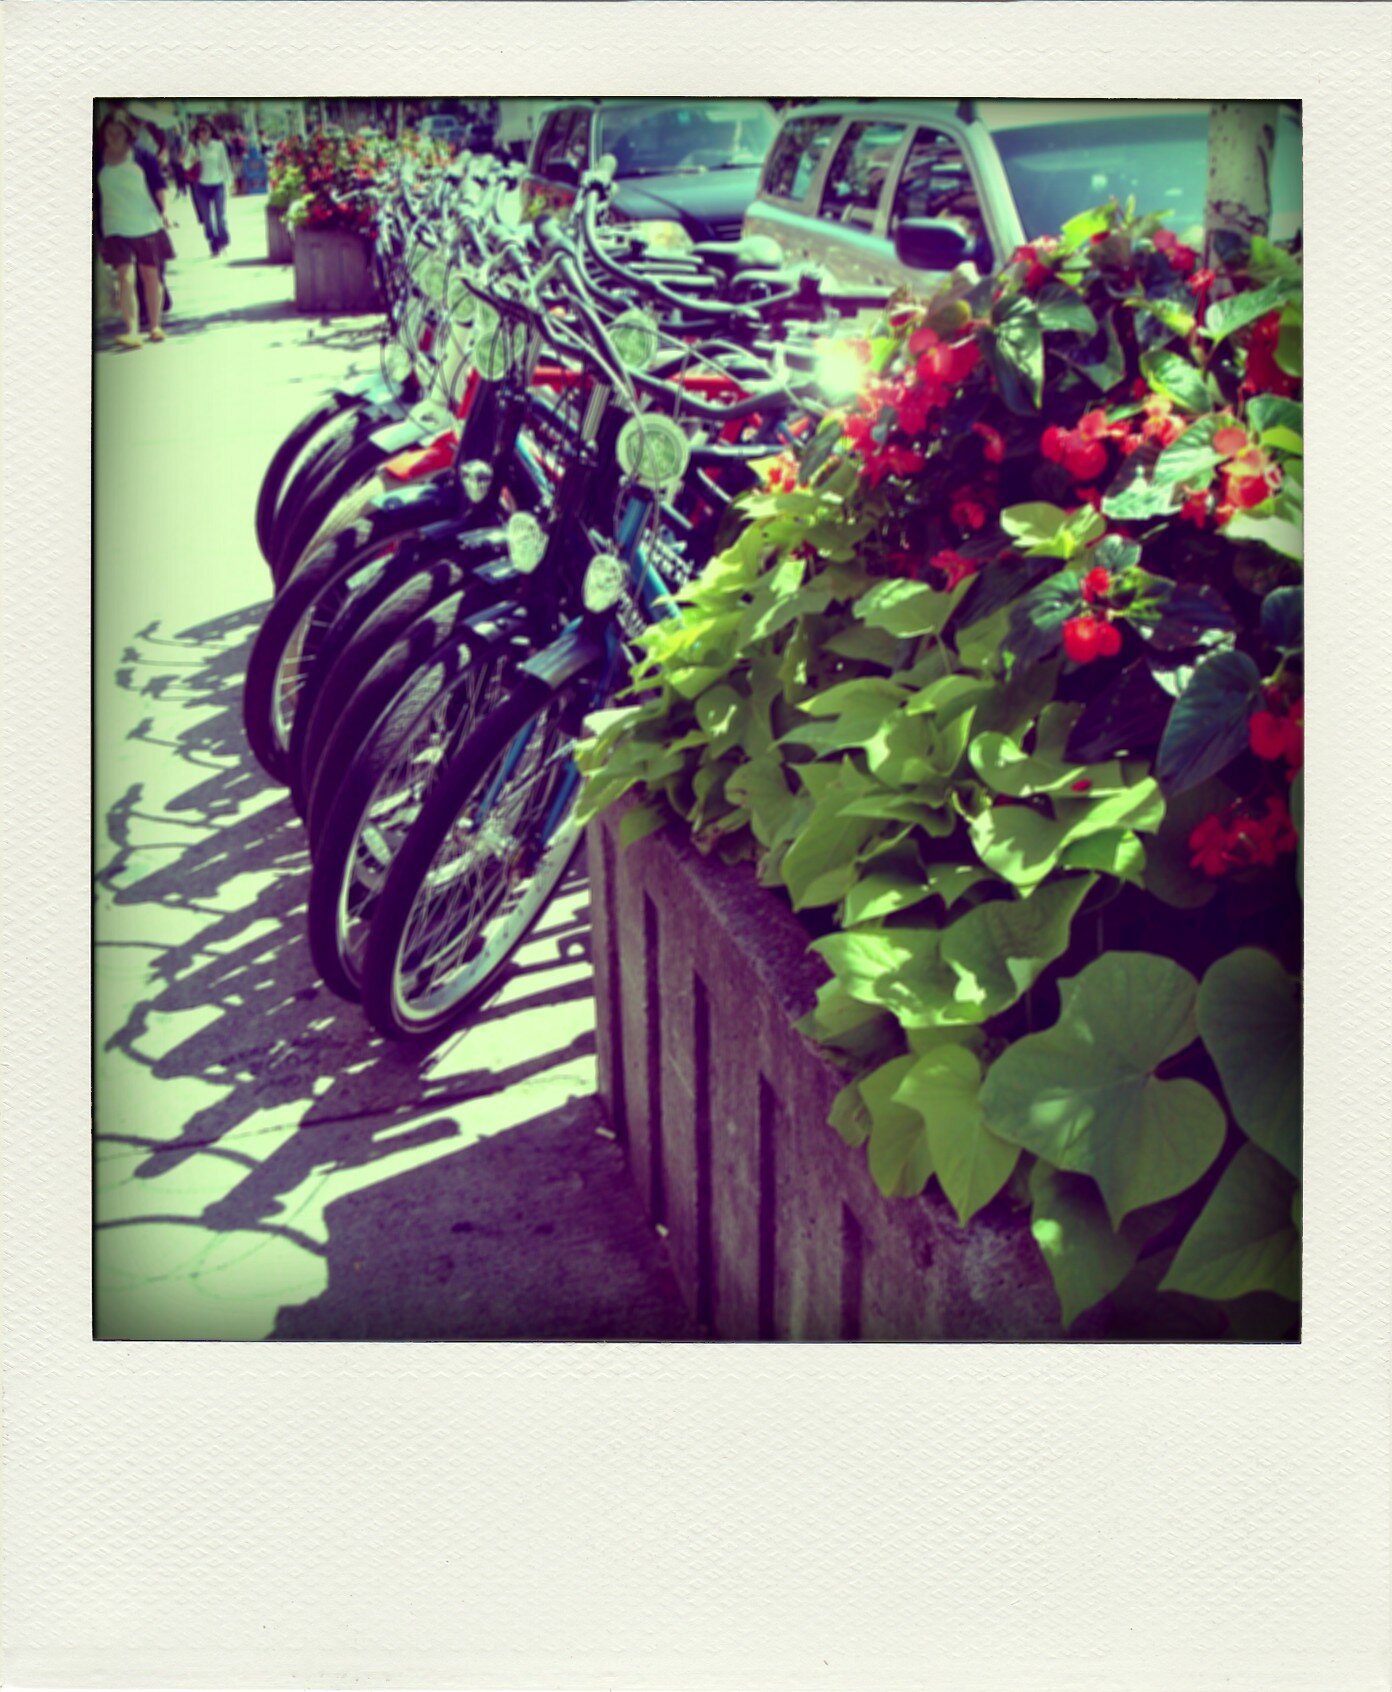
Saw racks of bikes for rent, by the hap­pi­ly bloom­ing planters!

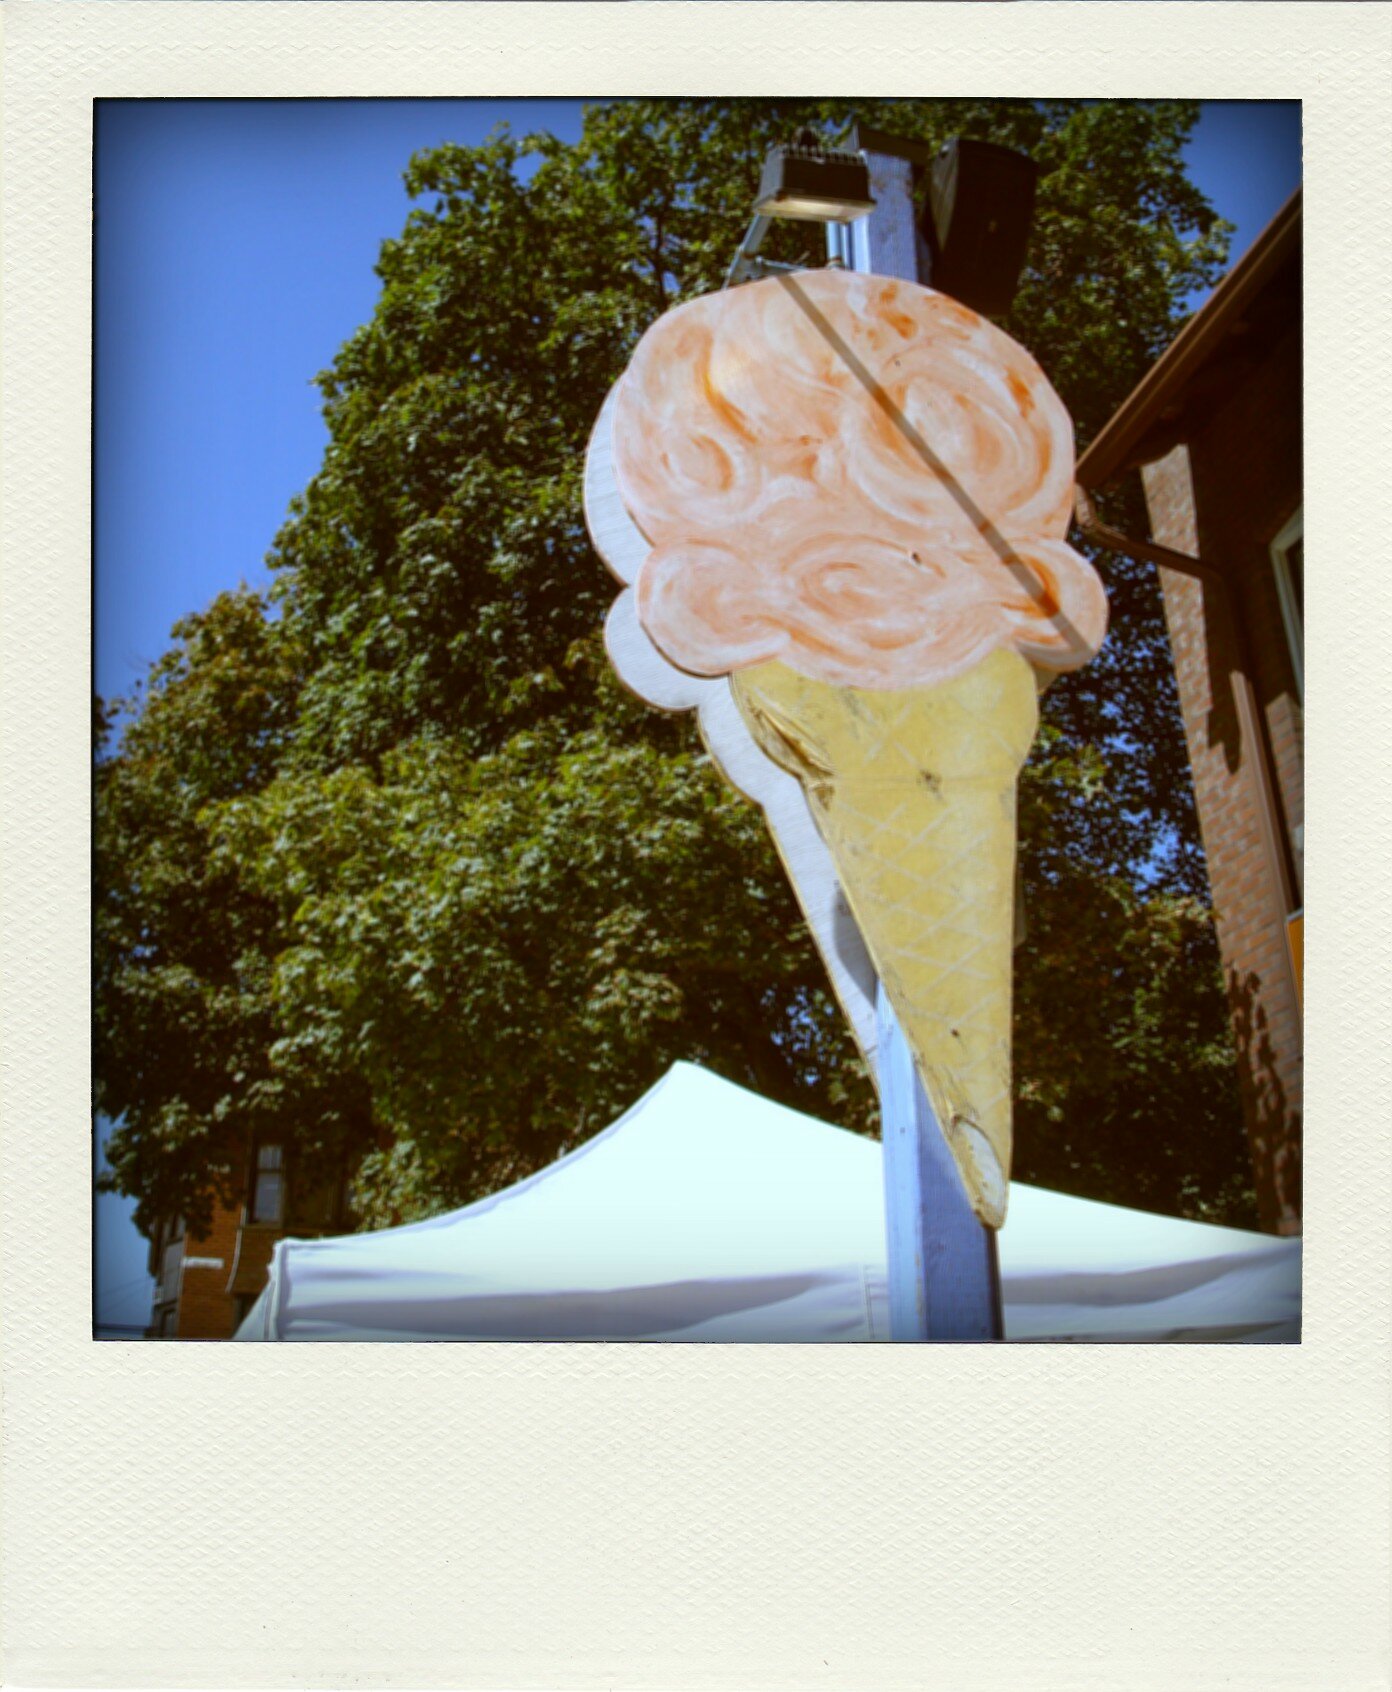
Large paint­ed ice cream sign :D

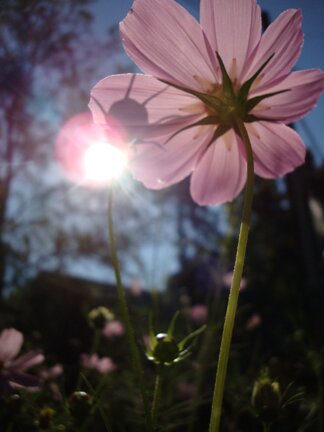
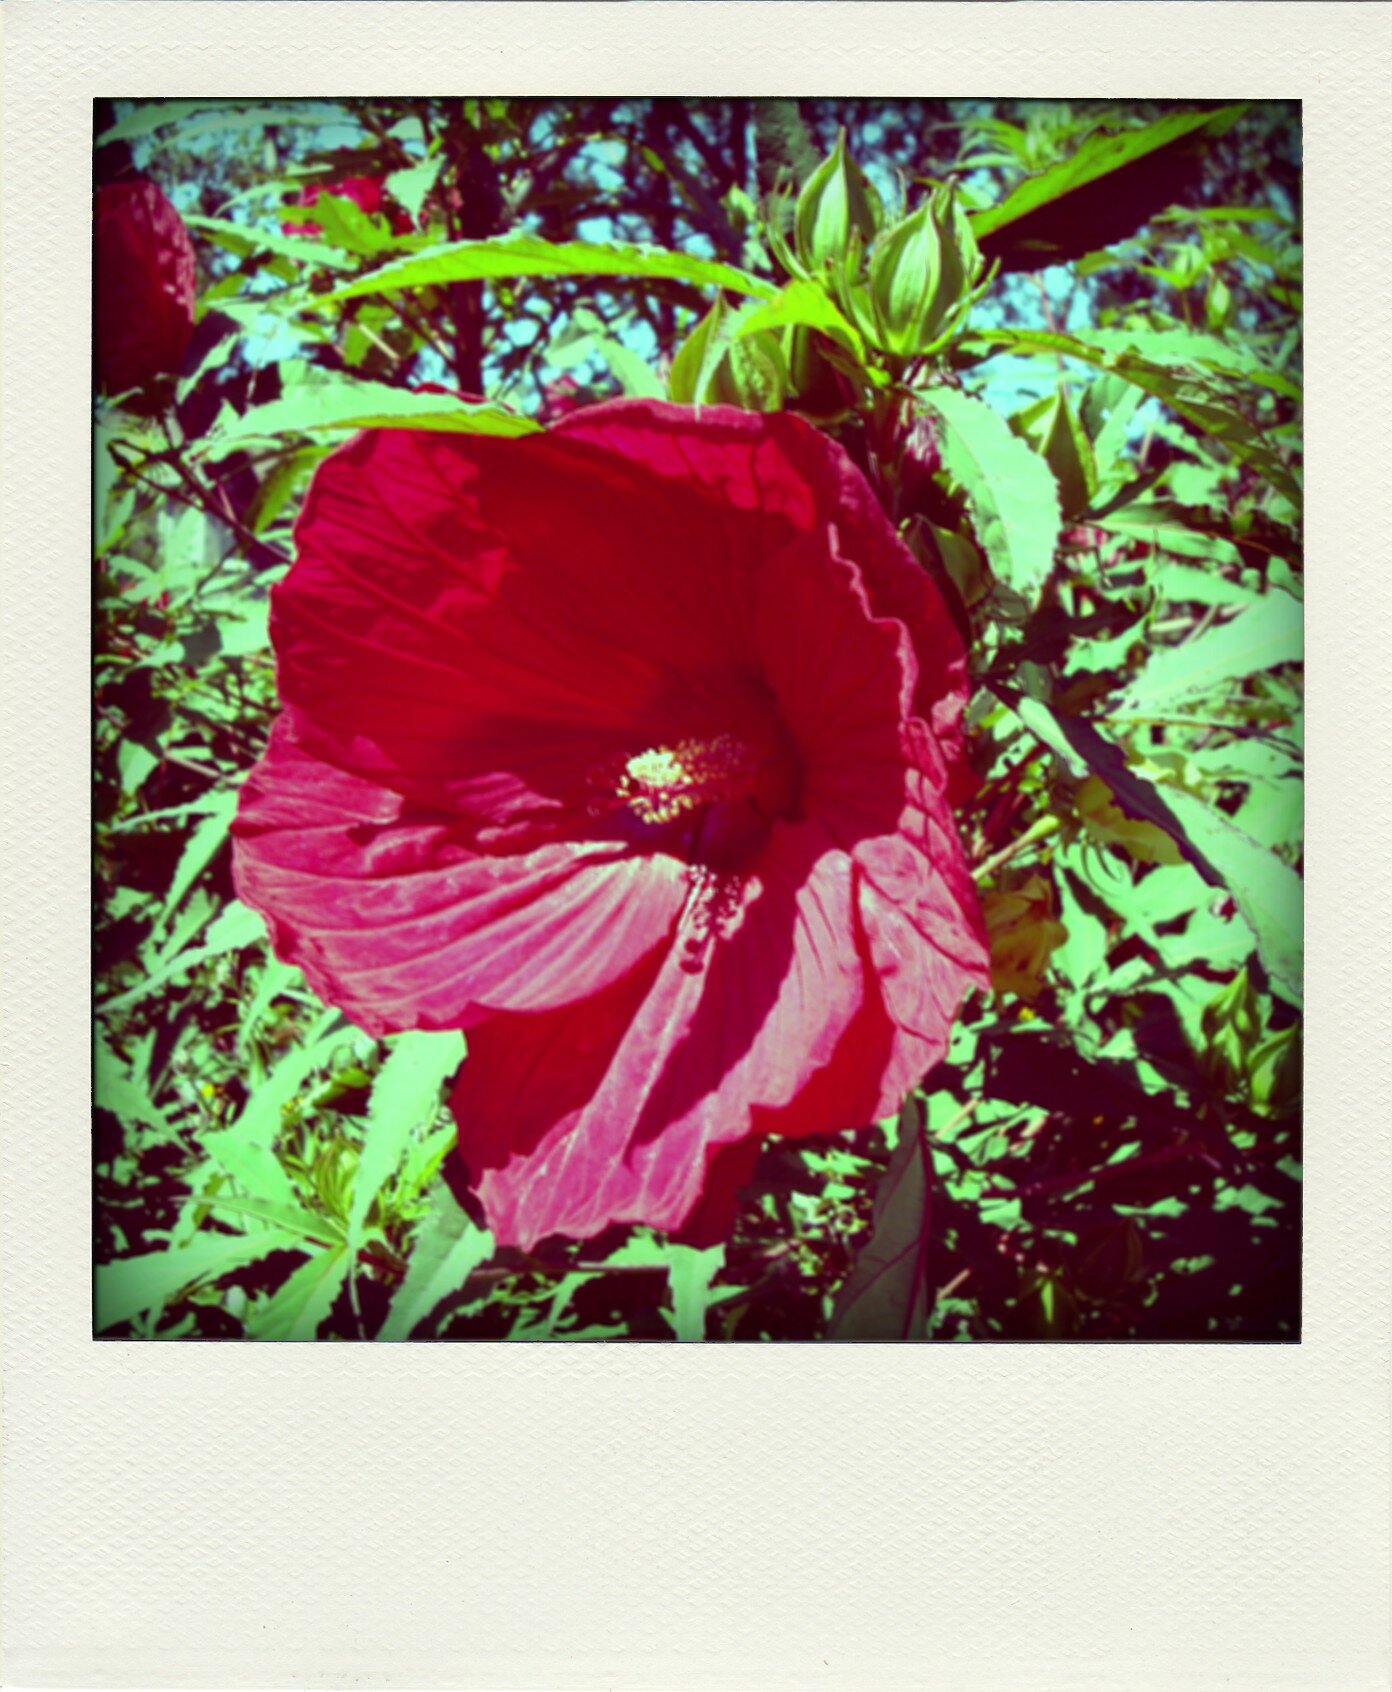
HUGE flow­ers in the park!

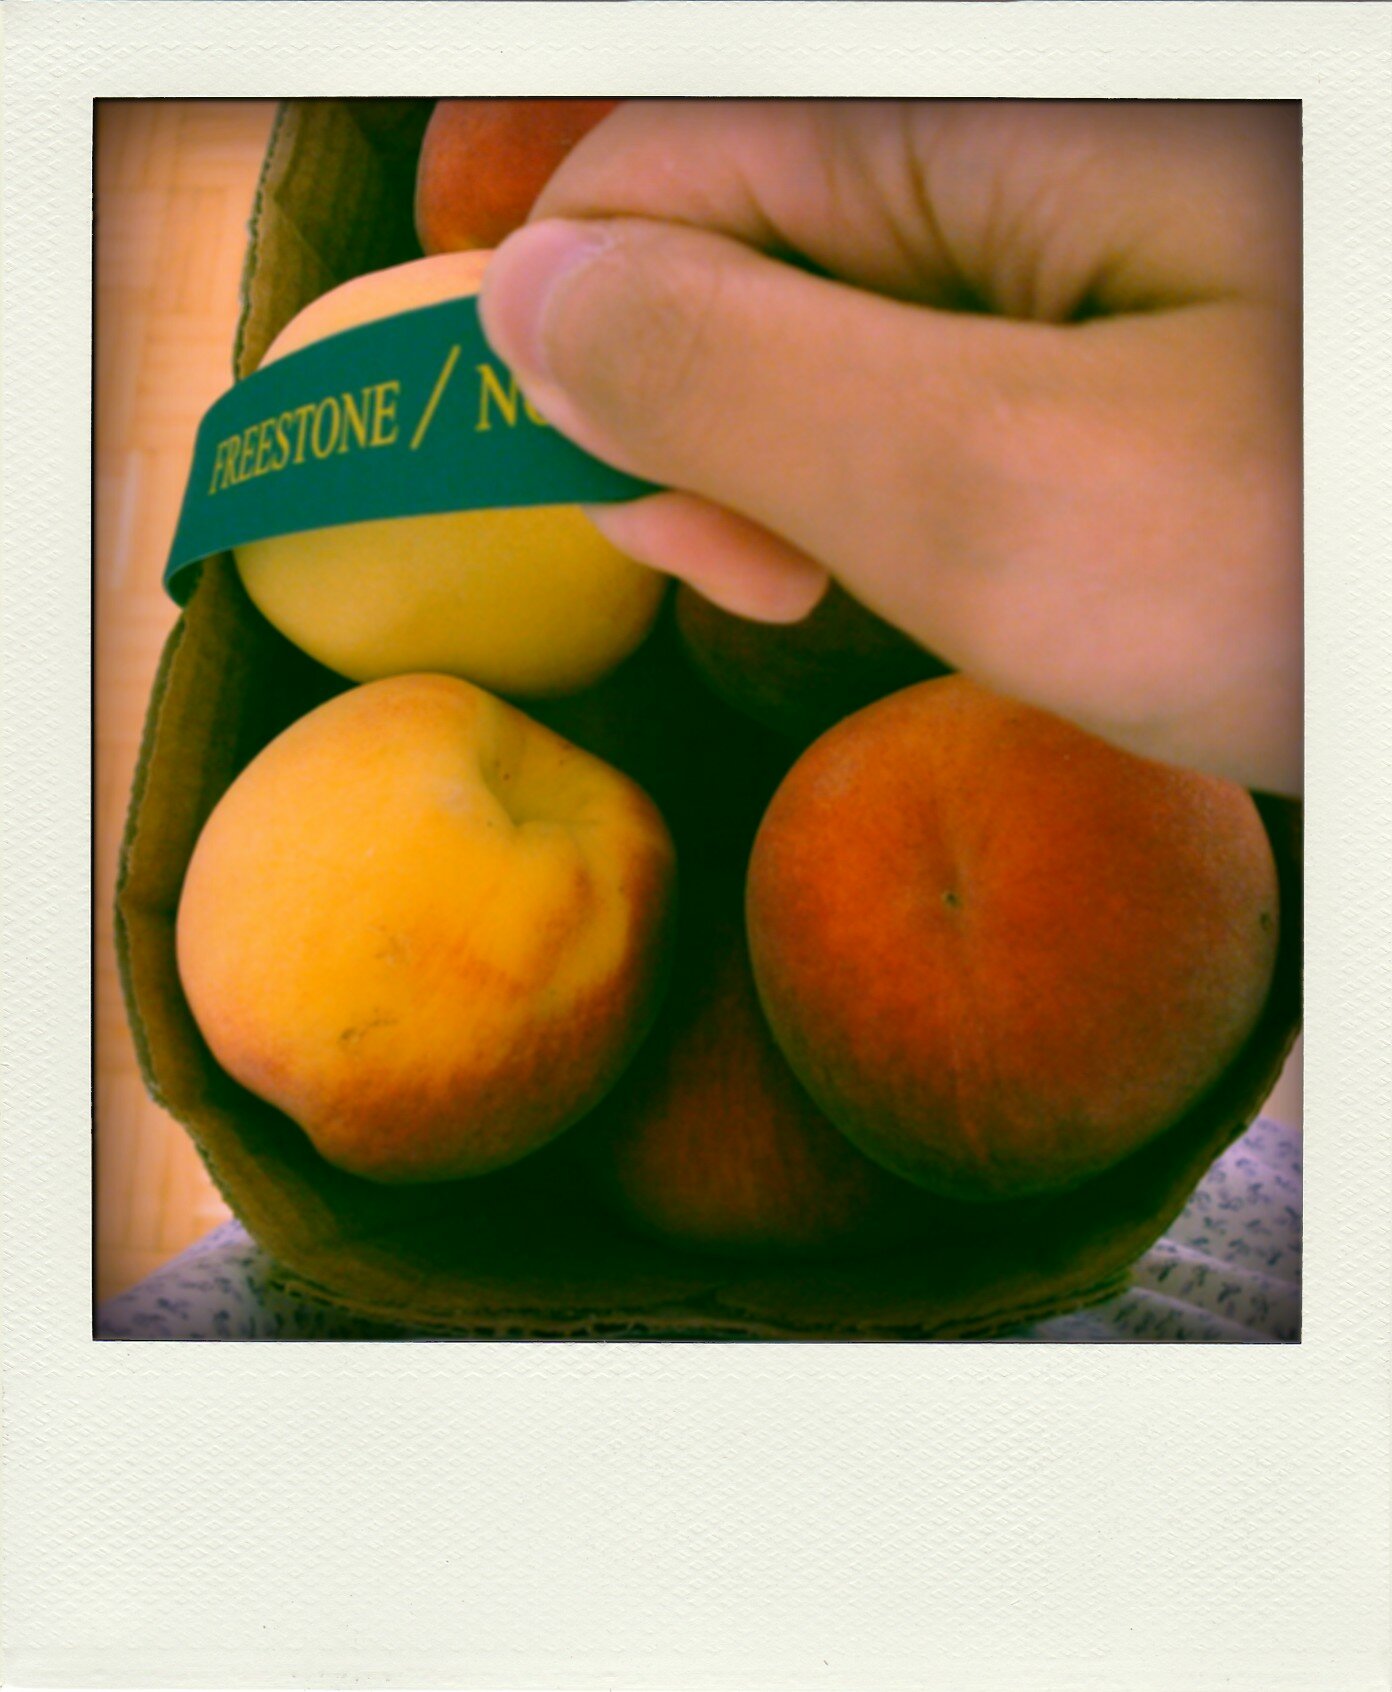
And check­ing out the sweet sou­venirs when I got home — free­stone Ontario peach­es! :D

I also vis­it­ed Out­er­lay­er and Grass­roots. Real­ly friend­ly stores with real­ly inter­est­ing things to look at.

When I go away to oth­er towns or city for vaca­tion I always find every­thing inter­est­ing and I take pic­tures of every­thing. But there are prob­a­bly sim­i­lar­ly inter­est­ing or even more inter­est­ing things in the city I call home. I just don’t real­ly look at them because I see them everyday.

So, any­way. Being a tourist in the city for a cou­ple of hours was a refresh­ing expe­ri­ence. I’m look­ing for­ward to a week­end of craft­ing, and maybe even a fes­ti­val or two!

Have a fab­u­lous weekend!

The seaweed cardigan

Remem­ber this?

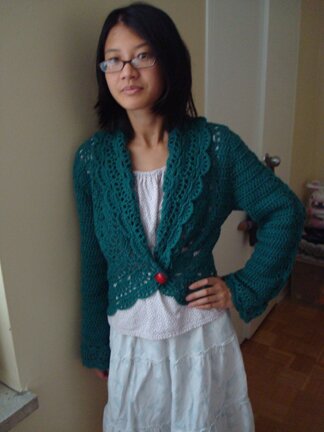
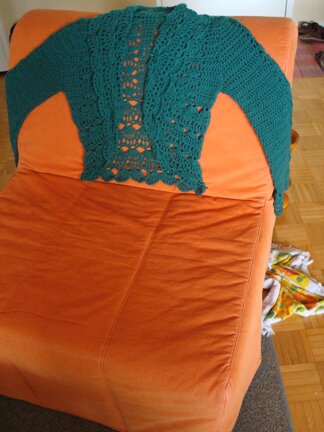
Fil­i­gree cardi­gan from Stitch Nation! Yep, I got around to mak­ing it! :D It actu­al­ly did­n’t take very long. The pat­tern was more straight­for­ward than I thought.

Since I used an aqua colour yarn (it was donat­ed! And there hap­pened to be 9 almost-full skeins of it! :D), I fig­ure I would pose for a sim­i­lar-look­ing pic­ture, with a sim­i­lar­ly severe look on my face…

… and fail­ing. After a day of work­ing at the com­put­er, I looked more dull than severe… so I stopped trying…

So, any­way. It was a good project. I also tried block­ing for the first time. One would think that hav­ing been cro­chet­ing for so many years, I would’ve blocked some­thing at least once? Nope. I nev­er thought that it would work because I always used acrylic yarn. And usu­al­ly things are at least wear­able. But this cardi­gan turned out too short. Every­thing matched the gauge except the length (even though I did­n’t check gauge :P), and I could­n’t but­ton it up, so I had to find a way to length­en it. I don’t know what this yarn is made of, so I thought, why not, it was an excel­lent oppor­tu­ni­ty to try block­ing :D

I soaked it and then pinned it to the chair… the tow­el you see on the floor was catch­ing the water drip­ping from the sleeves. The sleeves were stretched too long after the block­ing, but they looked bet­ter because the shell pat­terns were all bunched up before. Over­all I think it worked out. A bit big on me; the loose­ness and the lace pat­tern remind me of sea­weed. I like to name my projects :D

Have a very hap­py Fri­day, friends!

Before and after

For­got about these pic­tures from our trip to the beach 2 weeks ago!

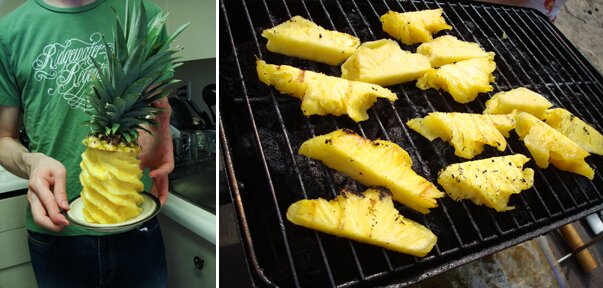
We grilled pineap­ple slices! I think pineap­ples taste bet­ter when they’re grilled.

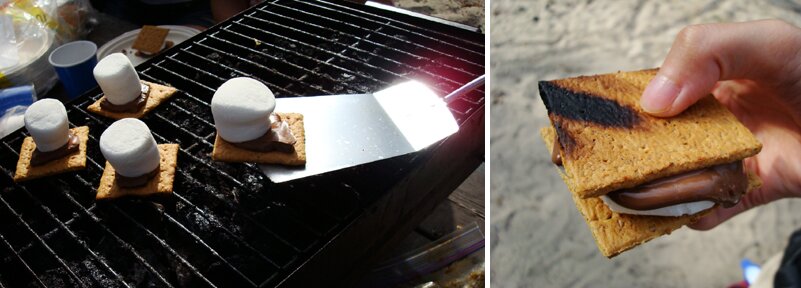
And then we made s’mores, also on the portable grill. It melt­ed the marsh­mal­low and choco­late pieces won­der­ful­ly. Aside from the fact that the marsh­mal­lows weren’t toast­ed on the out­side, I think the grill made the per­fect s’mores.

Tak­en from the same spot. I can almost hear the lake.

Cheers!

Favourite things of the week!

Paper­clip pup­pets from Made by Joel! Made with cor­ru­gat­ed boards and bent paper­clips. Absolute­ly bril­liant and def­i­nite­ly an idea I’m keep­ing in my tool box! :D

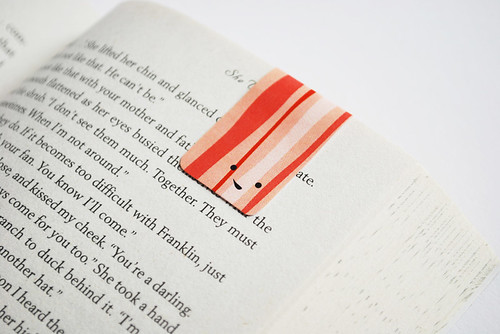
Anoth­er paper treat! This, my friend, is a piece of bacon. Not just a piece of bacon, but a mag­net­ic bacon book­mark, with a cute smile! :D Free down­load from Wild Olive! I’m so grate­ful~ The PDF down­load includes pen­cil, pick­le, ban­dage, and ruler too! (mag­net­ic pow­er not includ­ed :P)

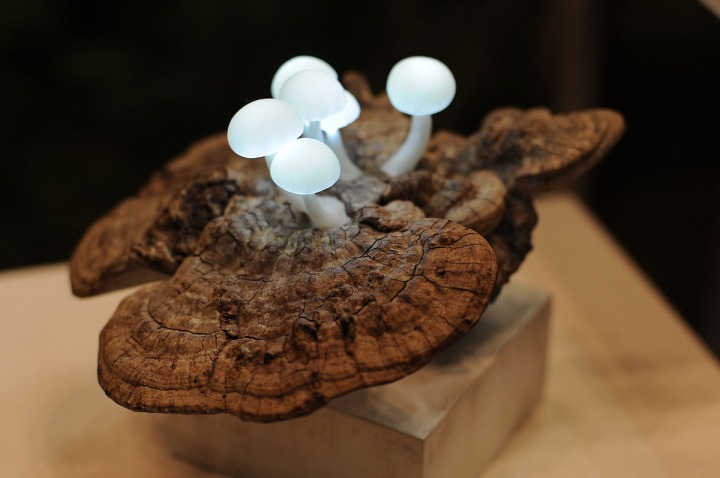
Since it’s been rain­ing for the past cou­ple of days I’ve been look­ing for mush­rooms when­ev­er I’m out, but haven’t seen any. And then one day I came across these mush­room lights by The Great Mush­room­ing on Toky­obling’s blog! They’re made of glass, LED lights and found wood. Sim­ply mag­i­cal. This eno­ki-like one is my favourite.

More detailed real­ism! Came across this exhi­bi­tion of cro­cheted veg­eta­bles by Japan­ese artist Jungjung via the Craftzine blog. I espe­cial­ly love the car­rot — look at the lace-like leaves!

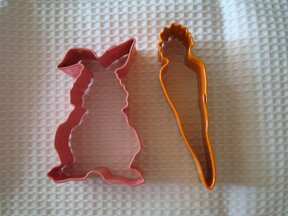
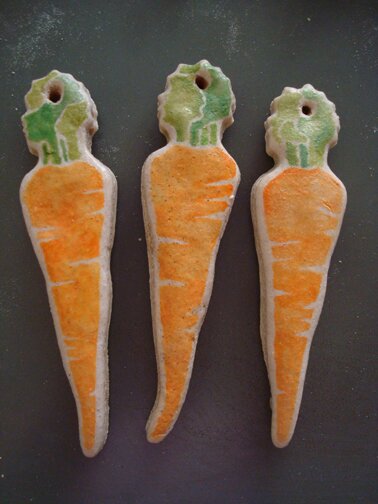
Speak­ing of car­rots, a cou­ple of vis­i­tors have asked if I could post a pic­ture of the cook­ie cut­ter I used for the crazed rab­bits and their car­rots — cer­tain­ly! Here it is!

Wish­ing you a great start to the week!

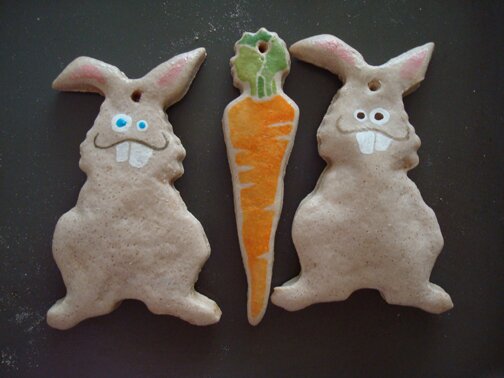
Crazed rabbits and their carrots

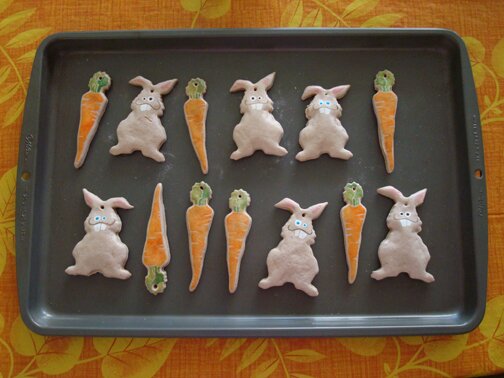
After mak­ing the orna­ments with the teapot cook­ie mold I left the left­over dough in the fridge too long and they were too sticky to use with the mold… I tried and tried and tried and it was just stick­ing to the mold and stretch­ing out of shape when I tried to peel it off. But I did­n’t want to waste the dough (it had cin­na­mon in it!), so I thought I’d try using these cook­ie cut­ter that my friend Kit­ty gave me last year (I think for East­er). And look! I’m so hap­py with these! :D

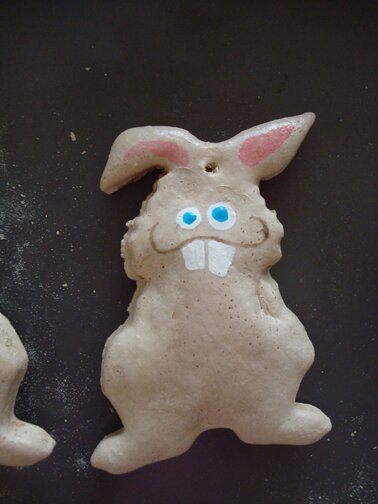
They’re sup­posed to be orna­ments of some sort. I put a hole in each for rib­bons or twine. Plan­ning on giv­ing some of these away, but I’m keep­ing this one because he’s my favourite.

And their car­rots! :D

I paint­ed blue eyes and brown eyes — though I thought the blue-eyed ones looked more crazed :P

Have a love­ly week­end! :D

Favourite things of the week!

The new Ikea cat­a­logue is out! And I was over­joyed to dis­cov­er in it these PLUSH veg­eta­bles!! :D a 14-piece set for $9.99! A trip to Ikea is in order! There is a mush­room, and a LEEK! Comes with a bas­ket, even! Yes, I’m going to go and buy it and then put shiny eyes and cute smiles on them :D

I found these small sgraf­fi­to draw­ings on Made by Joel so very charm­ing. I’ve done draw­ings like these but I cov­ered the whole page. I’ve nev­er thought of just mak­ing small rec­tan­gles of it. Look like small woodcuts.

A kind lady passed on this link — pat­tern for cro­chet cov­ered sea stones from the Purl Bee! I’ve seen them on Etsy before and have always won­dered how to make them. They’d be love­ly on a cof­fee table or win­dowsill or cor­ner of a bookshelf.

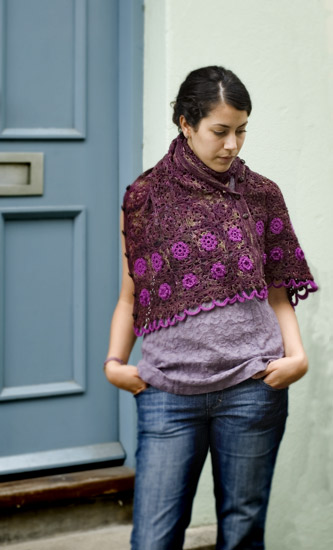
Spot­ted this Old Rose Wrap from Loop Knit Lounge a few weeks ago, fell in love with its light­ness and intri­ca­cy and mot­tled water­colour tones. And check out the many ways one can wear it, with a row of but­tons sewn on one side! A very clever design indeed! I usu­al­ly make very clunky things, main­ly because I can only afford to buy very cheap, worsted weight acrylic yarn. And I enjoy mak­ing clunky things, but when I see pat­terns like this it does make me want to try my hands on more del­i­cate things. It appears that this wrap only uses maybe 300g of sock yarn, so per­haps it’s doable :D

And final­ly, look at this love­ly hair­pin on Instructa­bles! It’s made out of a straw! Resource­ful or what? It is also a real­ly cute straw in the pic­ture, appar­ent­ly from McDon­ald’s! So, note to self, from now on, keep a look out for pret­ty straws.

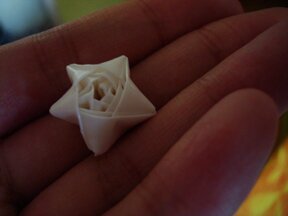
In the mean­while, the project reminds me of the drink­ing straw stars I learned how to make when I was a teenag­er. I even bought these spe­cial straws that were made for mak­ing straw ros­es and stars from Hong Kong — they were made out of thin­ner, more flex­i­ble mate­ri­als and much longer than reg­u­lar straws. Any­way, I found a straw and tried to see if I remem­bered how to make one…

… took a few tries, and it’s hard­er to do with reg­u­lar straws, but look! I can’t believe I still remem­ber how to make this! Made me very hap­py last night :D

Hope your day is filled with small things that make you smile :)

Crochet gathering rescheduled!

Cro­chet / knit­ting work­shops are resched­uled to Sat­ur­day August 28th 10–11:30am! We’ll be mak­ing this wrist-cuff-turns-cup-sleeve at the Walmer Cen­tre. Come join us if you want to learn basic cro­chet stitch­es while mak­ing some­thing use­ful! Yarn and but­tons will be pro­vid­ed, and drop me a note if you need a hook! Come also to the knit­ting work­shop after the cro­chet one and you’ll be all set for many of the fab­u­lous cro­chet­ing and knit­ting pat­terns out there!